


Dragon Quest 3 Remake: Zoma's Citadel Conquest
This guide provides a comprehensive walkthrough of Zoma's Citadel in the Dragon Quest 3 Remake, including strategies for defeating each boss and a complete treasure map.
Navigating Zoma's Citadel: A Step-by-Step Guide
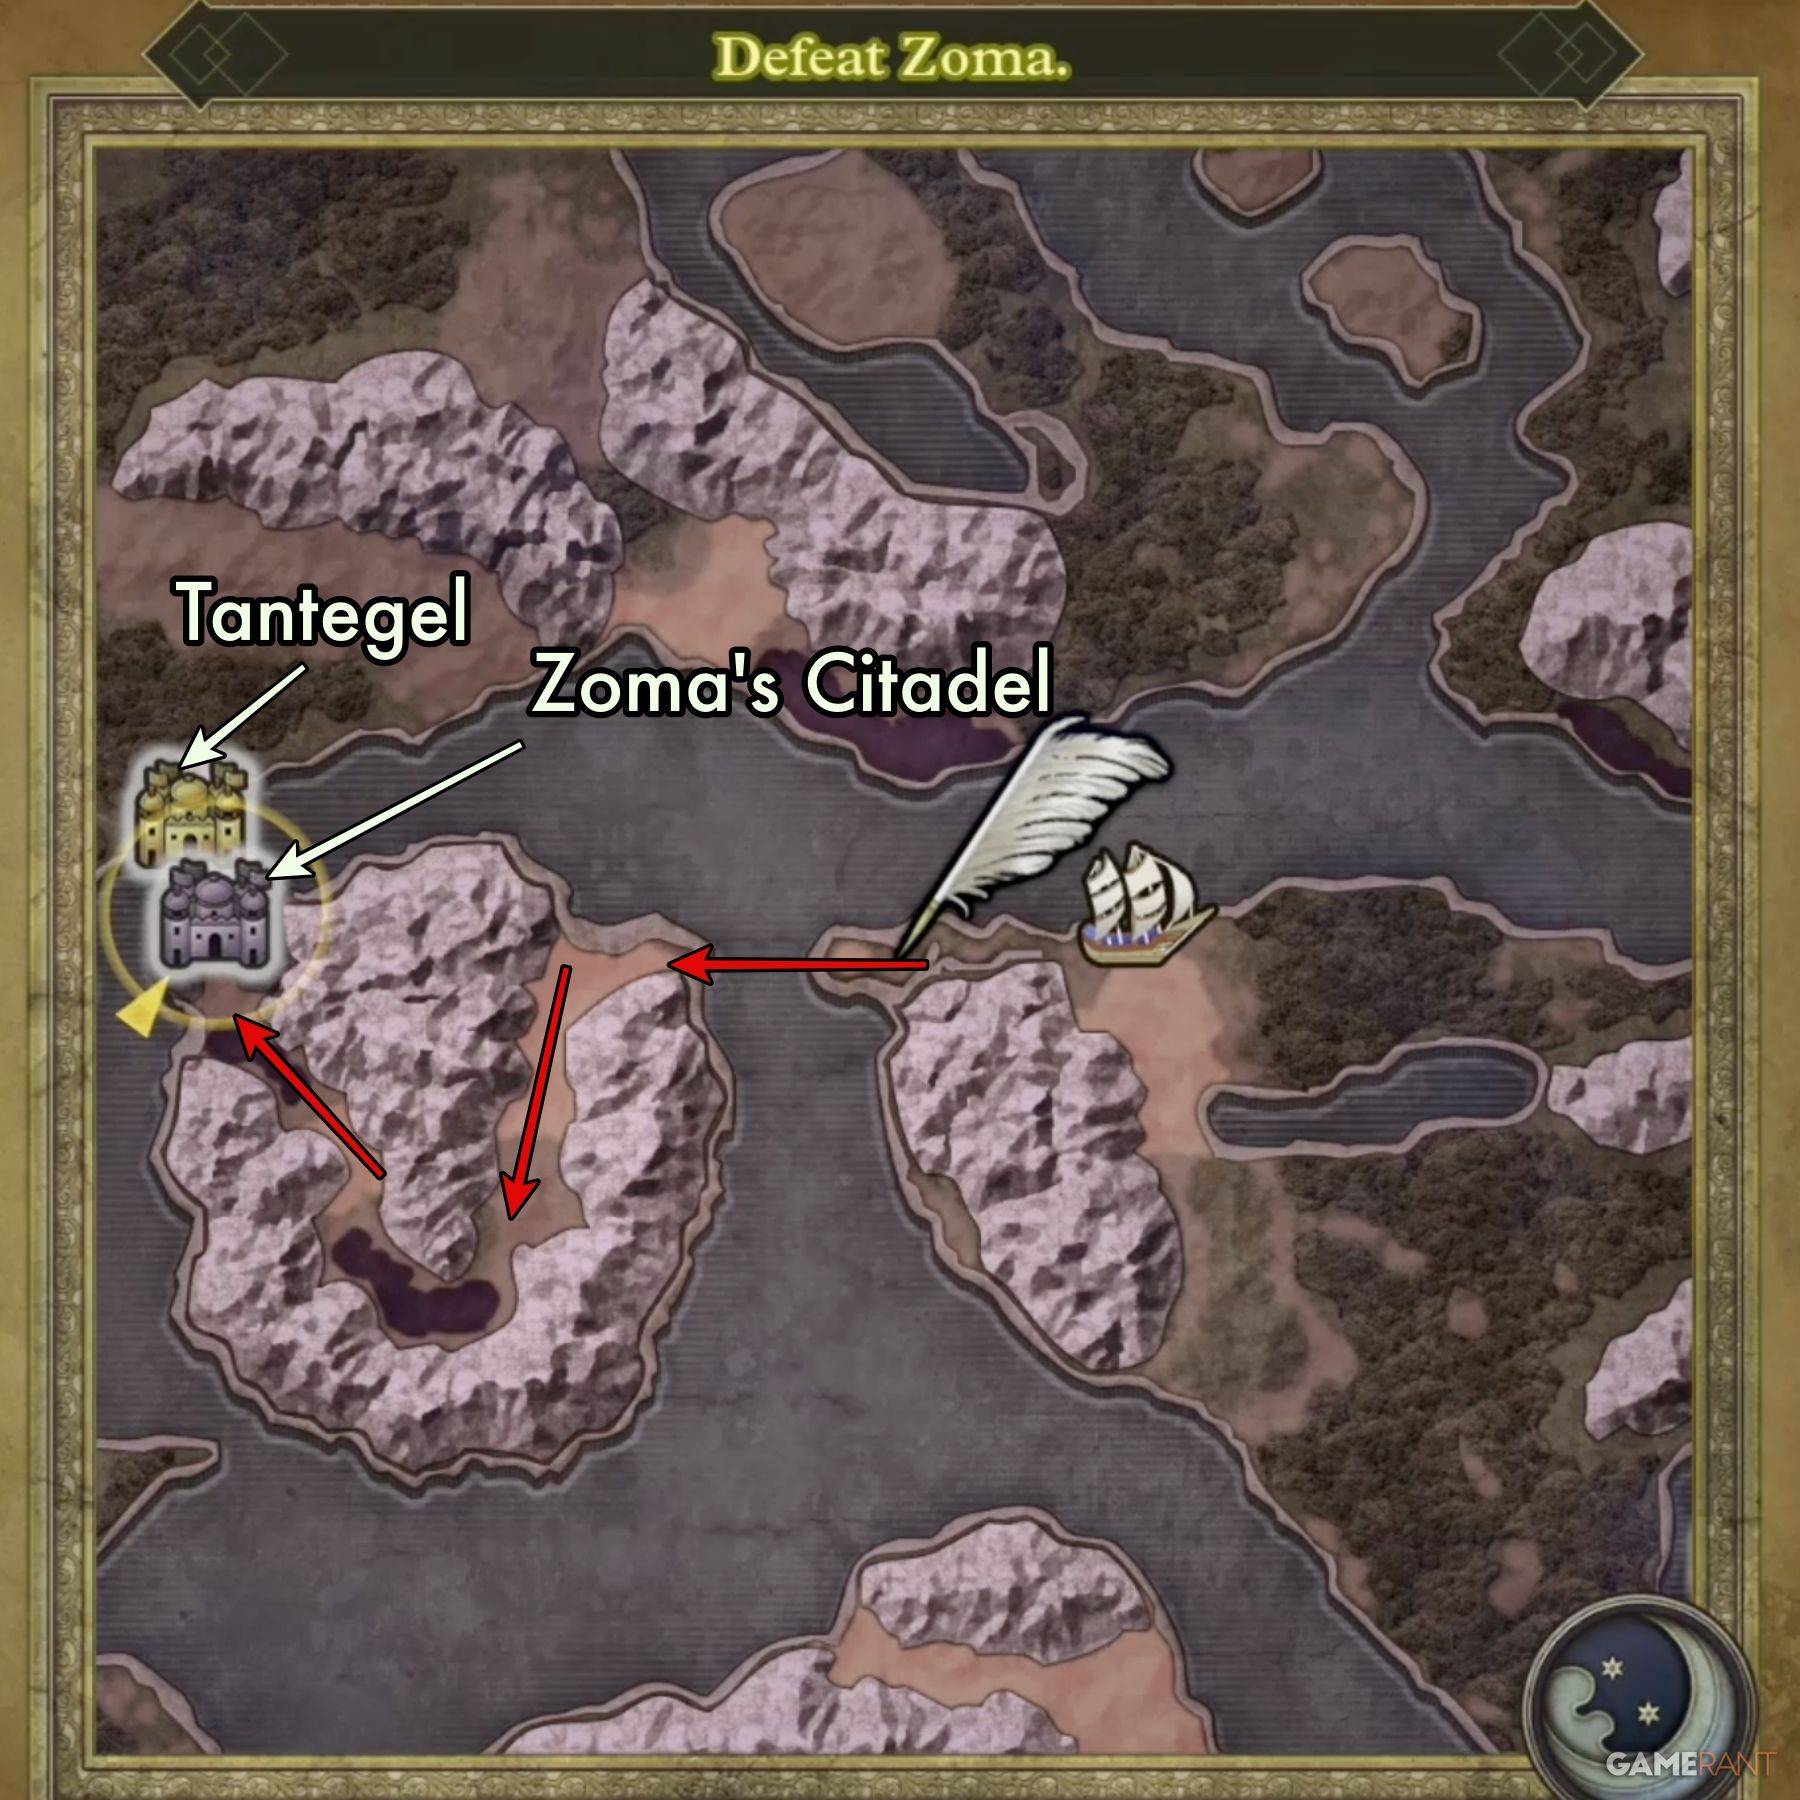
After vanquishing Baramos, you'll find yourself in Alefgard's perpetually dark realm. To reach Zoma's Citadel, you must assemble the Rainbow Drop:
- Sunstone: Located in Tantegel Castle.
- Staff of Rain: Found within the Shrine of the Spirit.
- Sacred Amulet: Obtained from Rubiss after rescuing her atop the Tower of Rubiss (requires the Faerie Flute).
Combining these items creates the Rainbow Drop, forming a bridge to Zoma's Citadel.
Floor-by-Floor Breakdown:
1F: Navigate the chamber, utilizing either the east or west path to reach the throne. Activating the throne reveals a hidden passage. Expect a challenging encounter with Living Statues.
- Treasure: Mini Medal (buried behind throne), Seed of Magic (electrified panel).
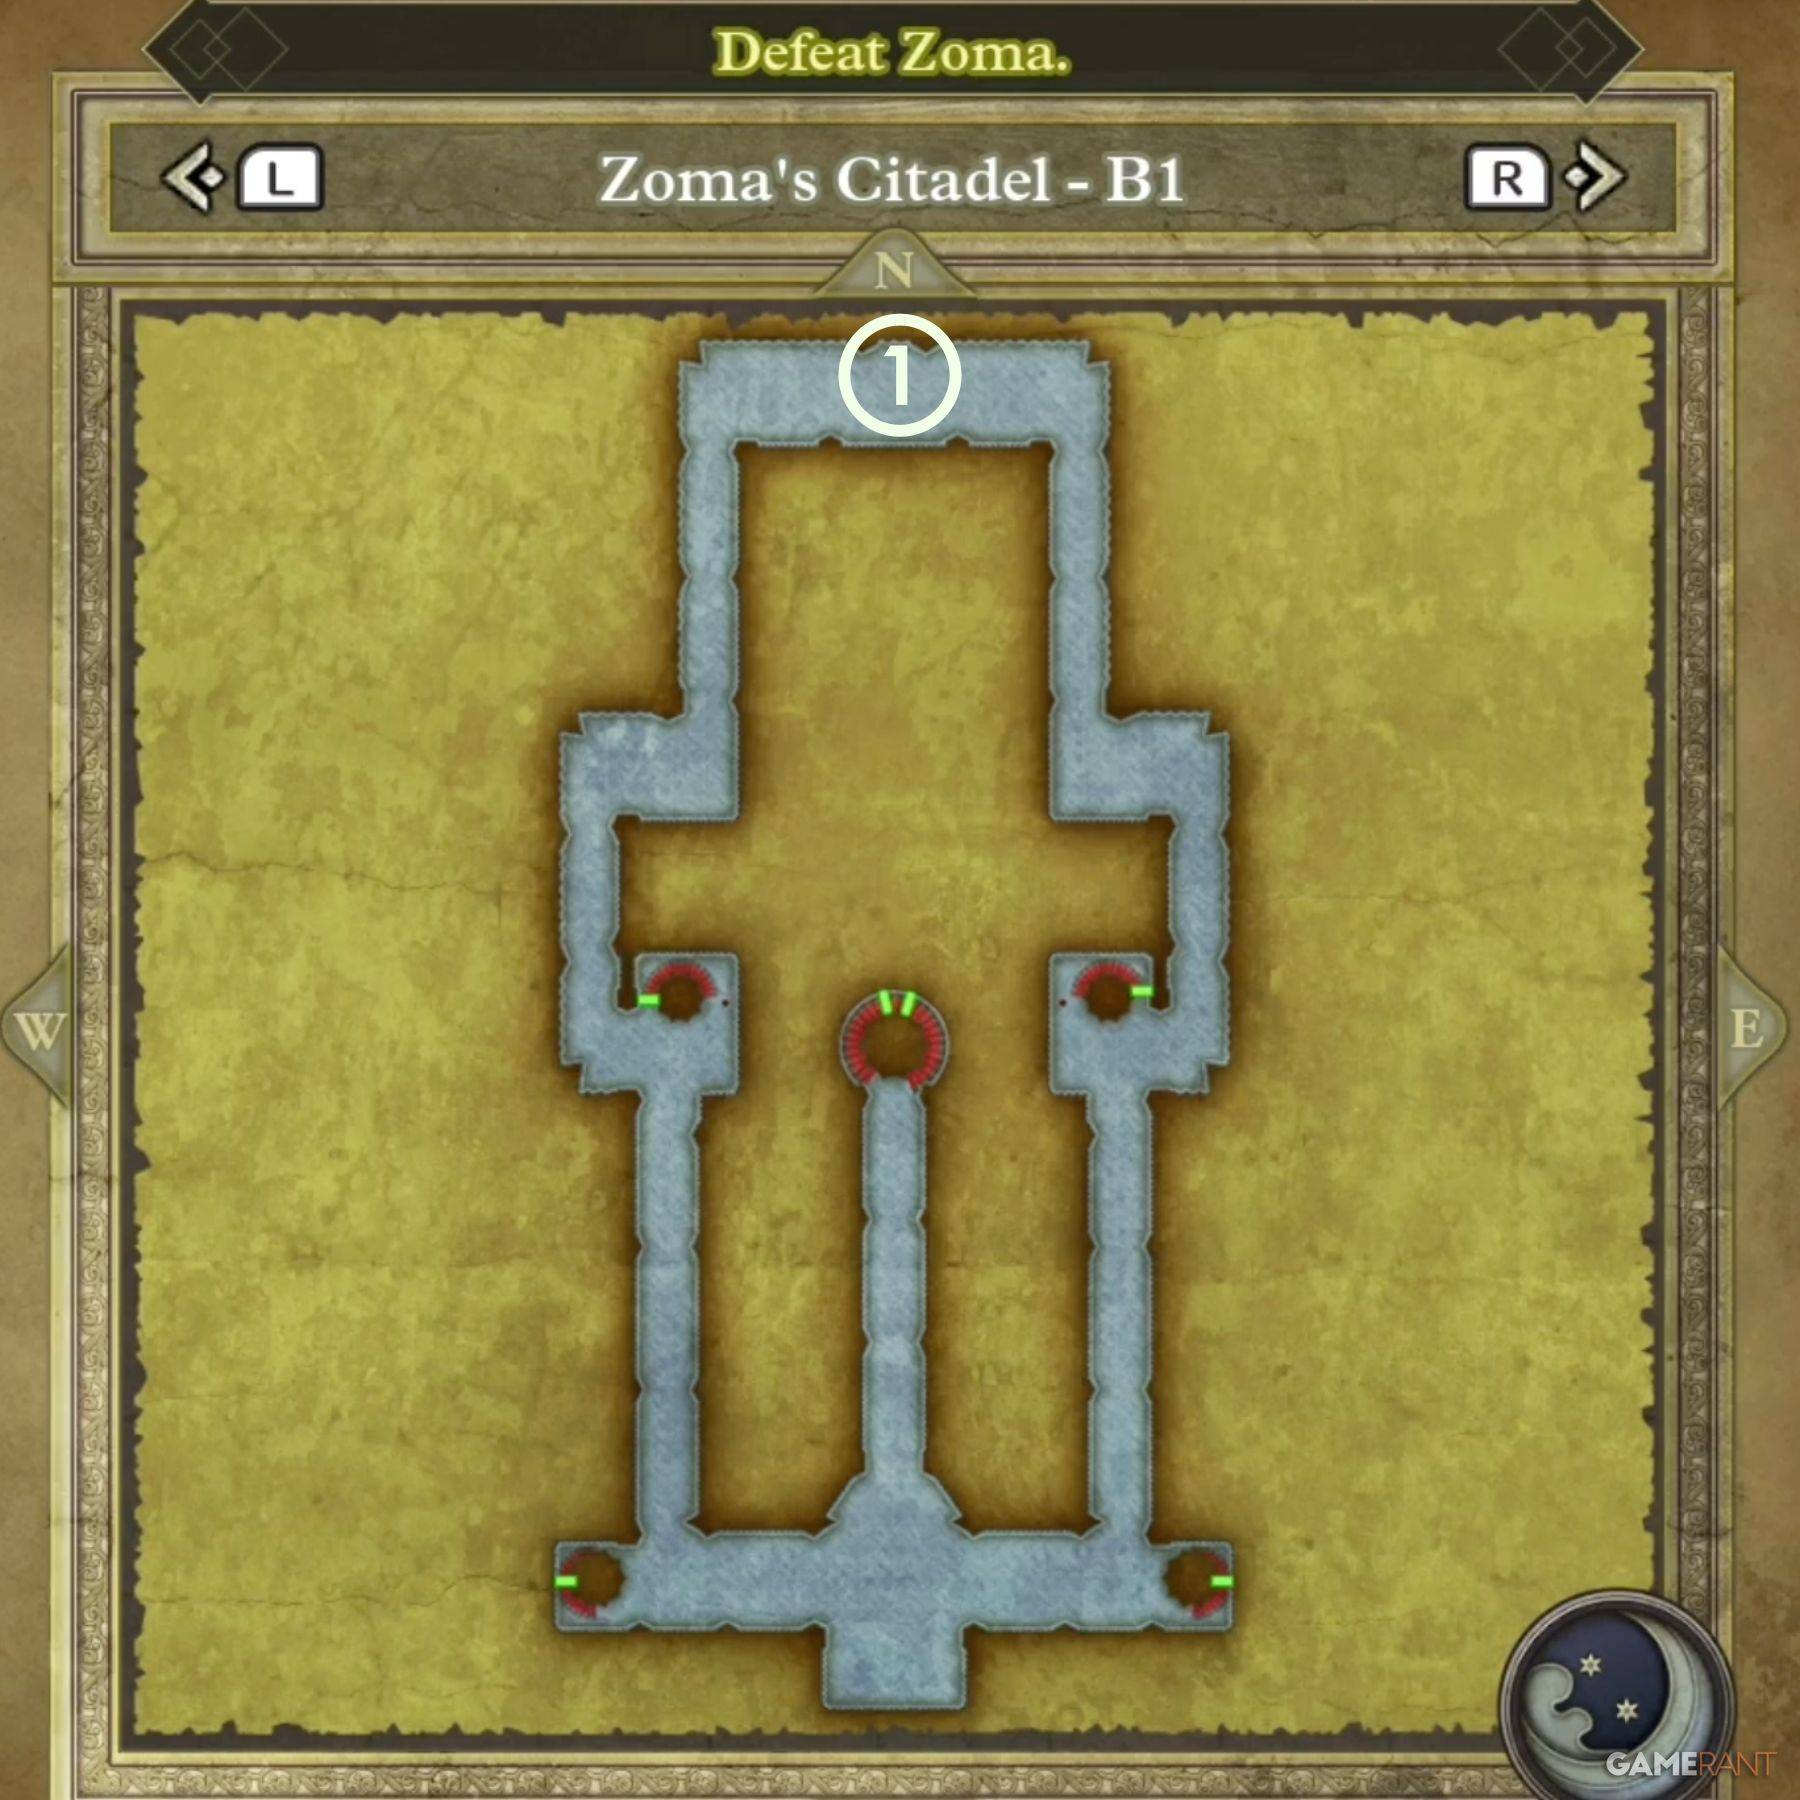
B1: A straightforward level with a single treasure chest. Access this level via the stairs in the 1F side chambers.
- Treasure: Hapless Helm
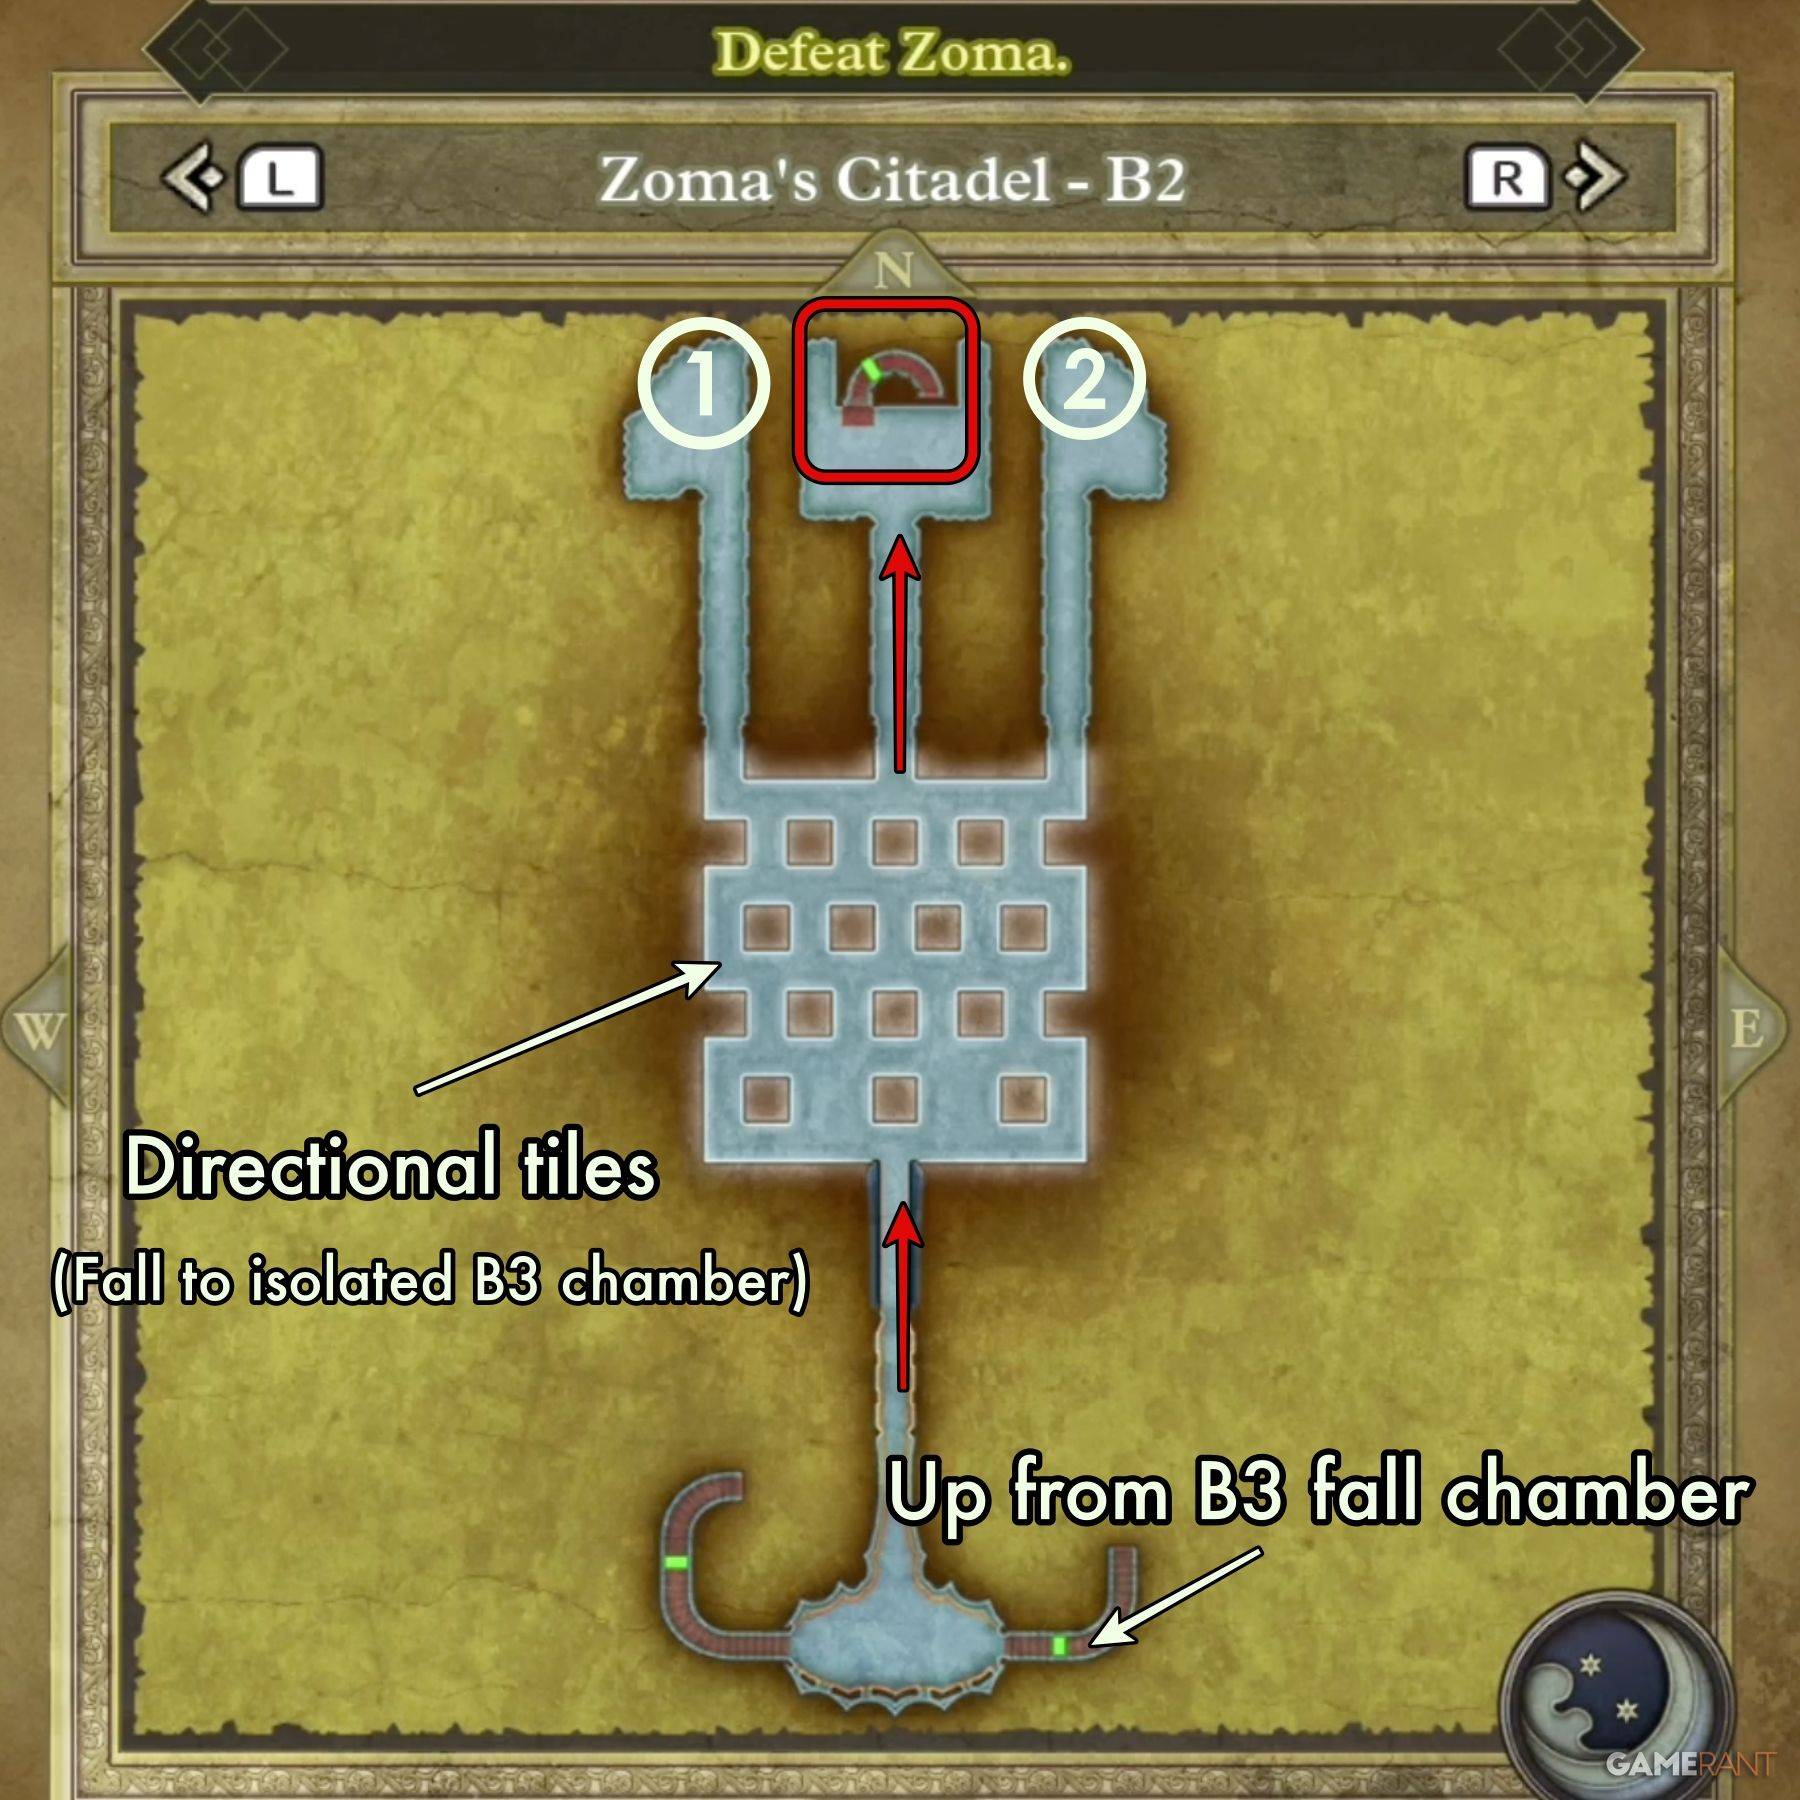
B2: This floor presents a directional tile puzzle. Practice on the similar tiles in the Tower of Rubiss if needed. The key is understanding the color-coded directional inputs (blue/orange for north/south, orange arrow for east/west).
- Treasure: Scourge Whip, 4,989 Gold Coins
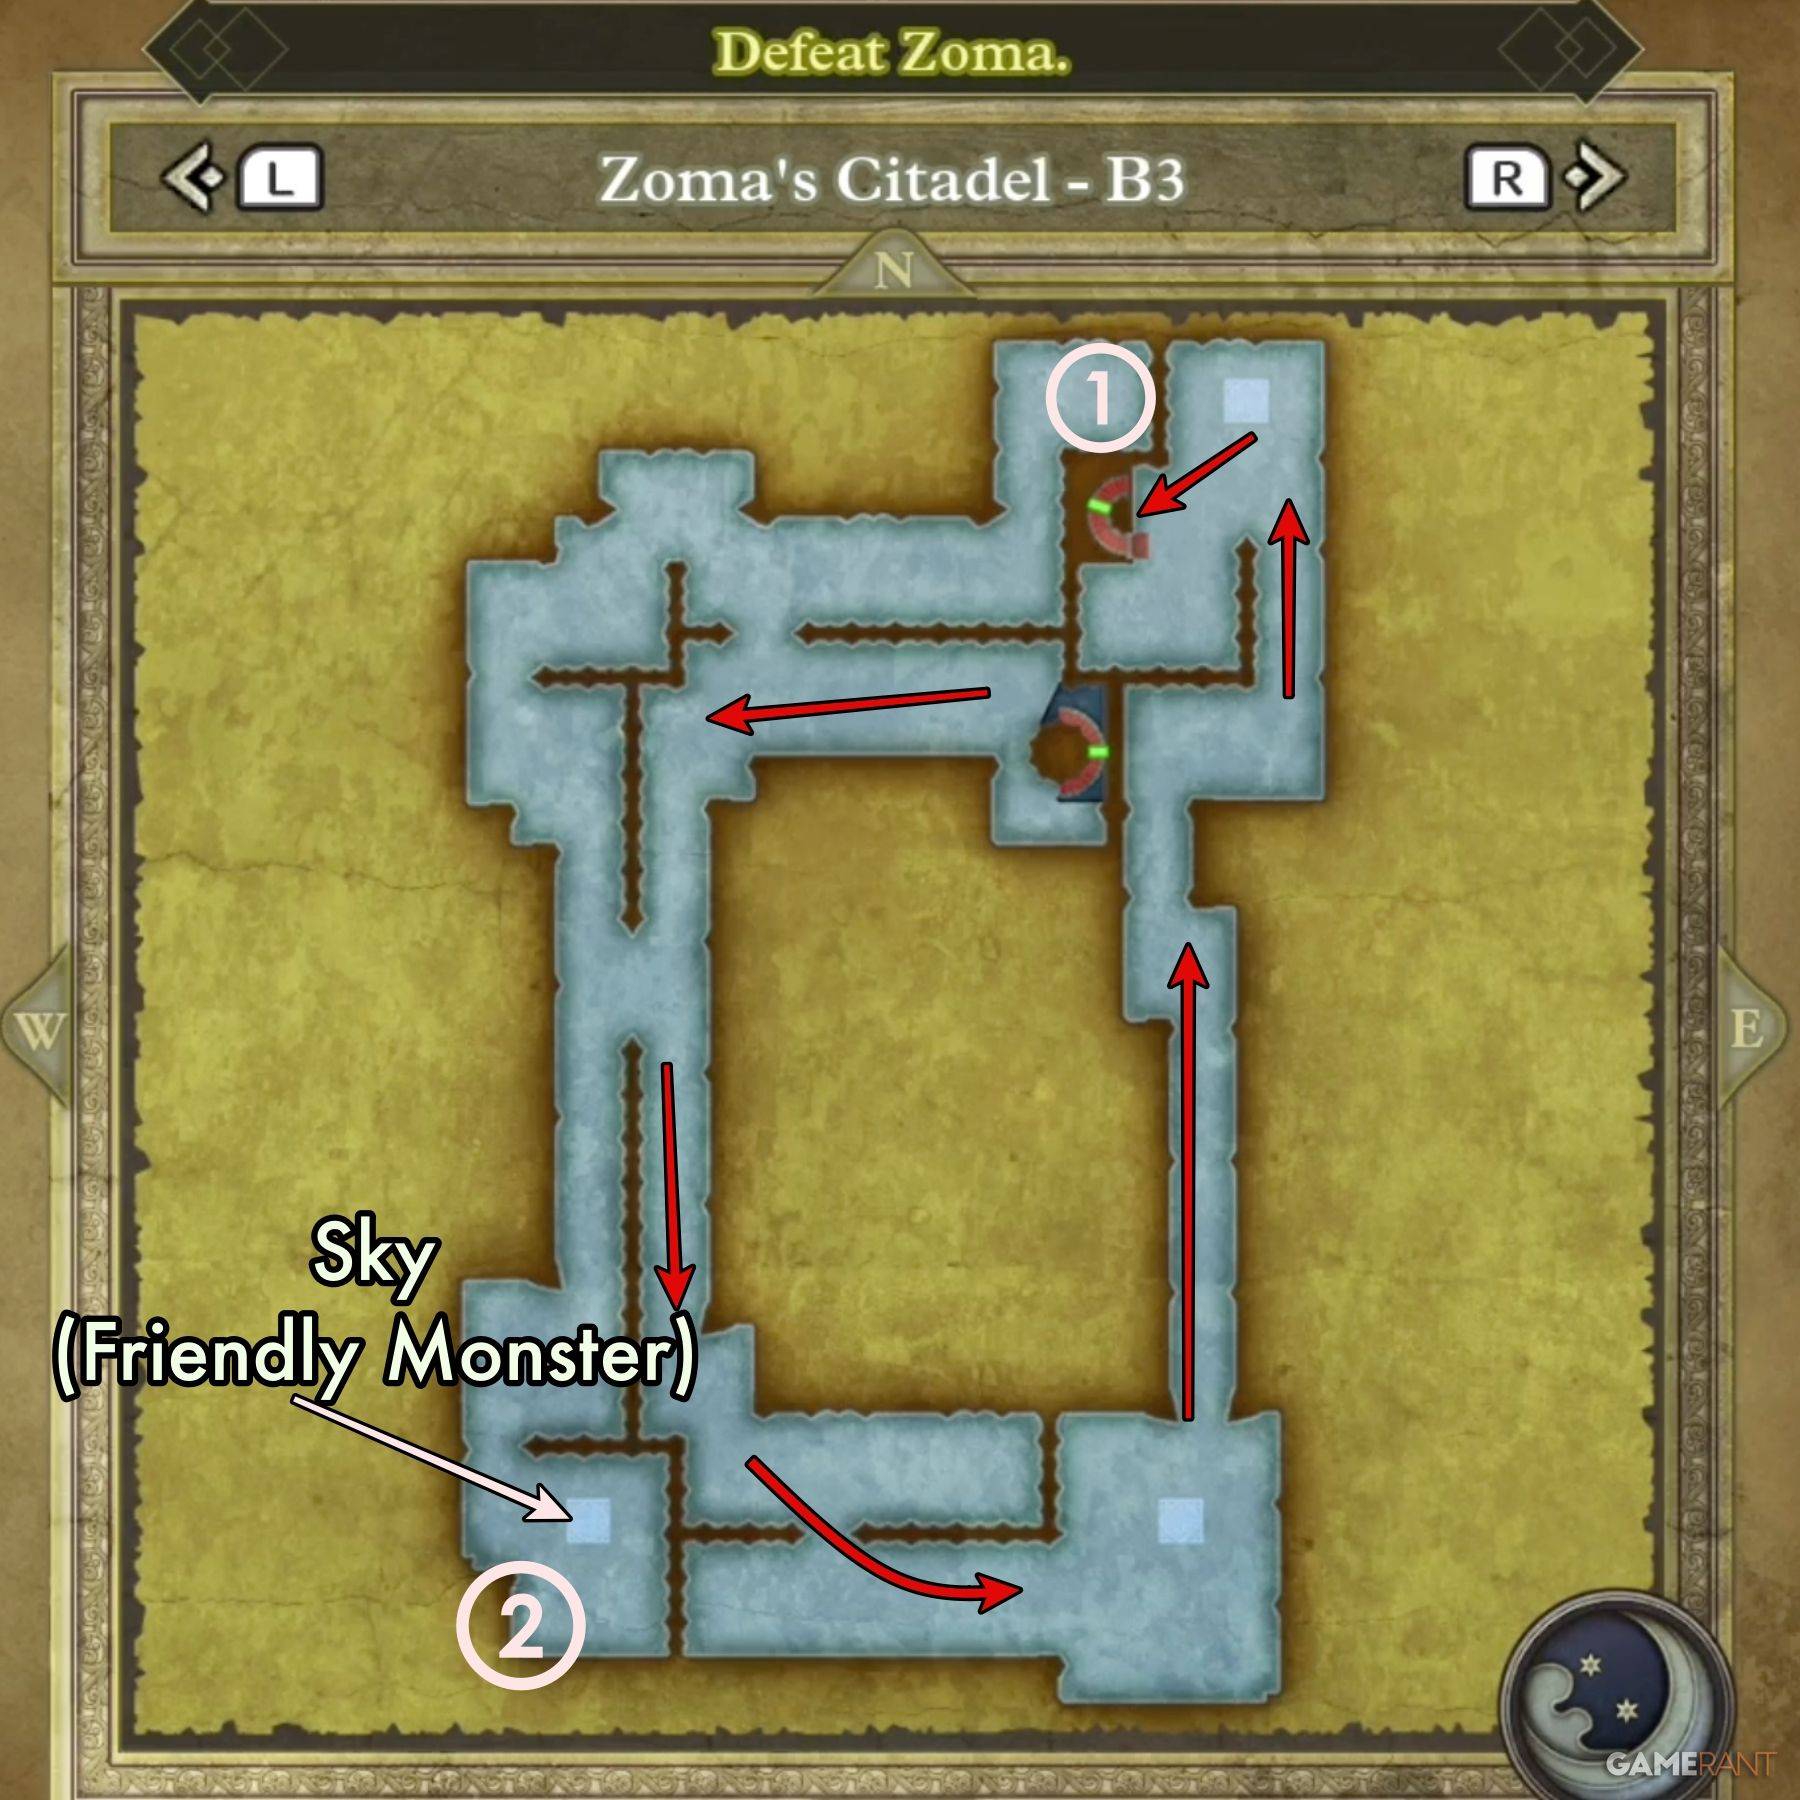
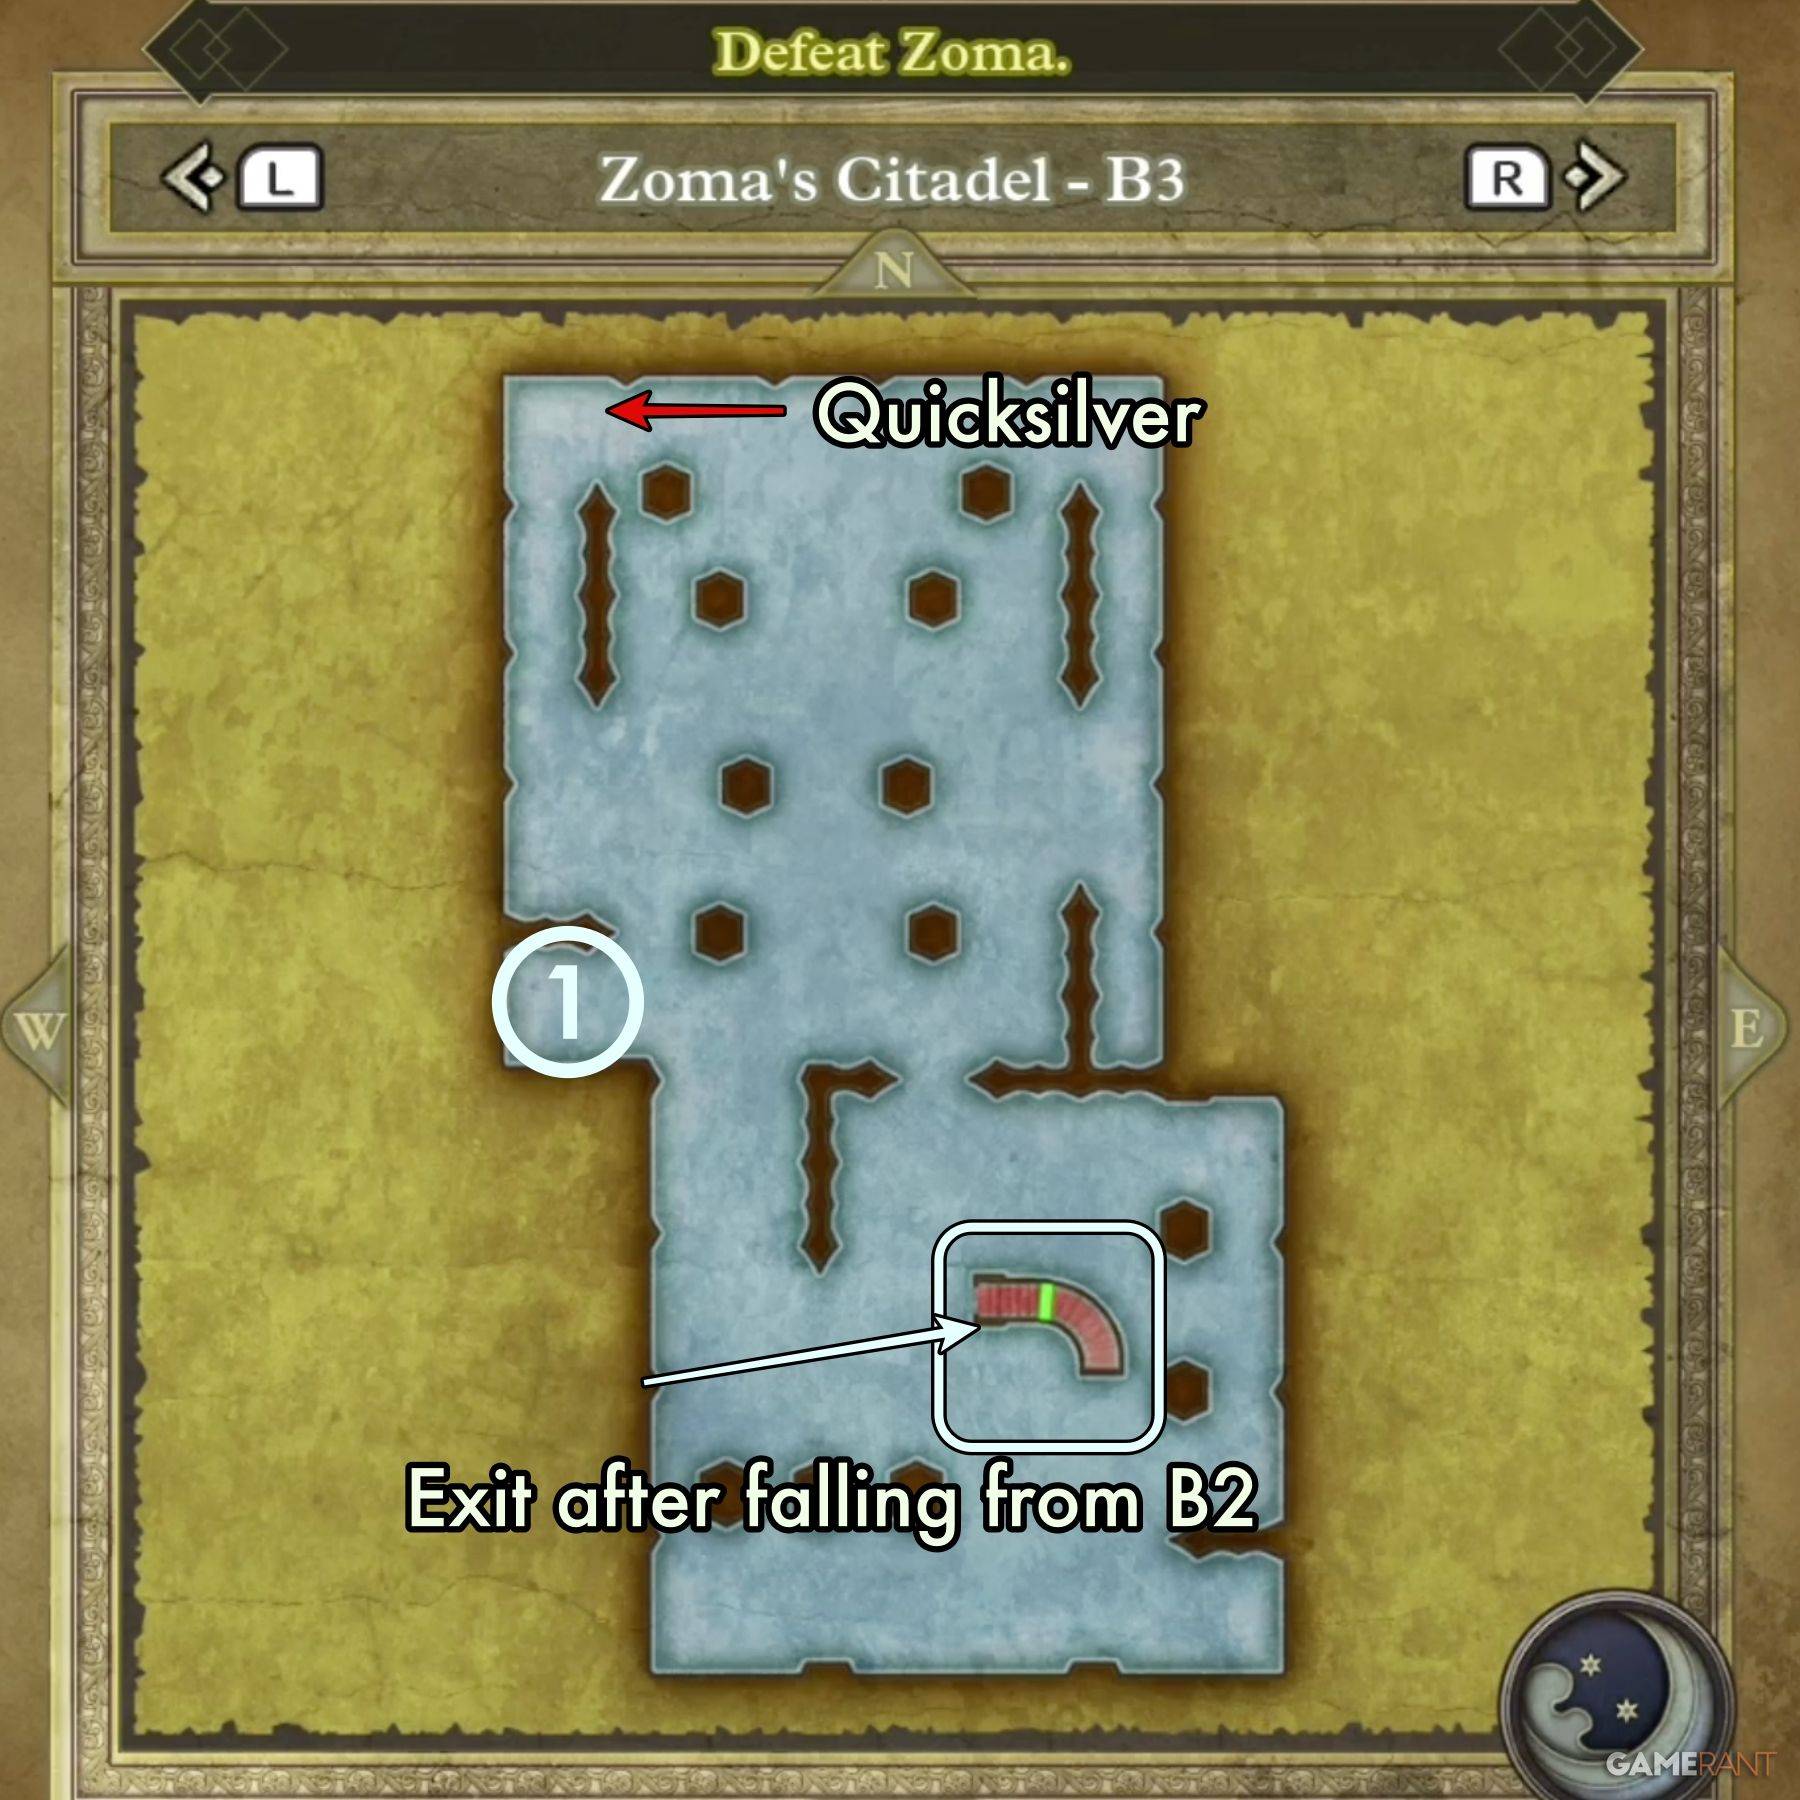
B3: Follow the outer path, but consider a detour to encounter Sky, a friendly Soaring Scourger. A separate isolated chamber (accessible via falling through holes on B2) contains another friendly monster, a Liquid Metal Slime.
- Treasure (Main Chamber): Dragon Dojo Duds, Double-Edged Sword
- Treasure (Isolated Chamber): Bastard Sword
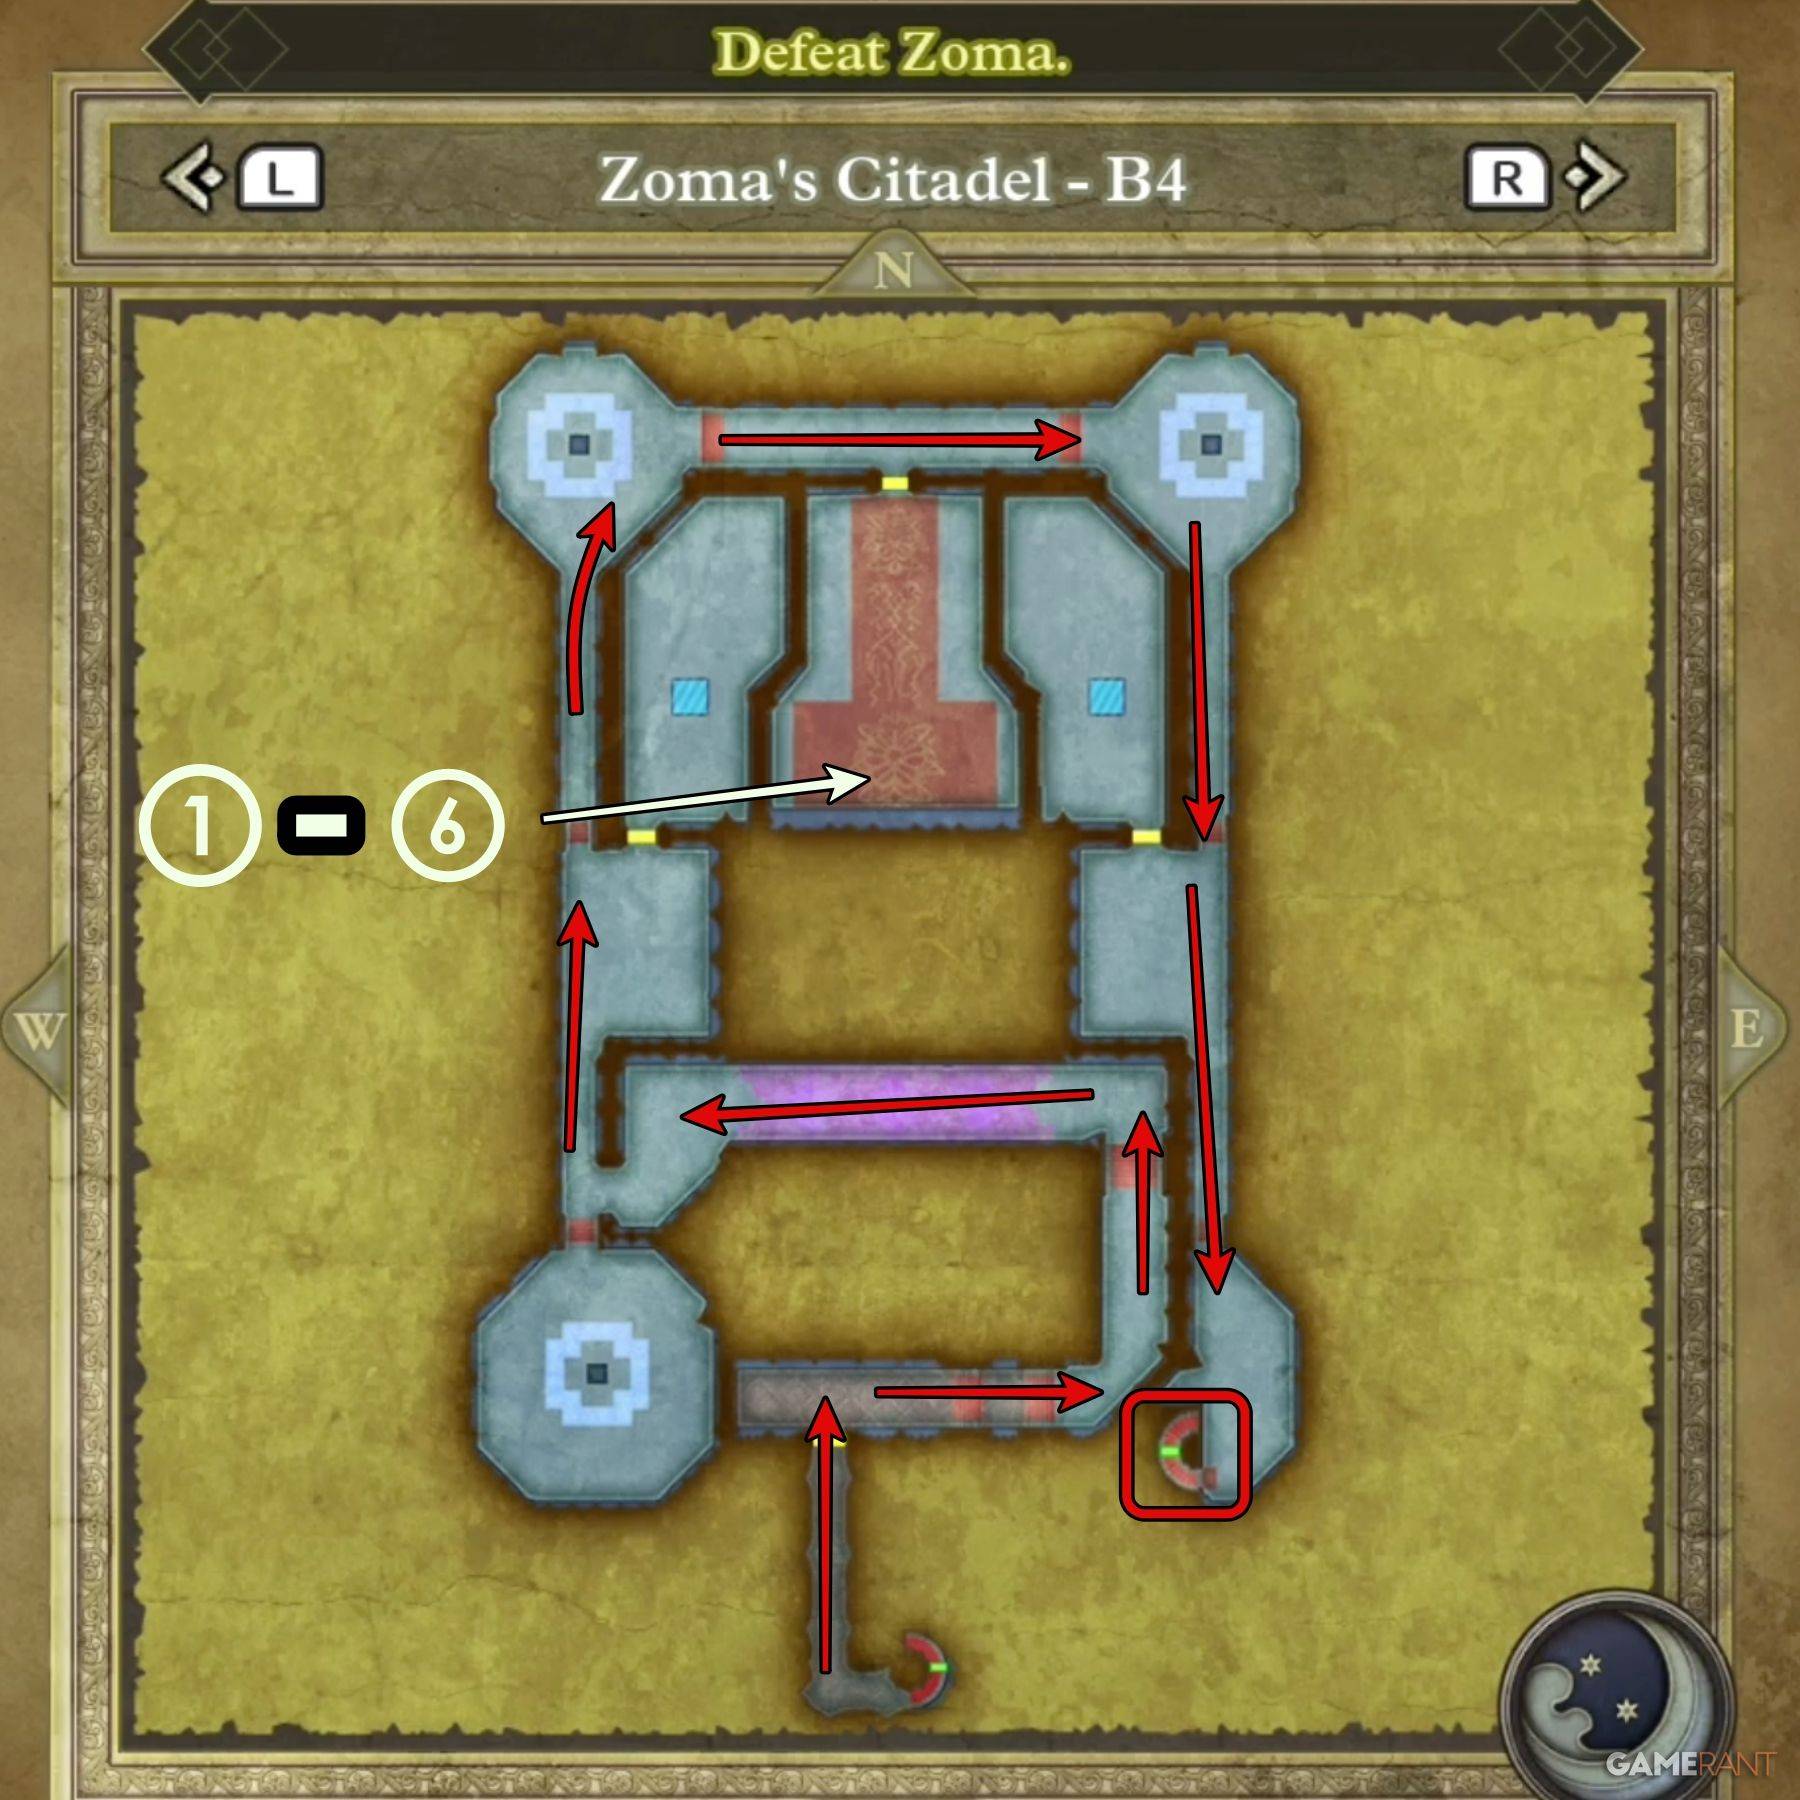
B4: Navigate the chamber, starting from the center-south and moving upwards and around to reach the southeastern exit. A significant cutscene plays upon entry.
- Treasure: Shimmering Dress, Prayer Ring, Sage's Stone, Yggdrasil Leaf, Dieamend, Mini Medal
Boss Battles:
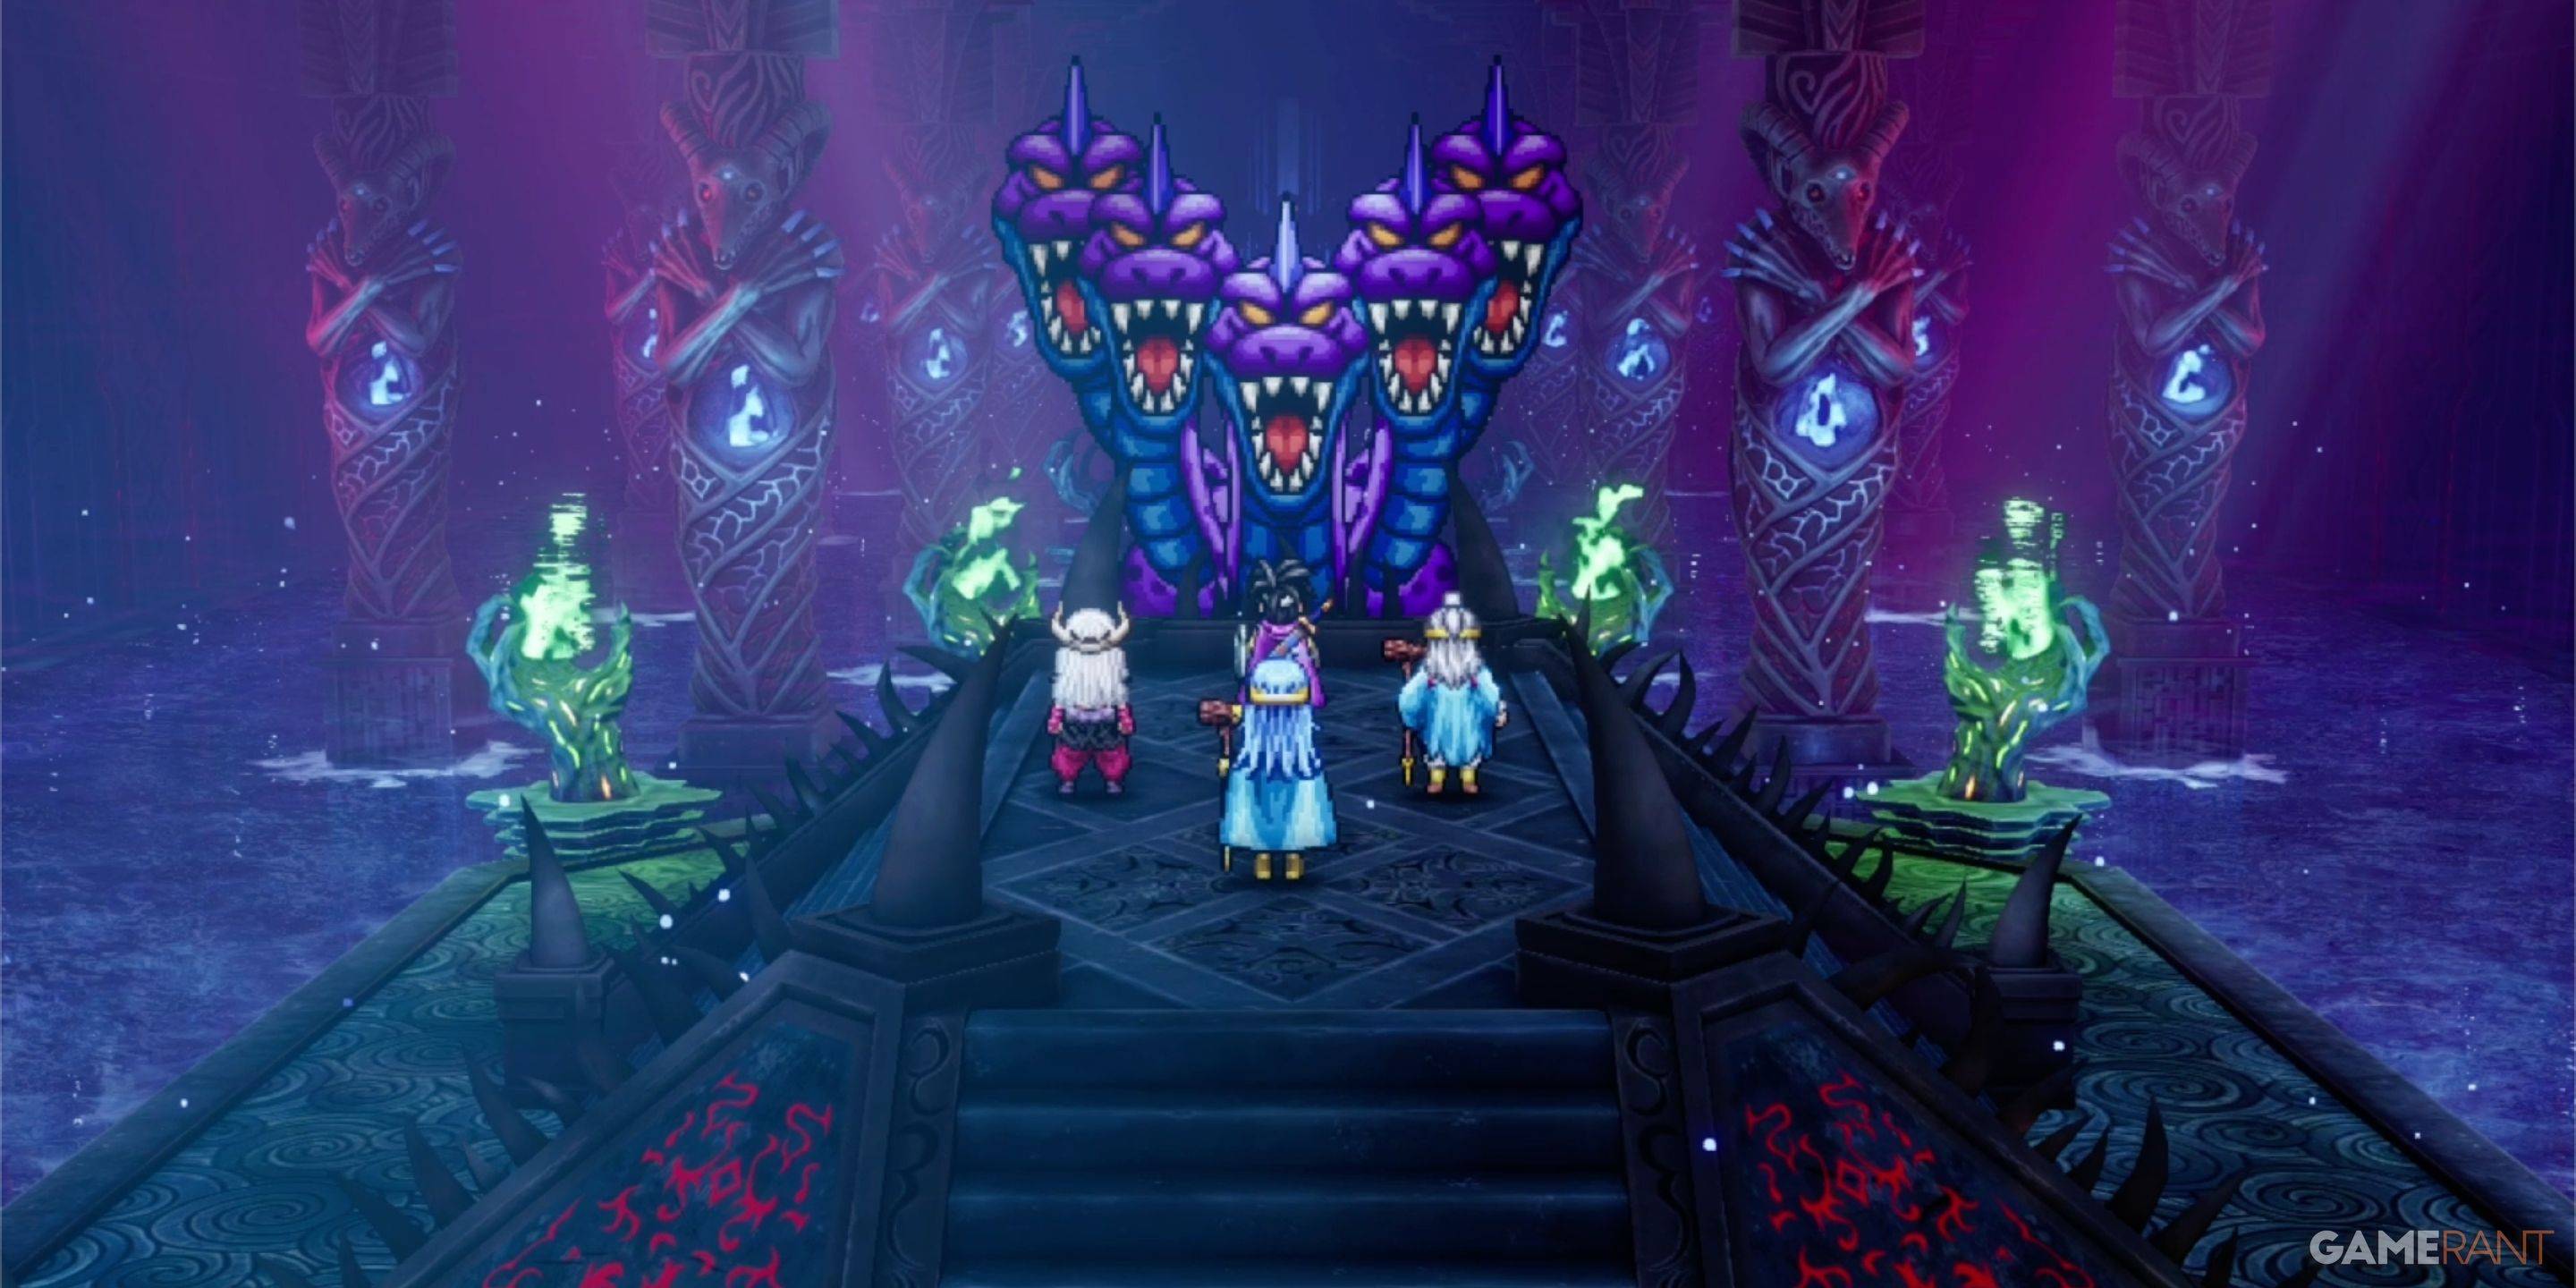
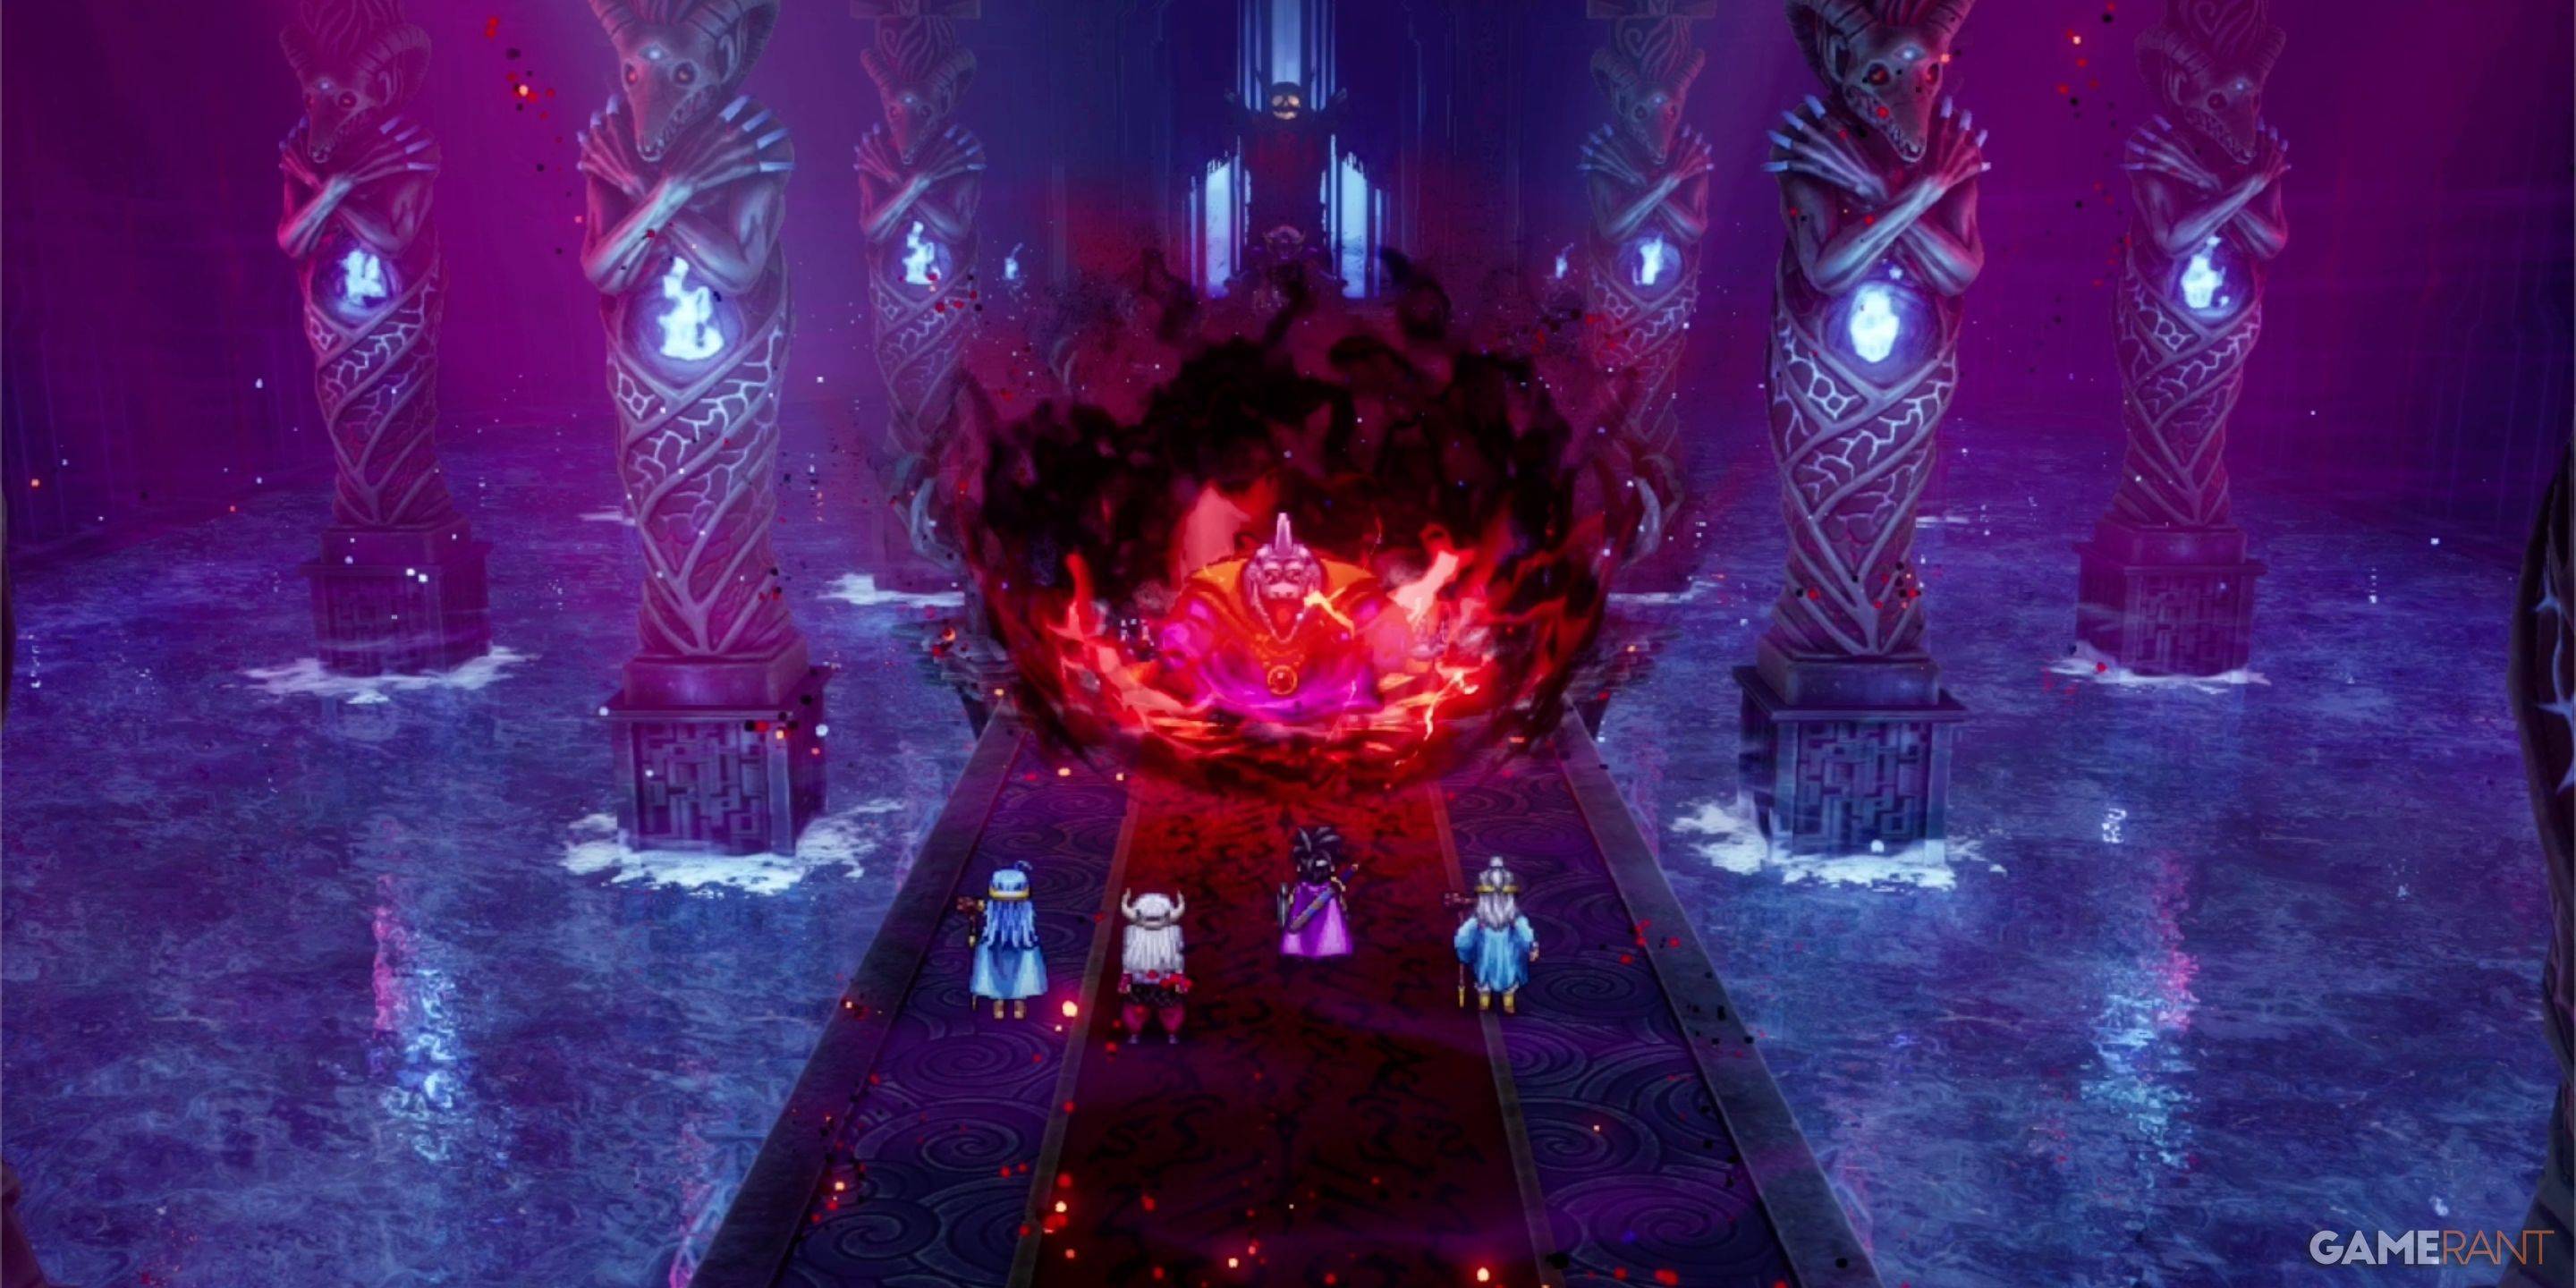
Before facing Zoma, you'll encounter a series of challenging bosses: King Hydra, Soul of Baramos, and Bones of Baramos. You can use items between each fight.
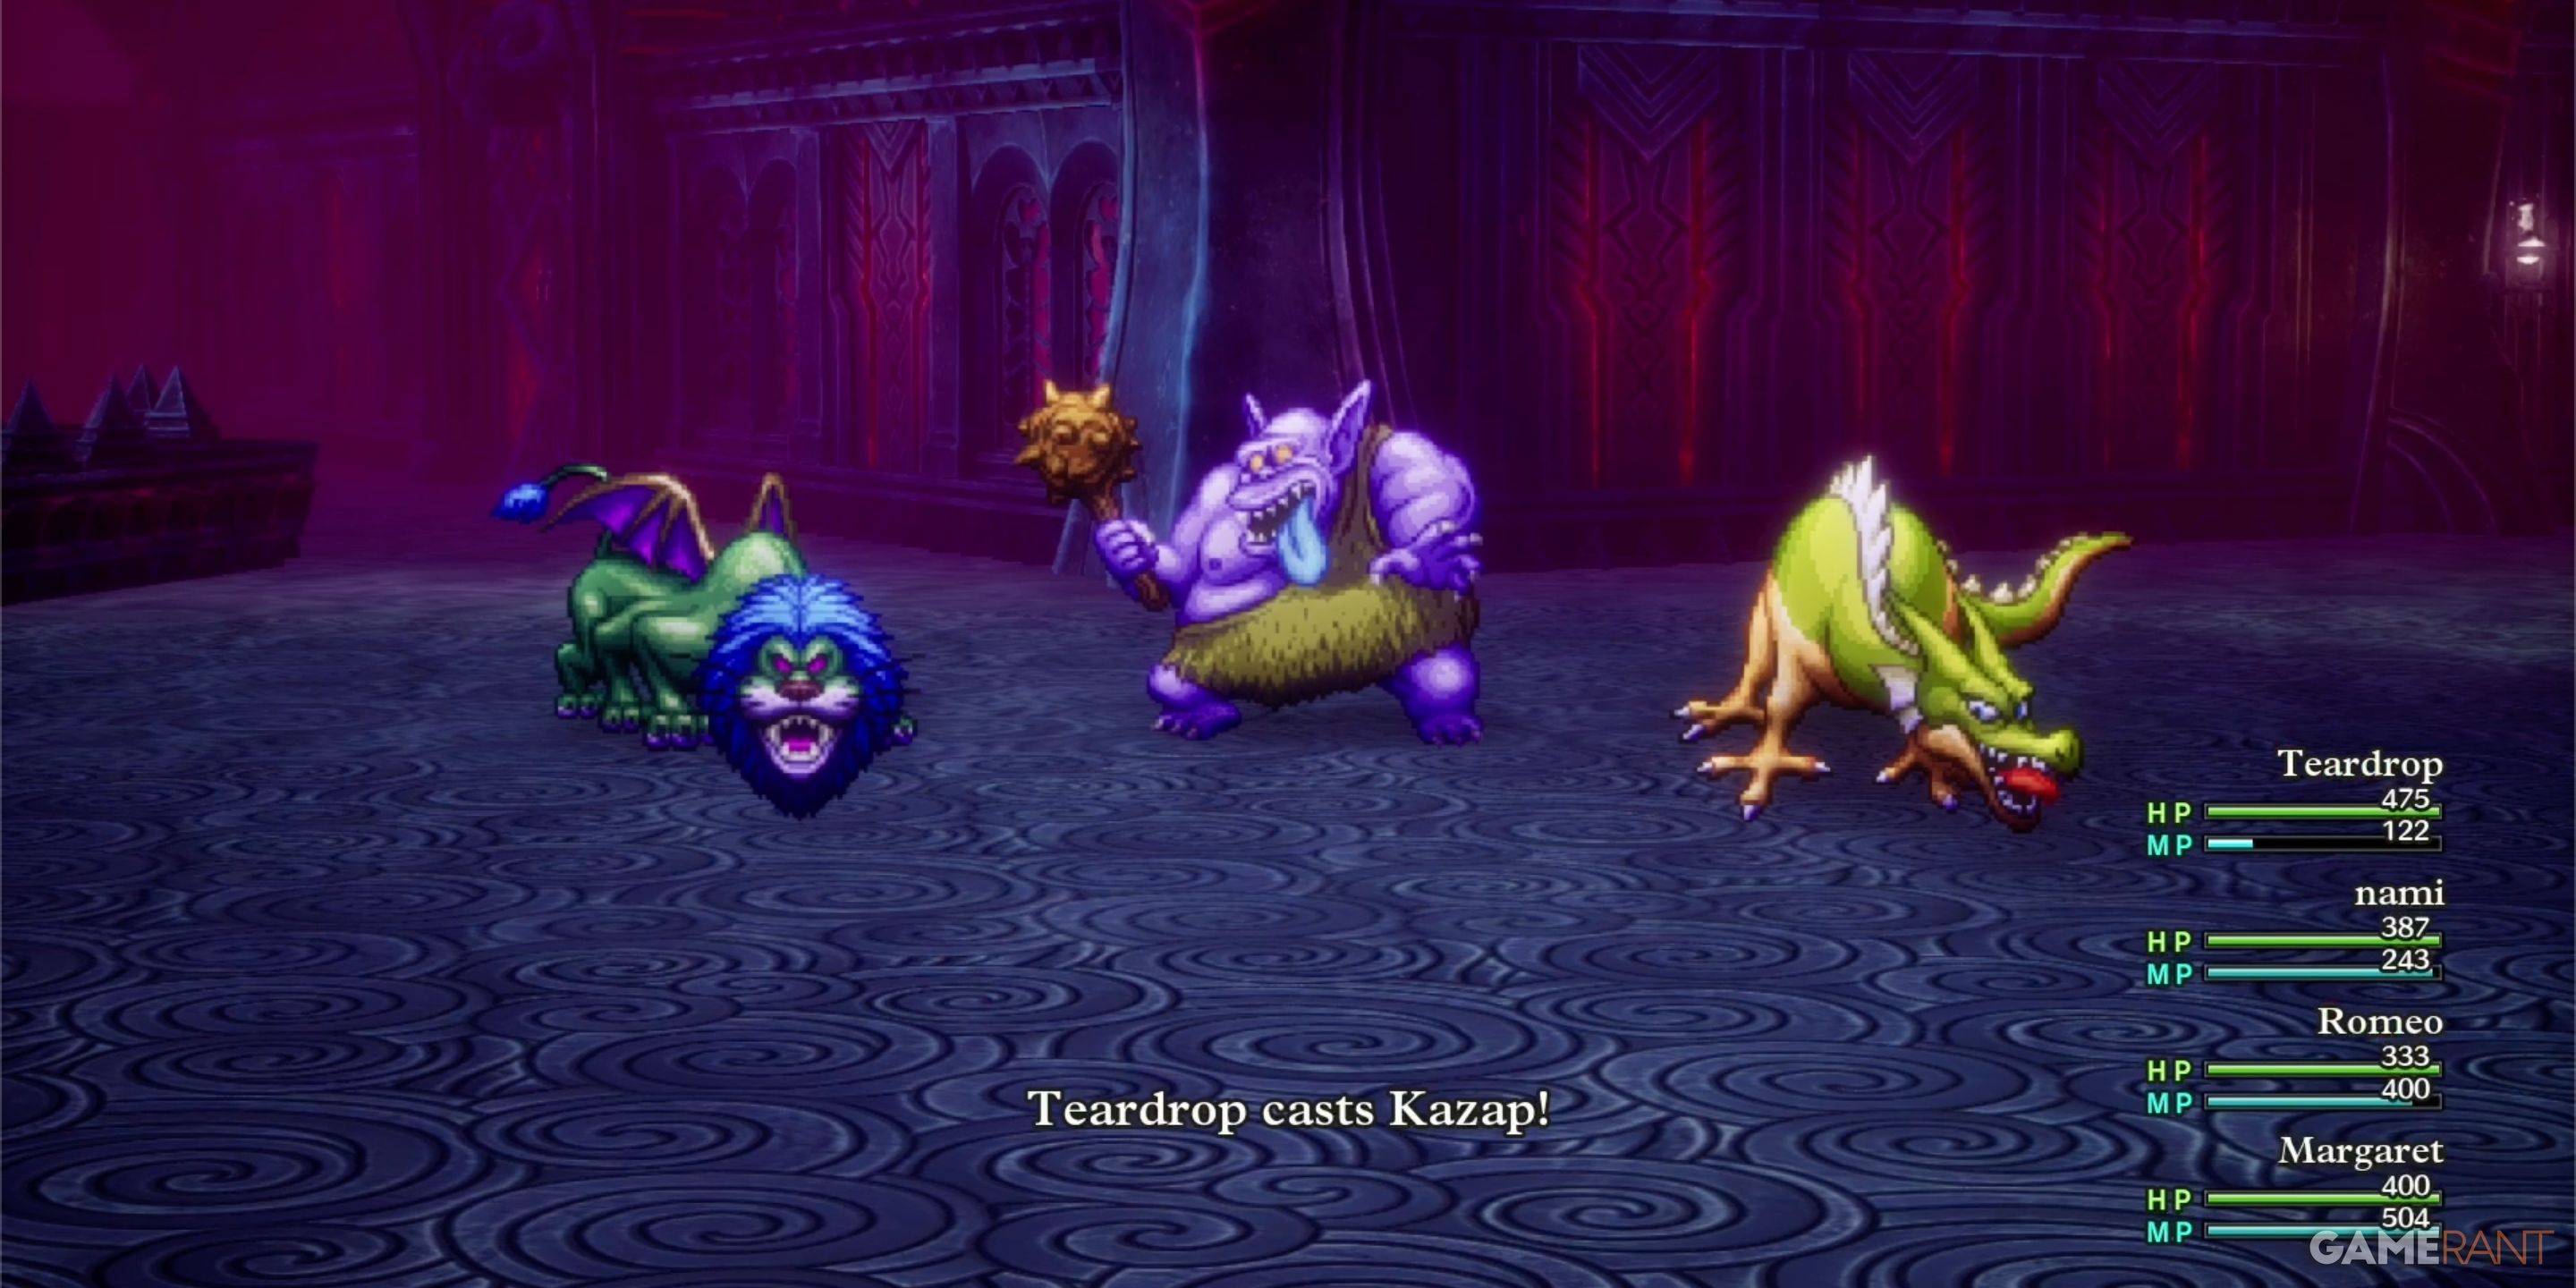
- King Hydra: Vulnerable to Kazap. Aggressive tactics are recommended due to its healing ability.
- Soul of Baramos: Weak to Zap attacks.
- Bones of Baramos: Similar weaknesses to the Soul of Baramos. Expect higher damage output.

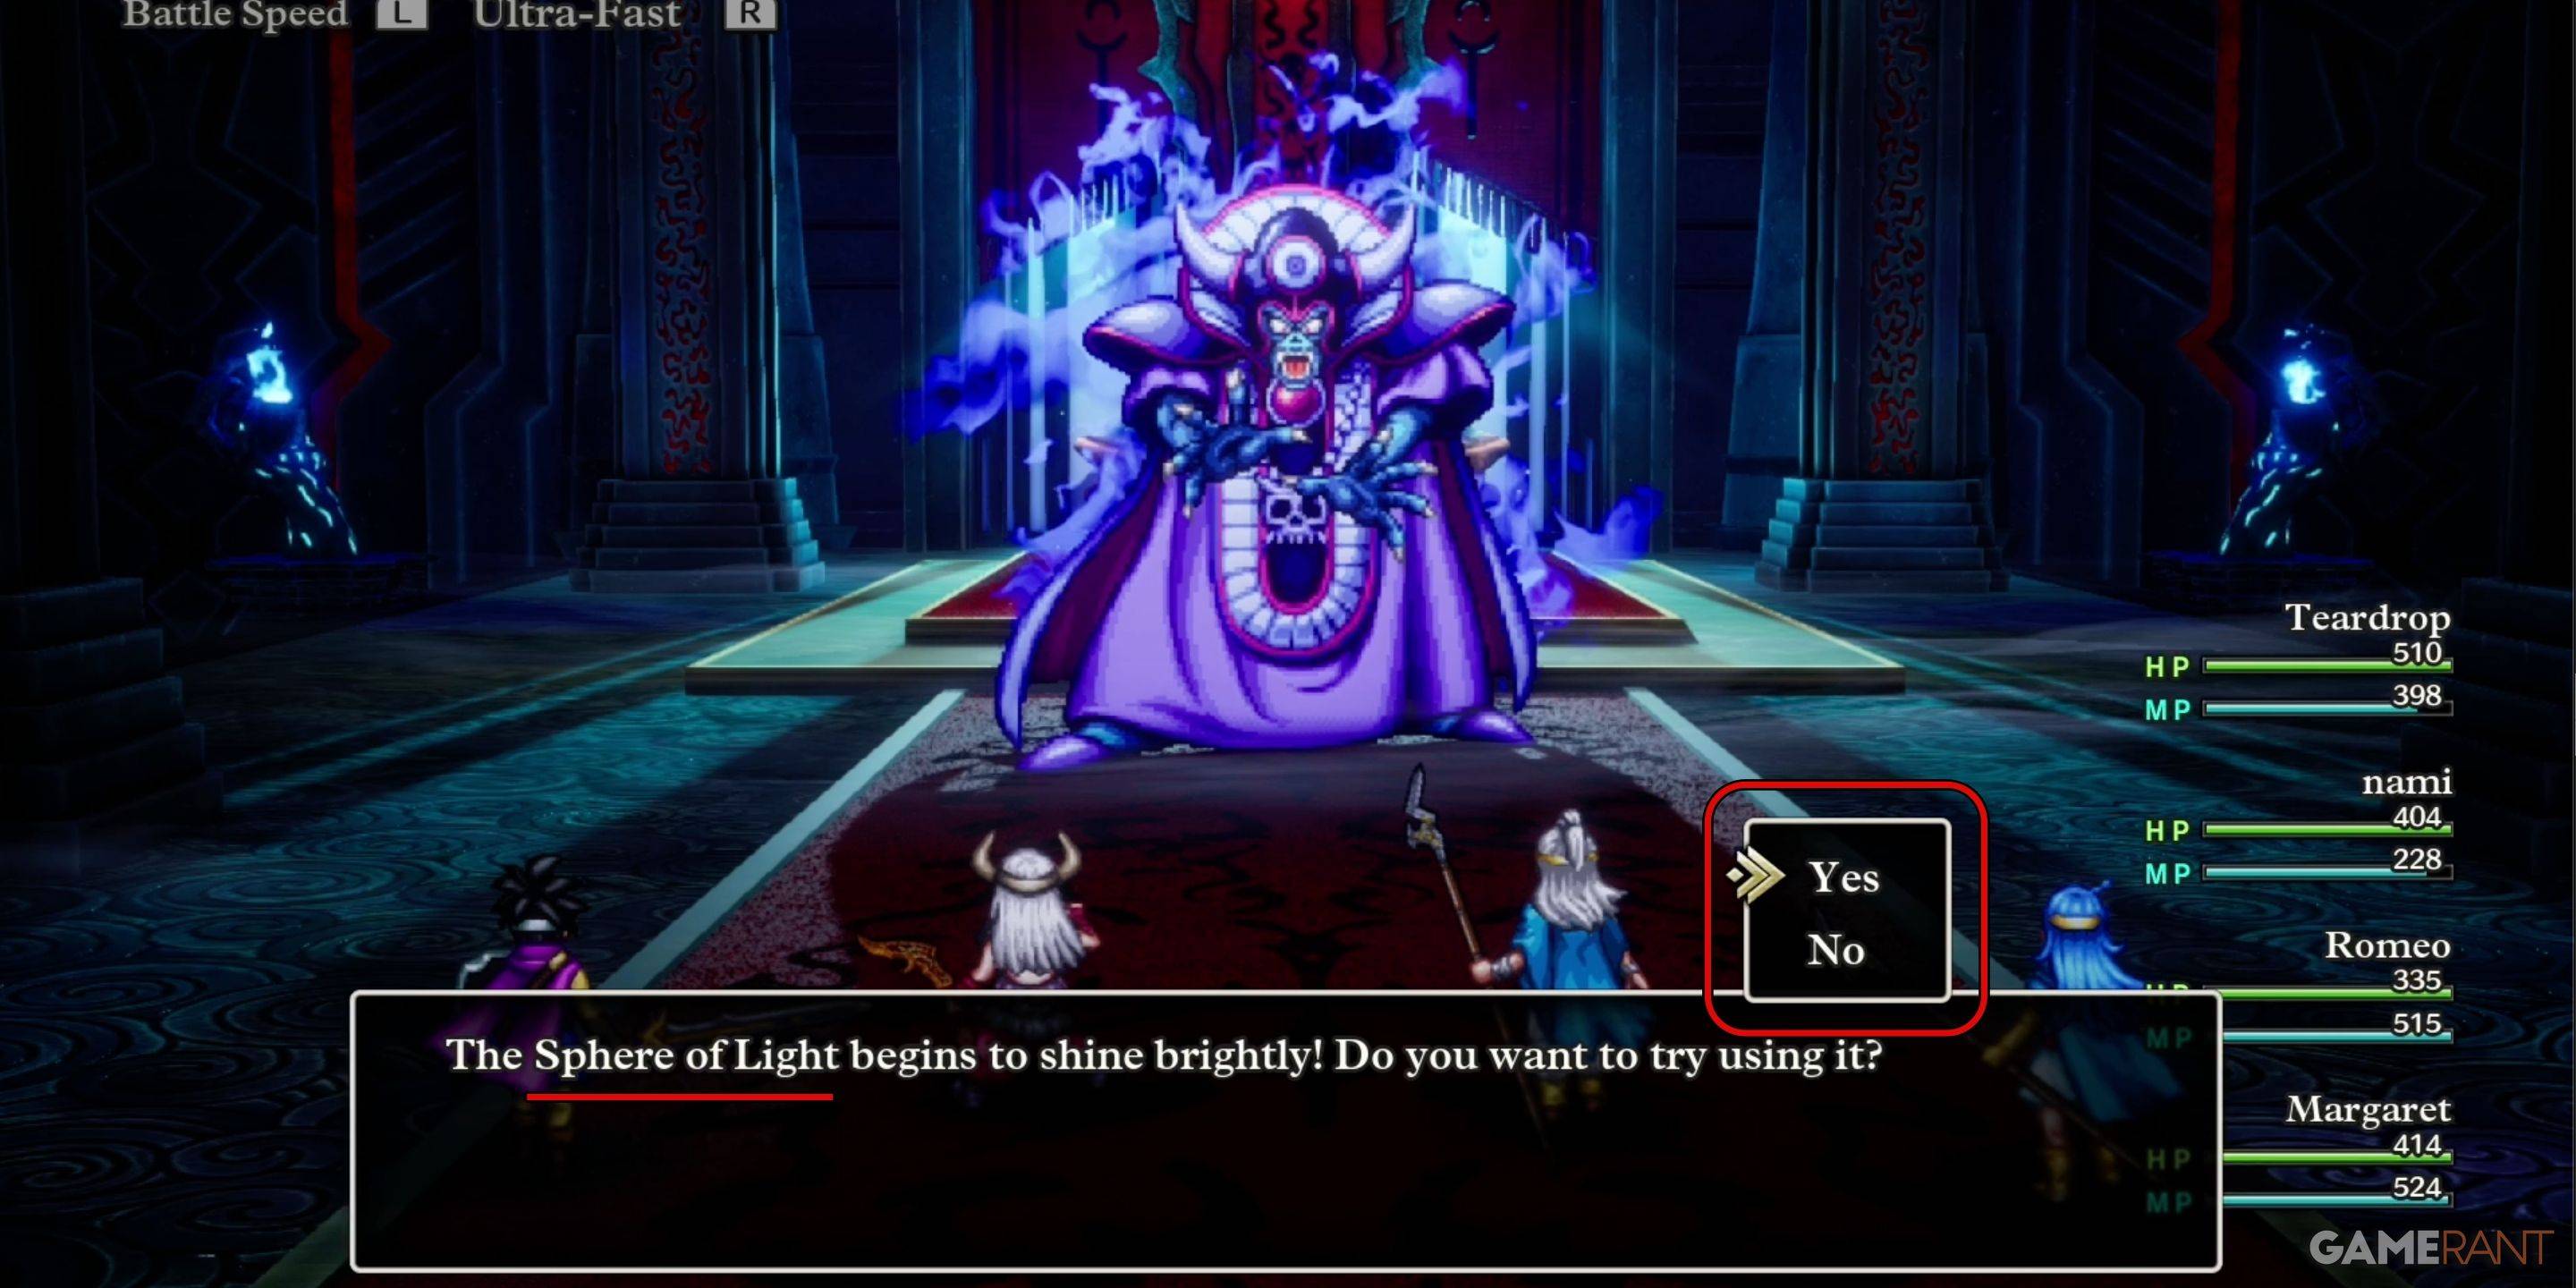
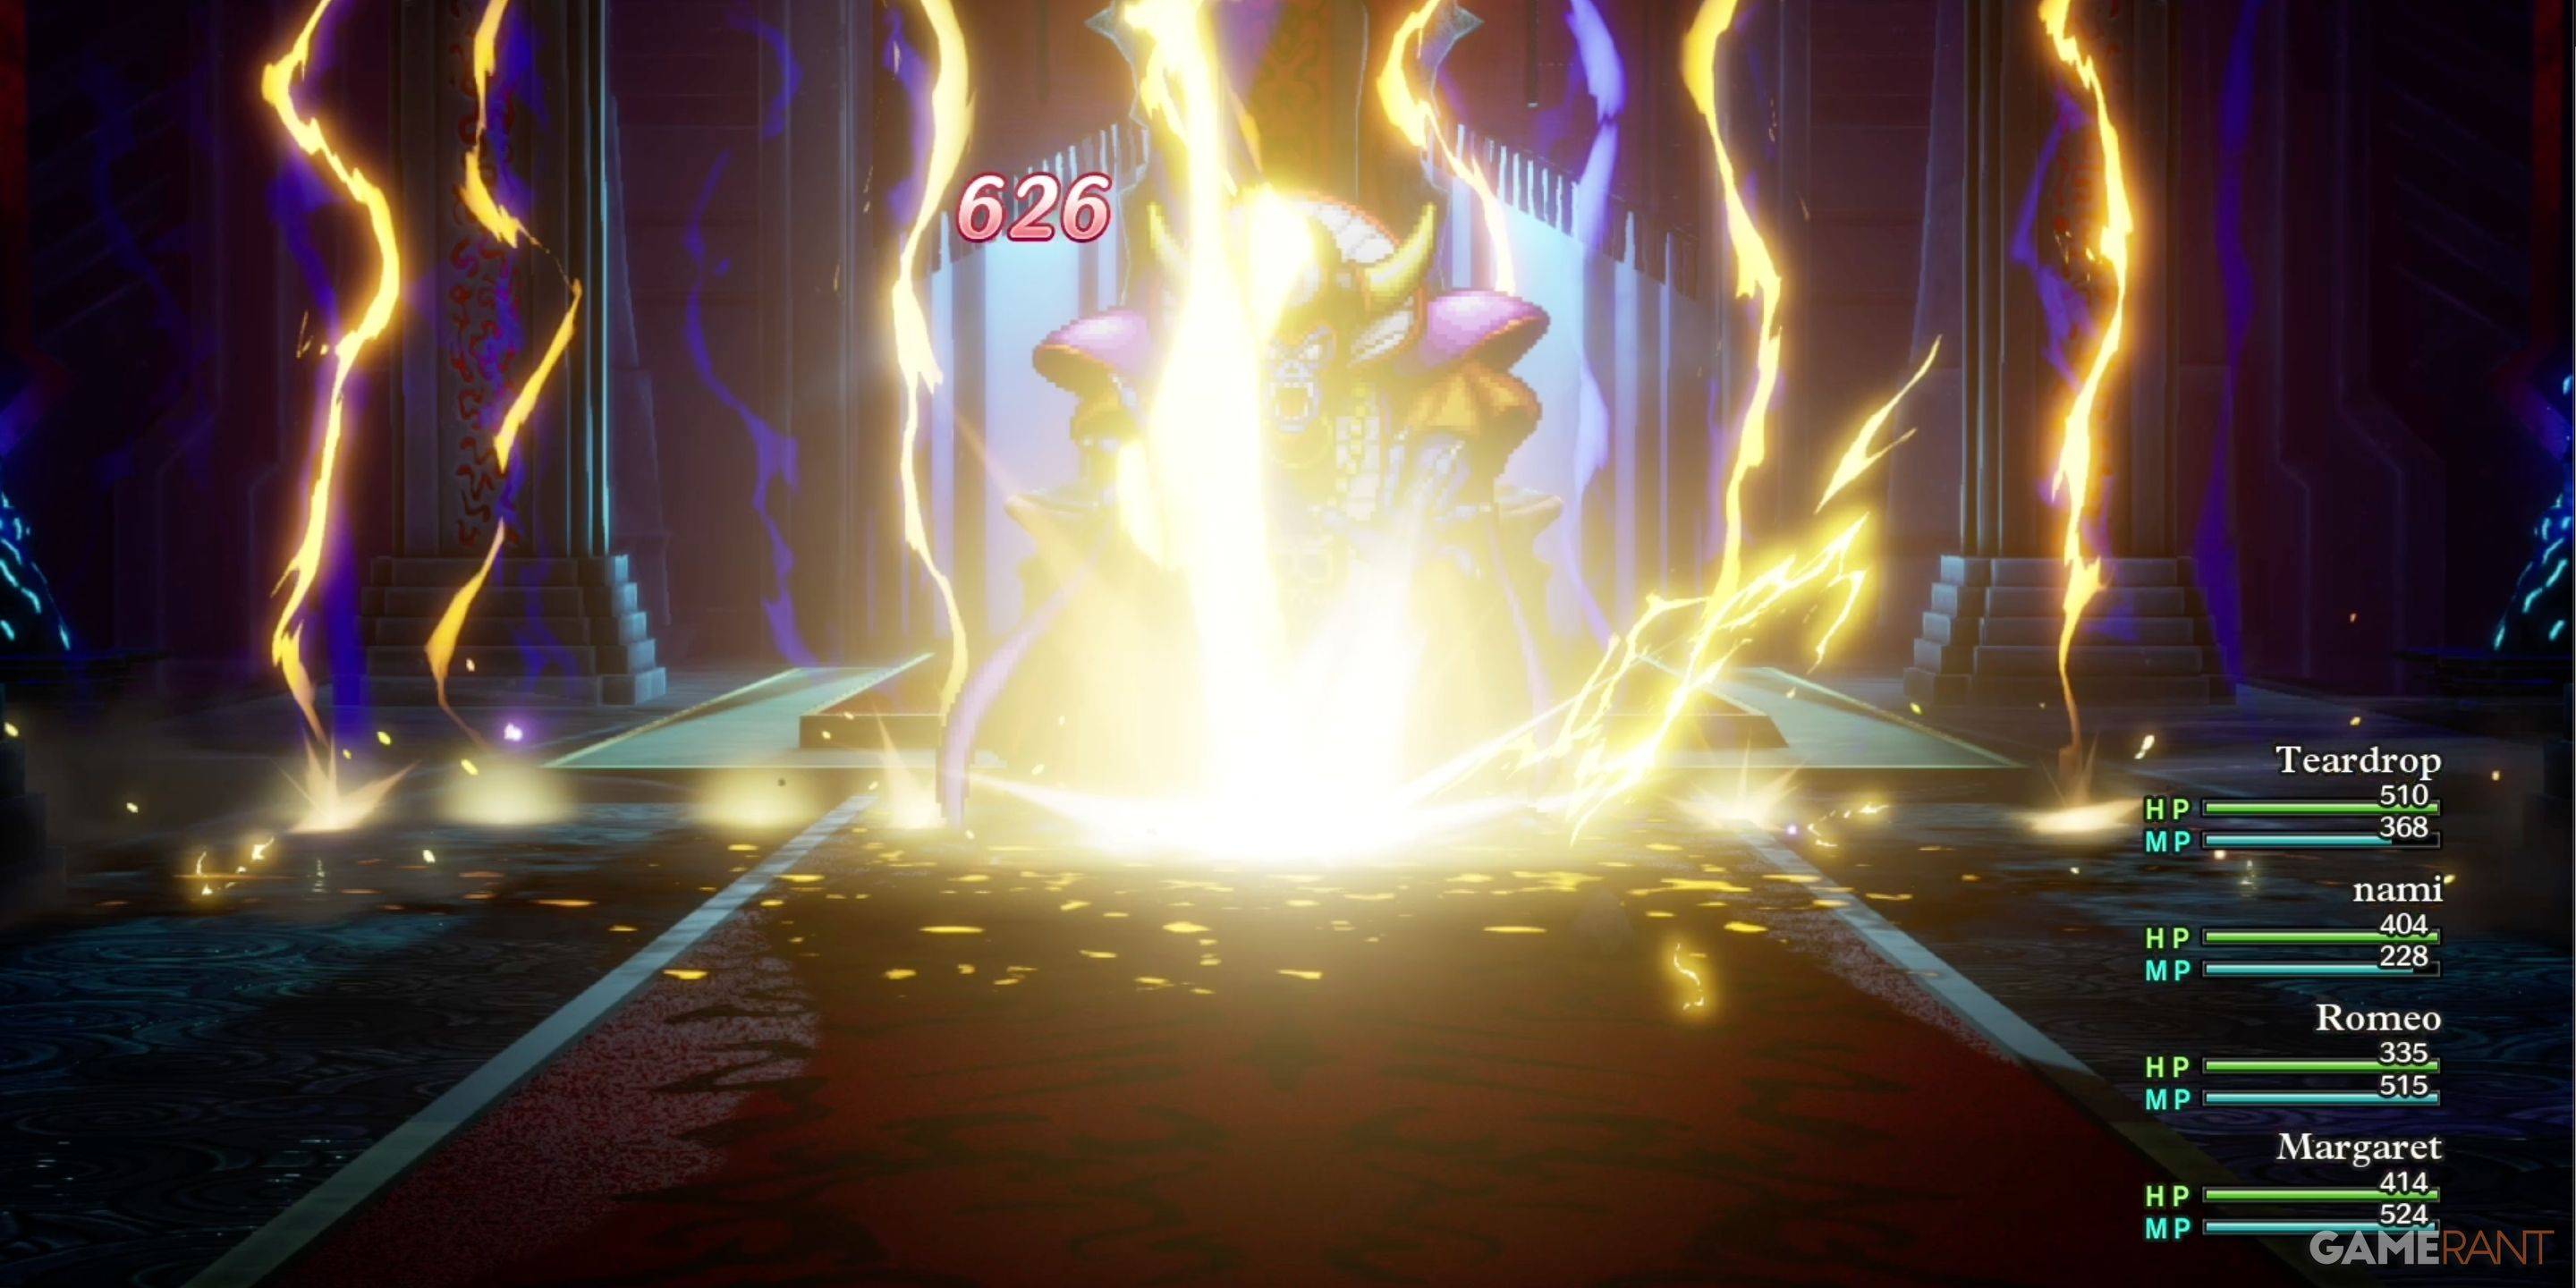
- Zoma: A strategic fight requiring patience. Initially protected by a magic barrier, remove it using the Sphere of Light prompt. Exploit its weakness to Zap attacks once the barrier is down. Prioritize HP and revive fallen party members.
Monster Compendium:
This table lists the monsters found in Zoma's Citadel and their weaknesses:
| Monster Name | Weakness |
|---|---|
| Dragon Zombie | None |
| Franticore | None |
| Great Troll | Zap |
| Green Dragon | None |
| Hocus-Poker | None |
| Hydra | None |
| Infernal Serpent | None |
| One-Man Army | Zap |
| Soaring Scourger | Zap |
| Troobloovoodoo | Zap |
This detailed walkthrough should equip you to conquer Zoma's Citadel and complete Dragon Quest 3 Remake. Remember to adapt strategies based on your party composition and equipment.
-
 Apr 15,25"The Last of Us Season 2: Release Date and Streaming Guide" As one HBO primetime show bids farewell (goodbye, The White Lotus), another eagerly steps into the spotlight. Two years following the debut of The Last of Us on Max, this critically acclaimed video game adaptation featuring Pedro Pascal and Bella Ramsey is gearing up for its much-anticipated second
 -
 Jan 20,25‘Dungeons of Dreadrock 2’ Announced, Launching on Nintendo Switch in November with Mobile and PC Versions to Follow Approximately two and a half years ago, we were captivated by the delightful dungeon crawler, Dungeons of Dreadrock, developed by Christoph Minnameier. This top-down perspective game, reminiscent of classics like Dungeon Master and Eye of the Beholder, offered a unique puzzle-solving experience acr
 -
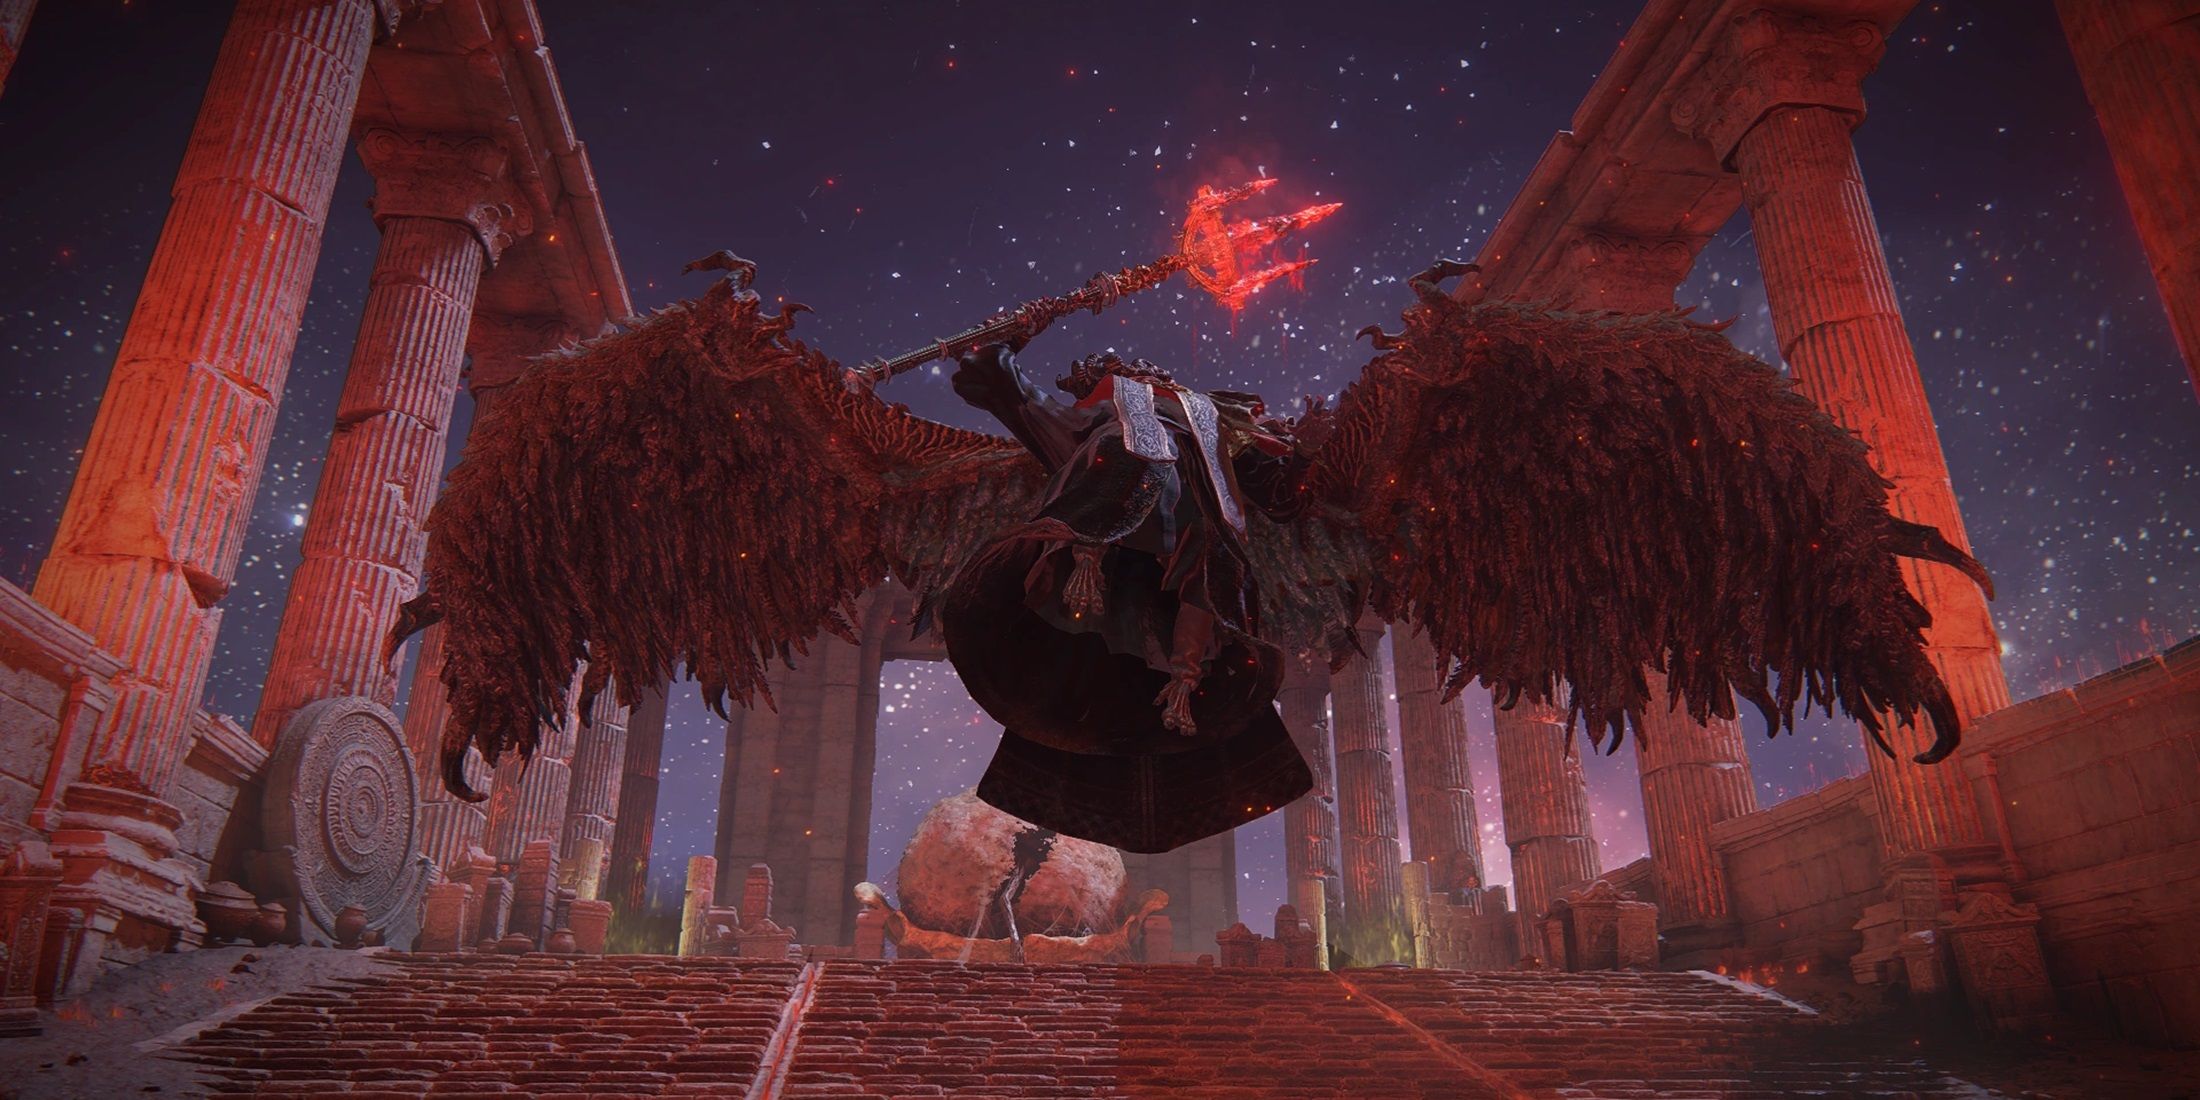 Dec 10,24Cosplay Marvel Emerges: Elden Ring's Mohg Impresses A stunning Mohg cosplay, strikingly similar to the Elden Ring boss, has been shared online, captivating the gaming community. Mohg, Lord of Blood, a Demigod boss crucial to accessing the recent Shadow of the Erdtree DLC, has enjoyed renewed prominence. Elden Ring, a FromSoftware triumph released in
 -
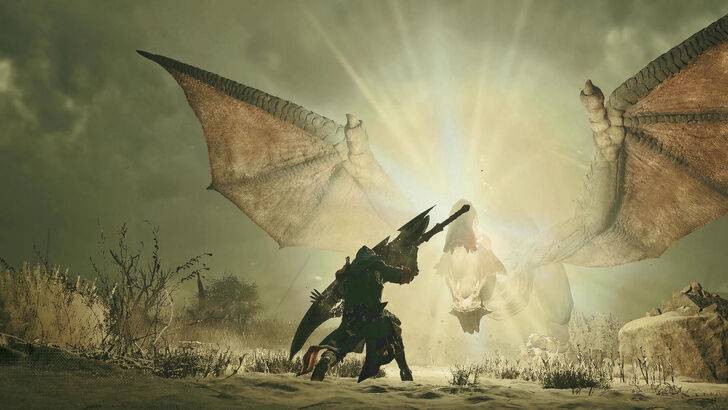 Jan 30,25Hunters Rejoice! Monster Hunter Wilds Showcases New Content In February Open Beta Monster Hunter Wilds: February Open Beta Extends Hunting Opportunities Get ready for another chance to dive into the world of Monster Hunter Wilds! A second Open Beta Test is scheduled for the first two weeks of February, offering both newcomers and returning players a taste of the action before th