


Unlock All AMR Mod 4 Camos & Attachments in Black Ops 6 & Warzone
Quick Links
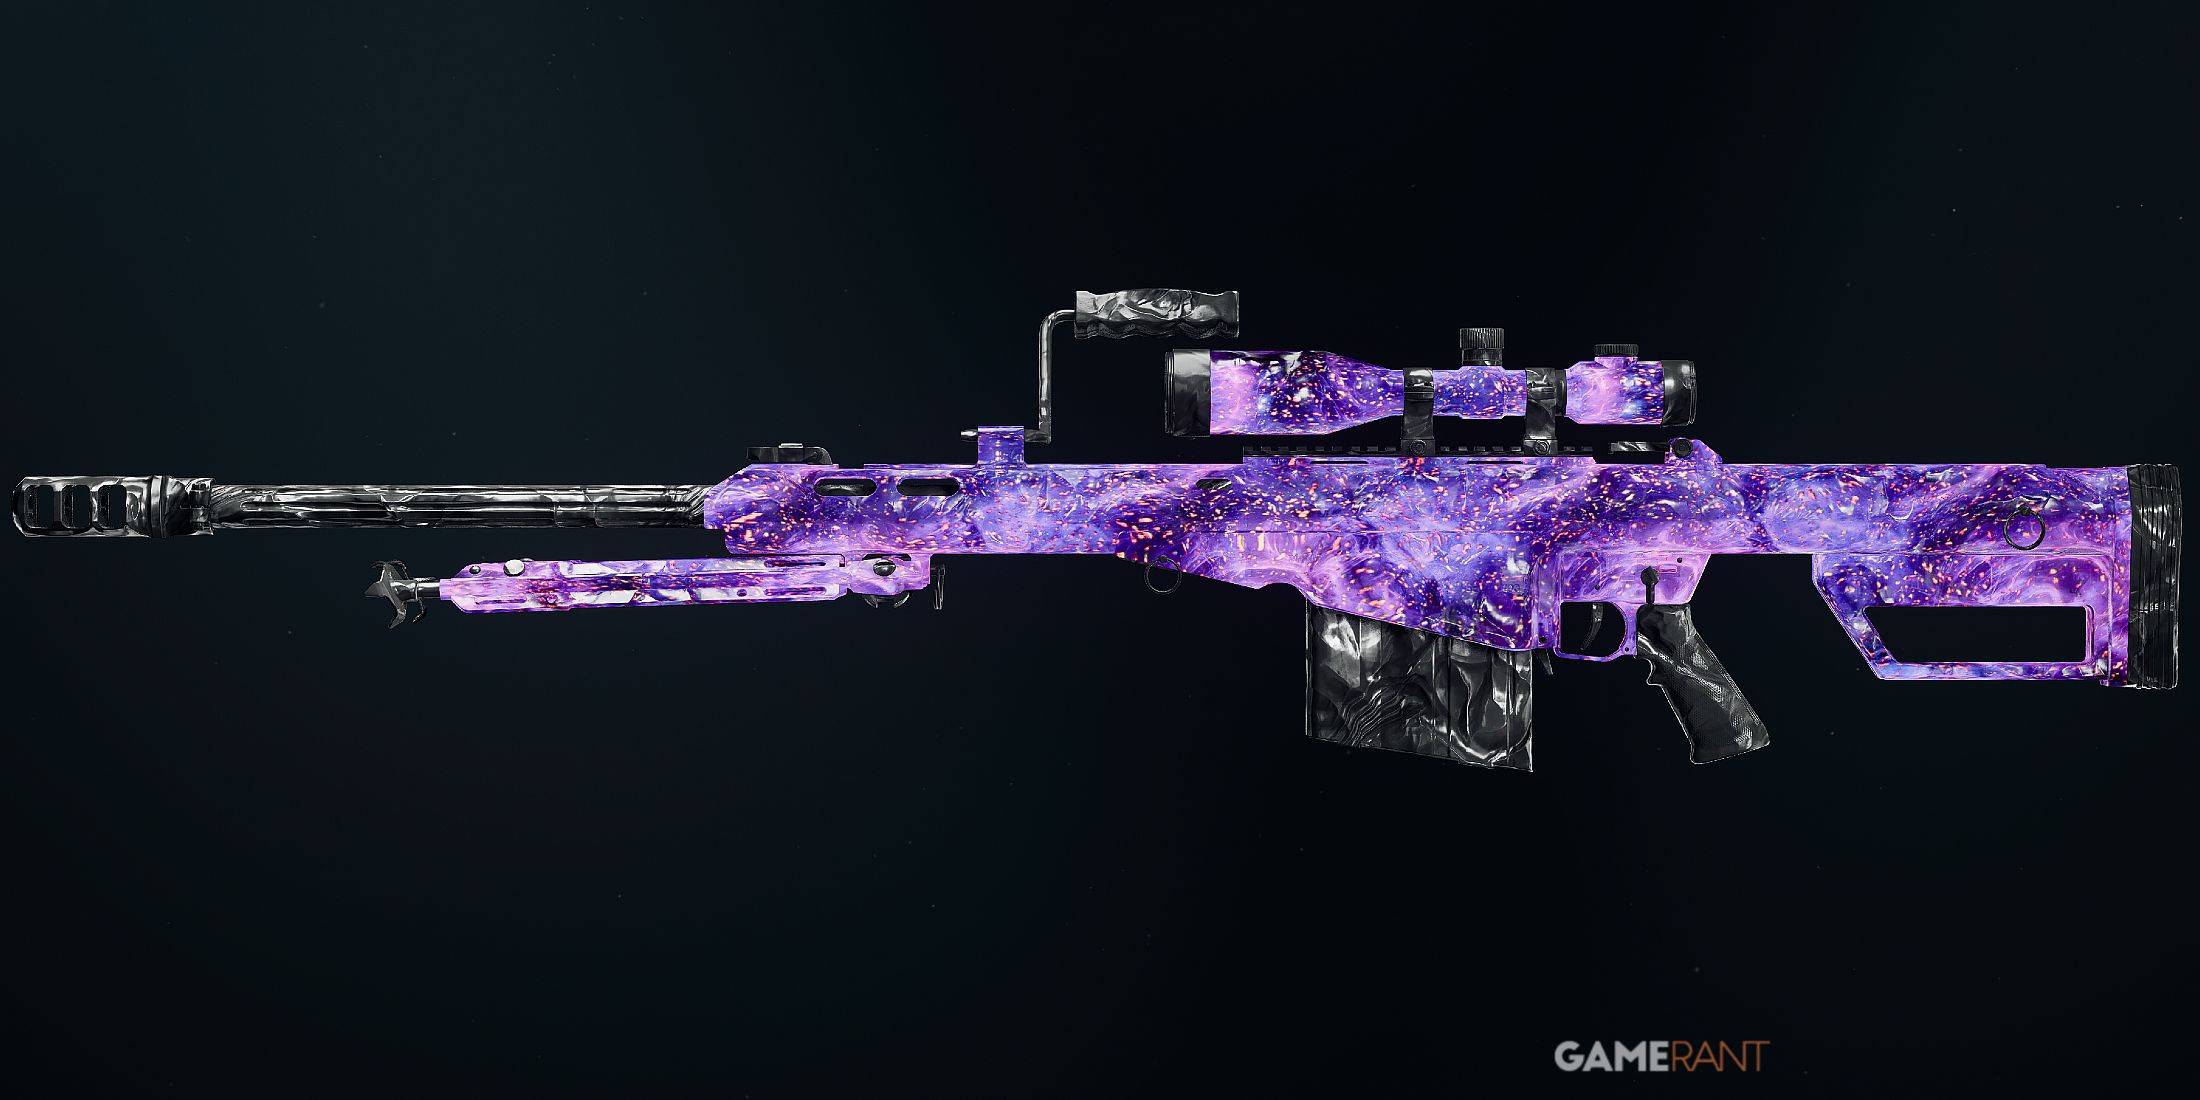
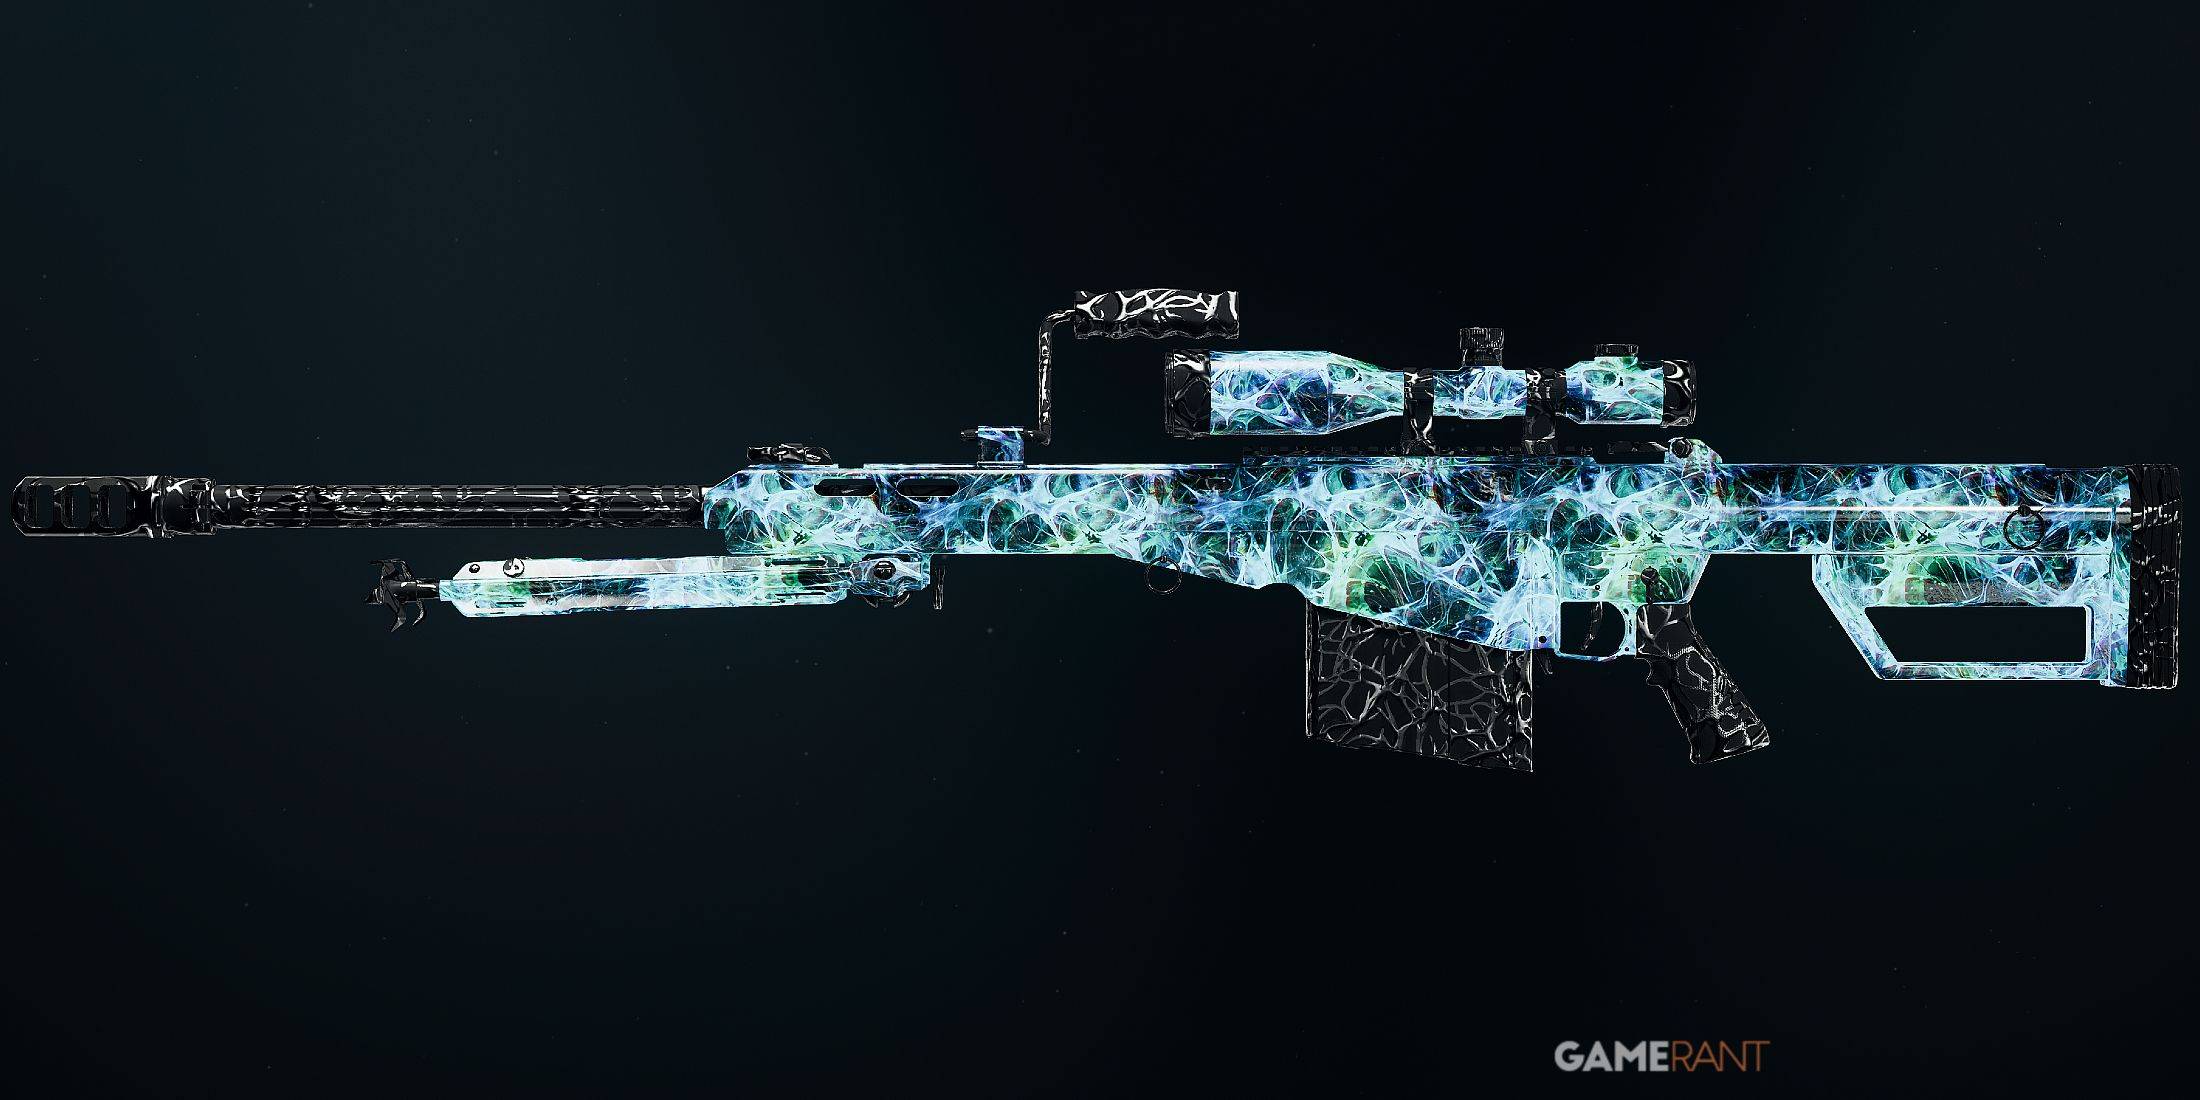
Dive into the action-packed world of Call of Duty: Black Ops 6 and Warzone, where thrilling gameplay meets a vast array of unlockable content. Whether you're battling it out in 6v6 Multiplayer or strategizing in Warzone Resurgence, these games offer endless excitement and challenges. A standout feature for Season 1 is the introduction of the AMR Mod 4 Sniper Rifle, which comes with a variety of Camos and attachments to customize and enhance your gameplay. Here's your comprehensive guide on unlocking all the AMR Mod 4 Camos and attachments in Black Ops 6 and Warzone.
All AMR Mod 4 Camos
Multiplayer Camos
| Camo Type | Cleaver Camo | How To Unlock |
|---|---|---|
| Military Camos | ||
| Granite |  | Get 5 headshot kills with the AMR Mod 4 |
| Woodland |  | Get 10 headshot kills with the AMR Mod 4 |
| Savanna |  | Get 15 headshot kills with the AMR Mod 4 |
| Splinter | 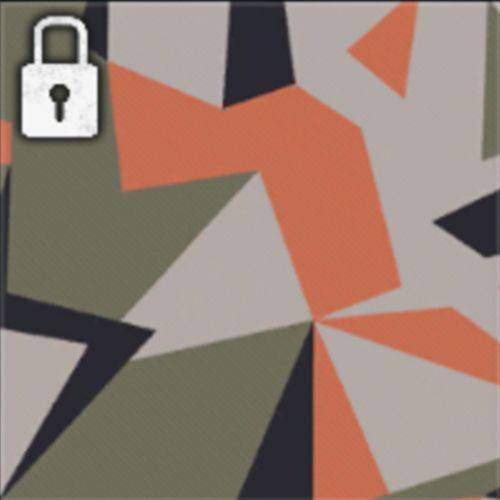 | Get 20 headshot kills with the AMR Mod 4 |
| Moss | 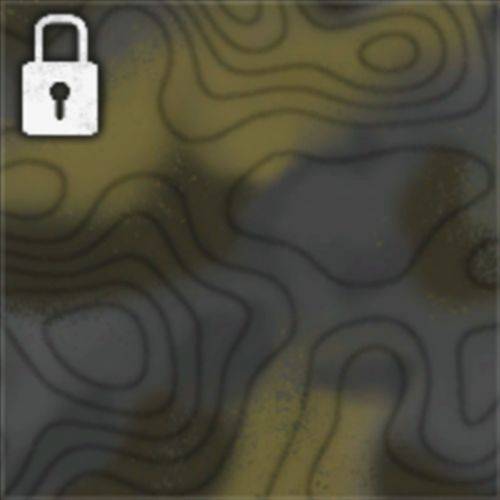 | Get 30 headshot kills with the AMR Mod 4 |
| Saboteur | 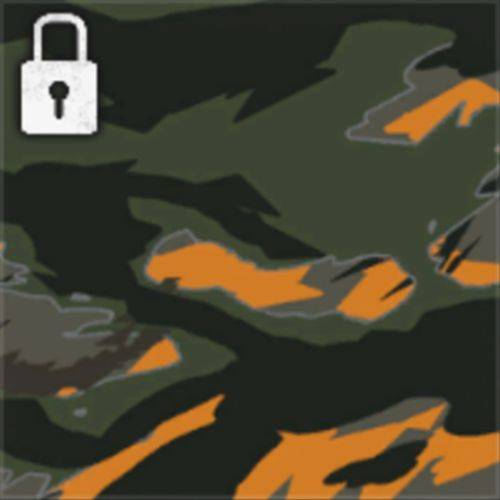 | Get 40 headshot kills with the AMR Mod 4 |
| Digital | 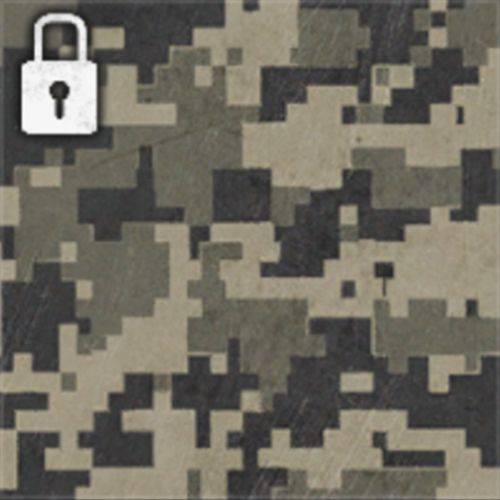 | Get 50 headshot kills with the AMR Mod 4 |
| Tide |  | Get 75 headshot kills with the AMR Mod 4 |
| Red Tiger |  | Get 100 headshot kills with the AMR Mod 4 |
| Special Camos | ||
| Shadow Thorn |  | Unlock all Military Camos for the AMR Mod 4 in Multiplayer Get 30 one-shot kills with the AMR Mod 4 |
| Tidal Harmony |  | Unlock all Military Camos for the AMR Mod 4 in Multiplayer Get 2 kills without reloading 10 times with the AMR Mod 4 |
| Mastery Camos | ||
| Gold |  | Unlock all Multiplayer Special Camos for the AMR Mod 4 Get 10 double kills with the AMR Mod 4 |
| Diamond |  | Unlock Gold for the AMR Mod 4 Unlock Gold on 3 other Sniper Rifles Get 3 kills without dying 10 times with the AMR Mod 4 |
| Dark Spine |  | Unlock Diamond for the AMR Mod 4 Unlock Diamond on 33 other weapons Get 3 triple kills with the AMR Mod 4 |
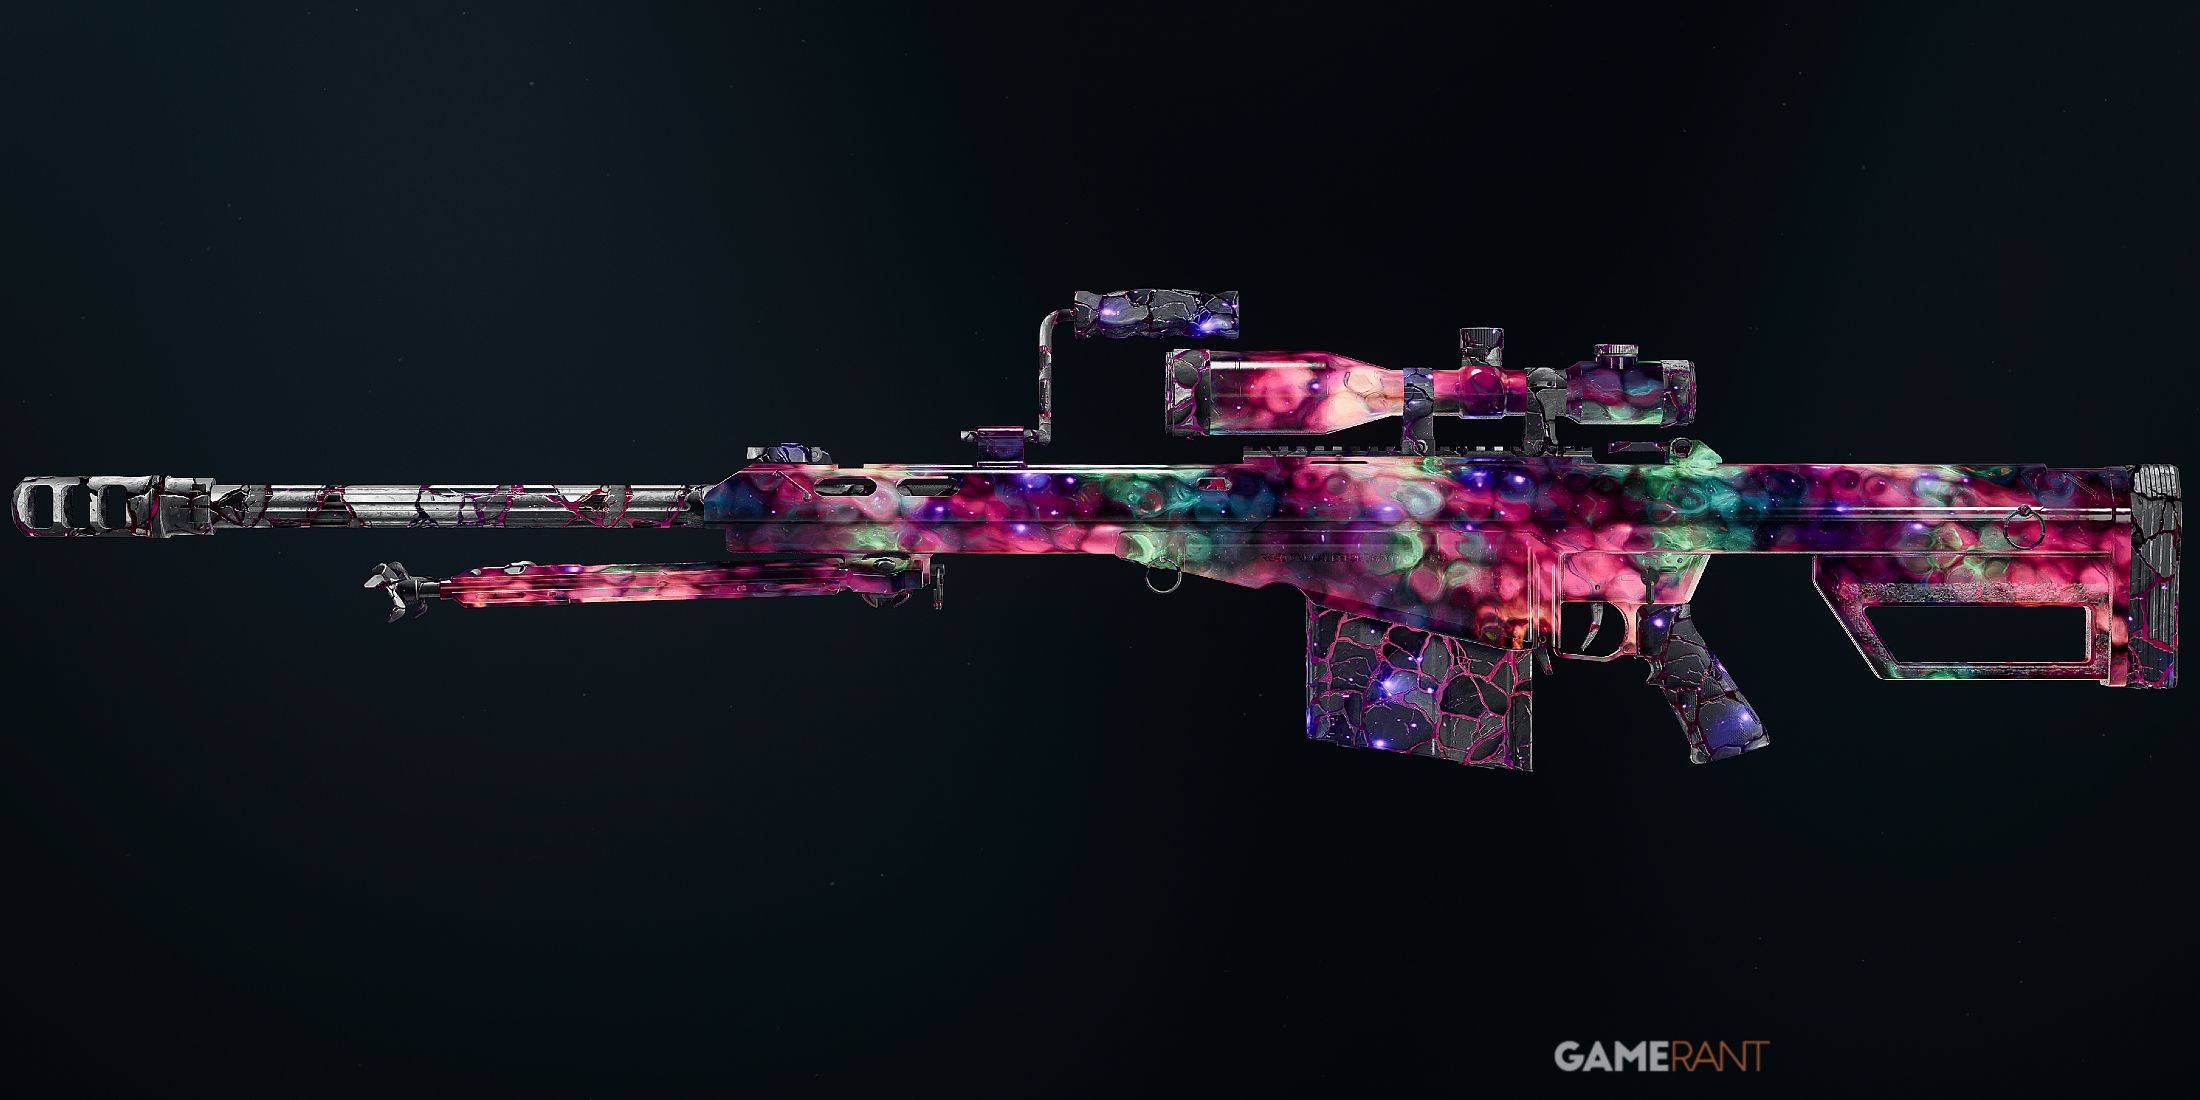
| Dark Matter |  | Unlock Dark Spine for the AMR Mod 4 Unlock Dark Spine on 33 other weapons Get 5 kills without dying 3 times with the AMR Mod 4 |
Zombies Camos
| Camo Type | Cleaver Camo | How To Unlock |
|---|---|---|
| Military Camos | ||
| Slate |  | Get 100 critical kills with the AMR Mod 4 |
| Desert | 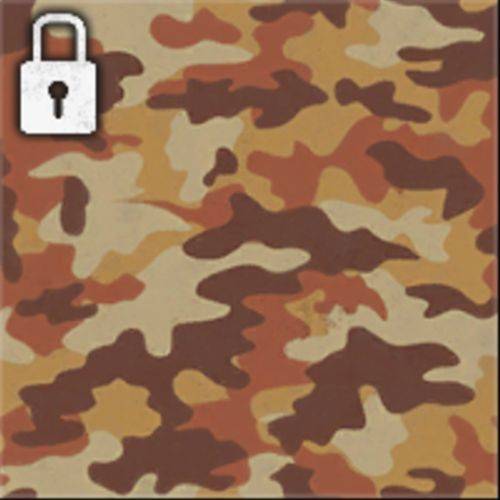 | Get 200 critical kills with the AMR Mod 4 |
| Evergreen | 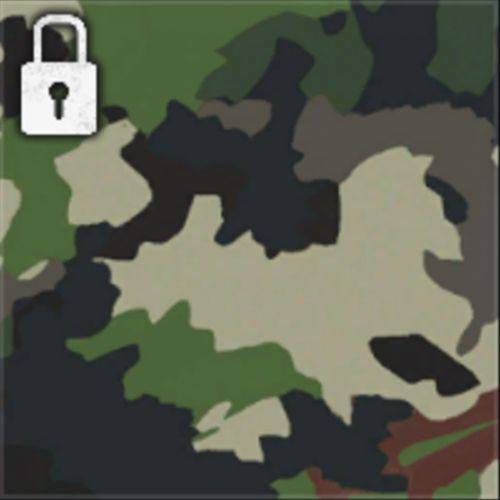 | Get 300 critical kills with the AMR Mod 4 |
| Rugged | 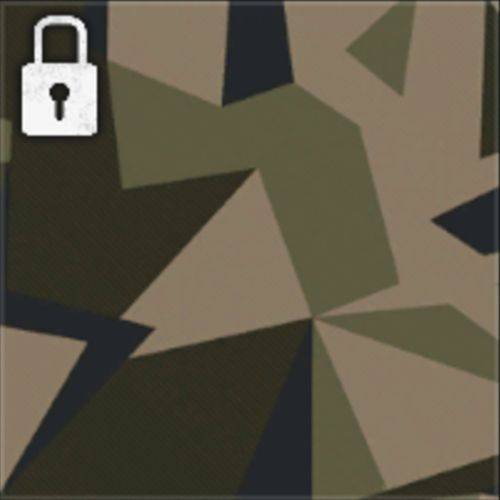 | Get 400 critical kills with the AMR Mod 4 |
| Grim | 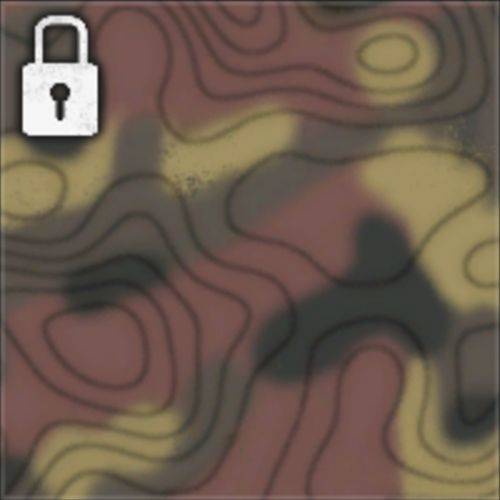 | Get 600 critical kills with the AMR Mod 4 |
| Stripe | 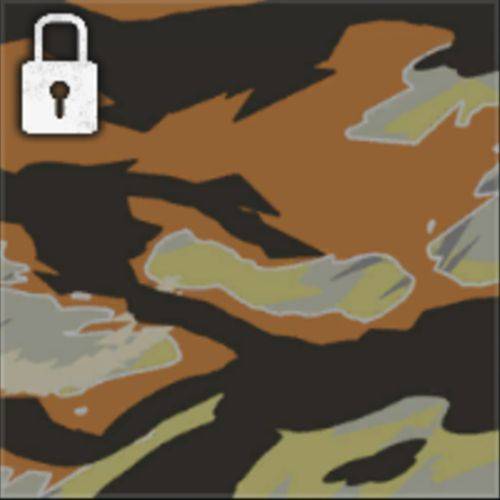 | Get 800 critical kills with the AMR Mod 4 |
| Oceanic | 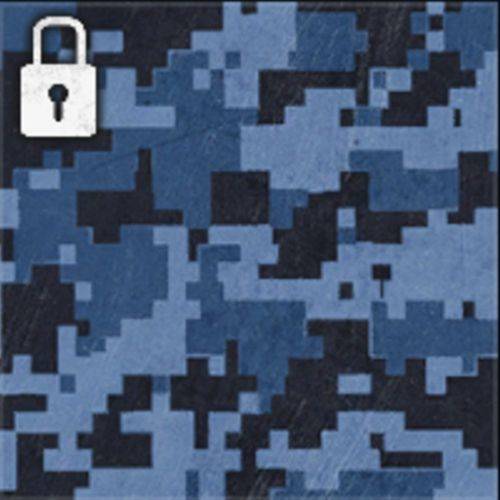 | Get 1000 critical kills with the AMR Mod 4 |
| Whiteout | 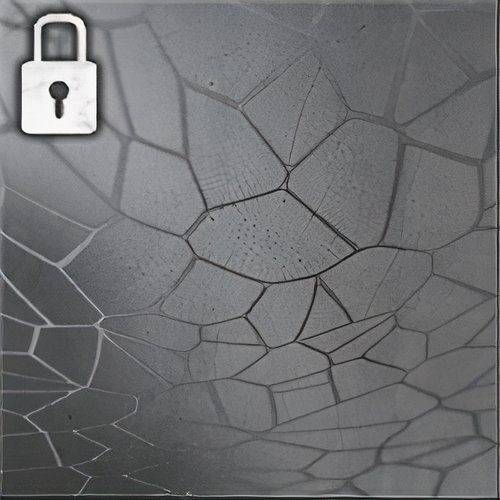 | Get 1500 critical kills with the AMR Mod 4 |
| Purple Tiger |  | Get 2000 critical kills with the AMR Mod 4 |
| Special Camos | ||
| Scarthorn | 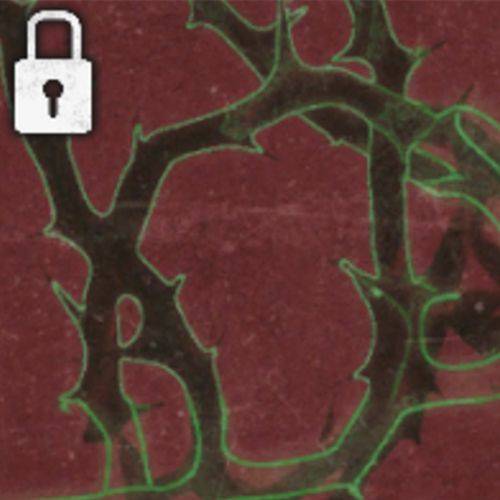 | Unlock all Military Camos on the AMR Mod 4 in Zombies Get 5 critical kills rapidly 15 times with the AMR Mod 4 |
| Marine Swirl |  | Unlock all Military Camos on the AMR Mod 4 in Zombies Get 10 kills without reloading 15 times with the AMR Mod 4 |
| Mastery Camos | ||
| Mystic Gold |  | Unlock both AMR Mod 4 Special Camos in Zombies Get 10 kills rapidly 15 times with the AMR Mod 4 |
| Opal |  | Unlock Mystic Gold on the AMR Mod 4 Unlock Mystic Gold on two other Sniper Rifles Get 30 Special Zombie kills with the AMR Mod 4 |
| Afterlife |  | Unlock Opal on the AMR Mod 4 Unlock Opal on 33 other weapons Get 20 kills without taking damage 10 times with the AMR Mod 4 |
| Nebula |  | Unlock Afterlife on the AMR Mod 4 Unlock Afterlife on 33 other weapons Get 10 Elite Zombie eliminations with the AMR Mod 4 |
Warzone Camos
| Camo Type | Cleaver Camo | How To Unlock |
|---|---|---|
| Military Camos | ||
| Quartz |  | Get 5 kills with the AMR Mod 4 |
| Tundra |  | Get 10 kills with the AMR Mod 4 |
| Canyon |  | Get 15 kills with the AMR Mod 4 |
| Pine |  | Get 20 kills with the AMR Mod 4 |
| Undergrowth |  | Get 30 kills with the AMR Mod 4 |
| Snakeskin |  | Get 40 kills with the AMR Mod 4 |
| Siberia | 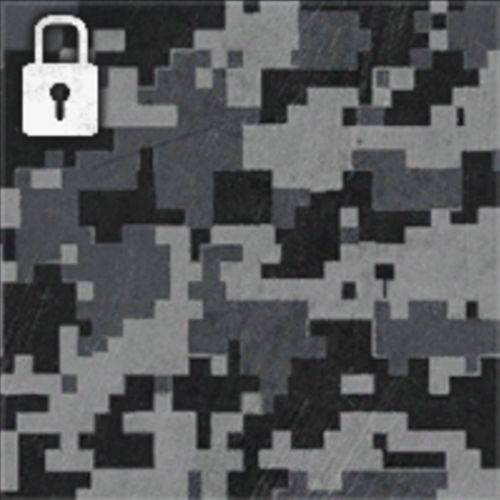 | Get 50 kills with the AMR Mod 4 |
| Smolder | 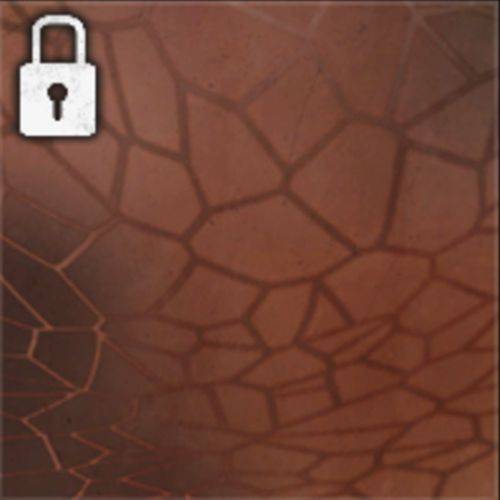 | Get 75 kills with the AMR Mod 4 |
| Blue Tiger |  | Get 100 kills with the AMR Mod 4 |
| Special Camos | ||
| Bramblethorn | 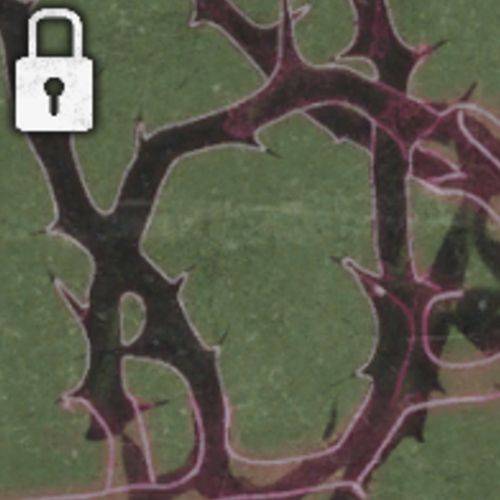 | Unlock all Military Camos on the AMR Mod 4 in Warzone Get 2 kills within 30 seconds 5 times with the AMR Mod 4 |
| Sunlit Shoal |  | Unlock all Military Camos on the AMR Mod 4 in Warzone Get 2 kills while prone within 20 seconds 5 times with the AMR Mod 4 |
| Mastery Camos | ||
| Gold Tiger |  | Unlock both AMR Mod 4 Special Camos in Warzone Get 5 eliminations whilst being the Most Wanted target with the AMR Mod 4 |
| King's Ransom | 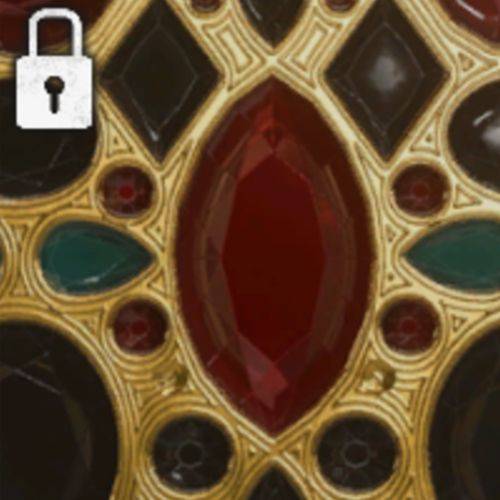 | Unlock Gold Tiger on the AMR Mod 4 Unlock Gold Tiger on 3 other Sniper Rifles Get 3 kills without dying 5 times with the AMR Mod 4 |
| Catalyst |  | Unlock King's Ransom on the AMR Mod 4 Unlock King's Ransom on 33 other weapons Kill 5 Operators affected by your Stun Grenade, Flash Grenade, or Shock Charge with the AMR Mod 4 |
| Abyss |  | Unlock Catalyst on the AMR Mod 4 Unlock Catalyst on 33 other weapons Get 5 kills without dying 2 times with the AMR Mod 4 |
All AMR Mod 4 Attachments
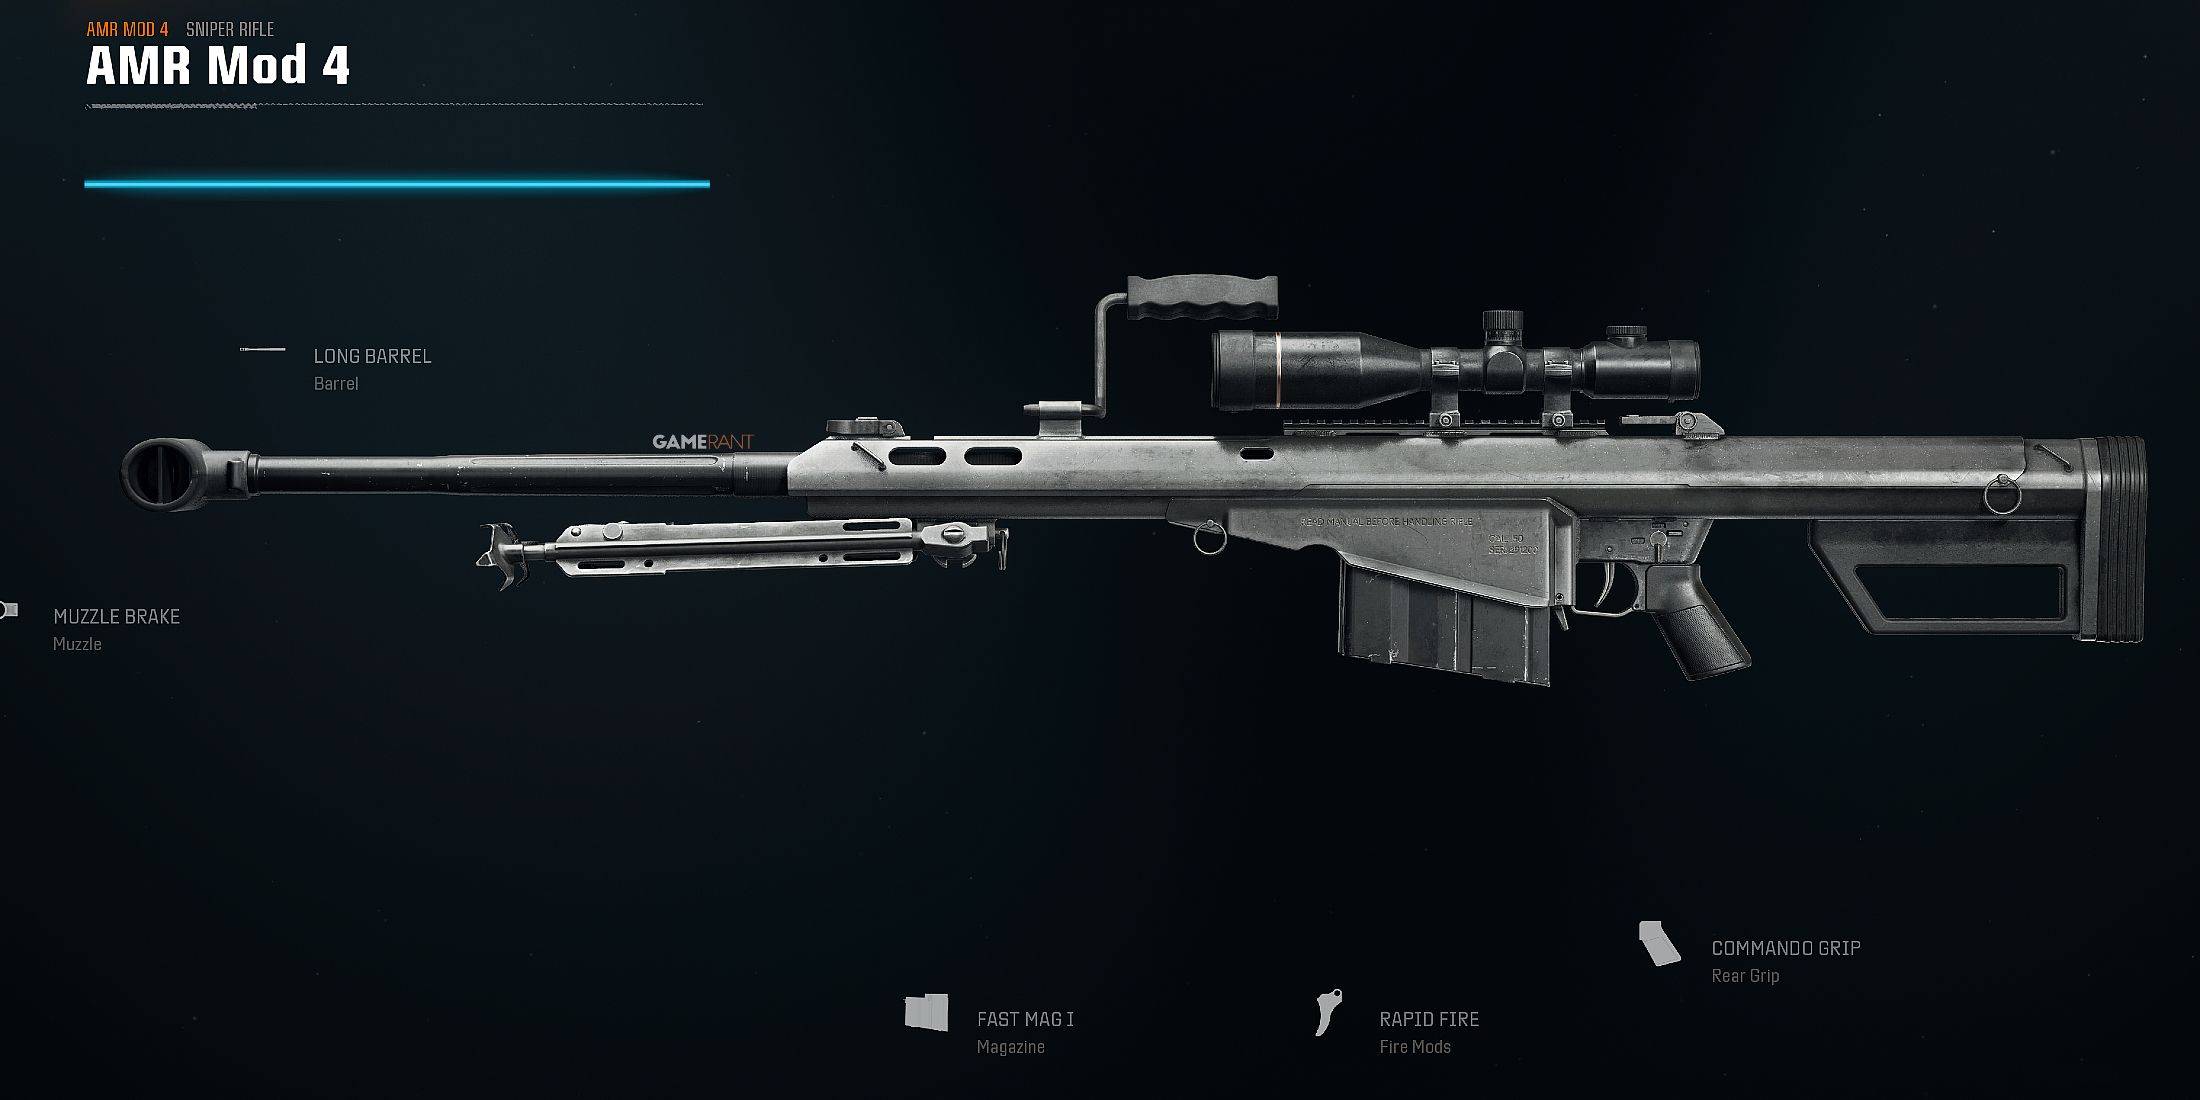
Customizing your AMR Mod 4 Sniper Rifle is crucial for optimizing your performance on the battlefield. With 39 levels of progression, you can unlock a wide range of attachments, each offering unique advantages to tailor your sniper loadout to your playstyle. Here's a detailed look at all the available attachments for the AMR Mod 4:
Optics
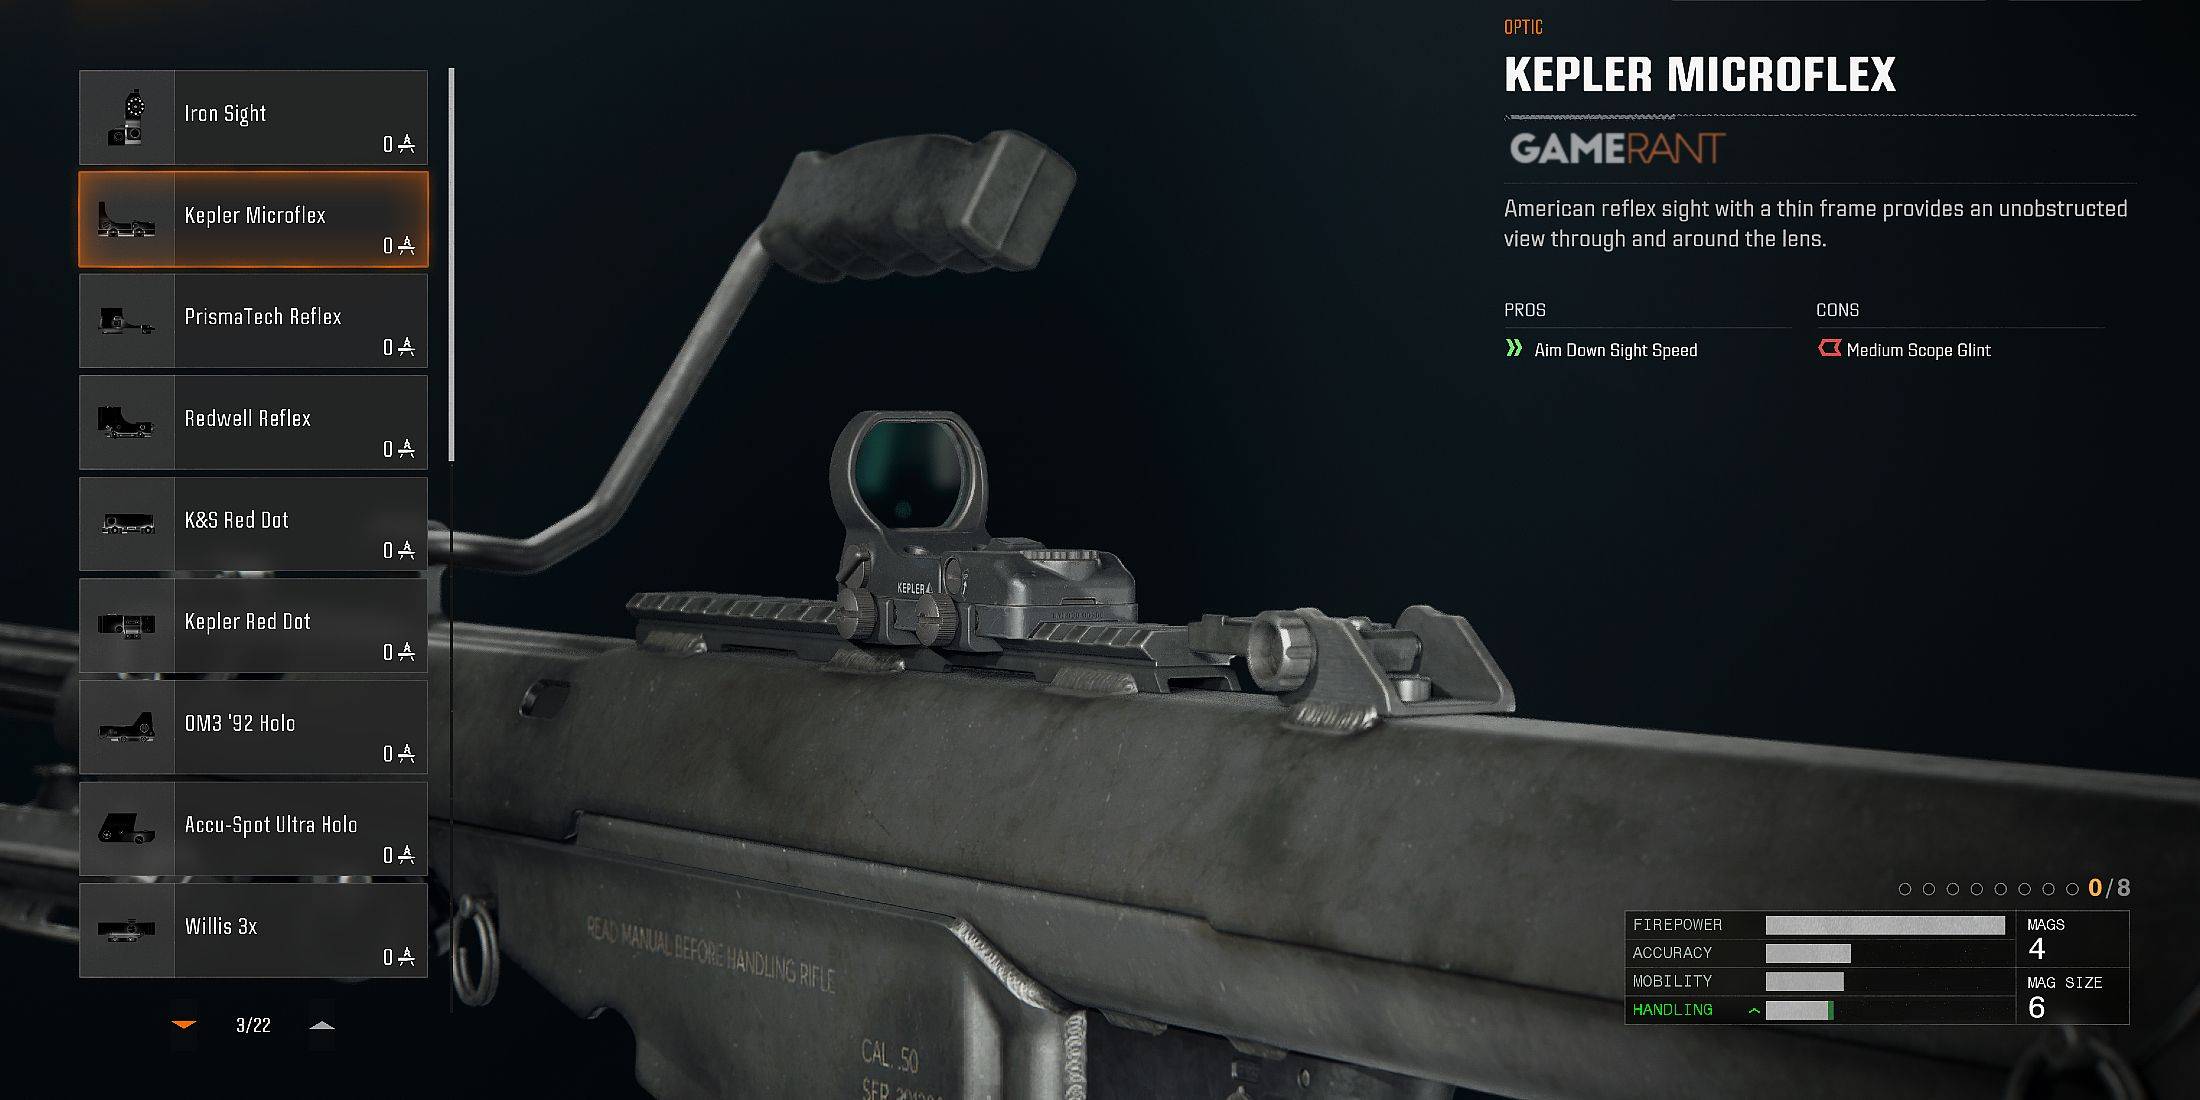
| Attachment | Pros | Cons |
|---|---|---|
| Iron Sight | Improved Aim Down Sight Speed | |
| Kepler Microflex | Improved Aim Down Sight Speed | Medium Sniper Scope Glint |
| PrismaTech Reflex | Improved Aim Down Sight Speed | Medium Sniper Scope Glint |
| Redwell Reflex | Improved Aim Down Sight Speed | Medium Sniper Scope Glint |
| K&S Red Dot | Improved Aim Down Sight Speed | Large Sniper Scope Glint |
| Kepler Red Dot | Improved Aim Down Sight Speed | Large Sniper Scope Glint |
| OM3 '92 Holo | 1.5x Magnification Improved Aim Down Sight Speed | Large Sniper Scope Glint |
| ACCU-Spot Ultra Holo | 3x Magnification | Large Sniper Scope Glint |
| Willis 3x | 3x Magnification | Large Sniper Scope Glint |
| PrismaTech 4x | 4x Magnification | Large Sniper Scope Glint |
| Dobrych 4x | 4x Magnification | Large Sniper Scope Glint |
| K&S Thermal Holo | 1.5x Magnification Thermal Target Identification | Large Sniper Scope Glint |
| Pinpoint Hybrid | Dual Optics Toggle 4.5x Magnification | Large Sniper Scope Glint |
| PrismaPoint Hybrid | Dual Optics Toggle 4.5x Magnification | Large Sniper Scope Glint |
| R&K Multizoom | 3x & 7x Magnification | Large Sniper Scope Glint |
| Remuda Range Finder | 4.5x Magnification Target Range Indicator | Large Sniper Scope Glint Reduced Aim Down Sight Speed |
| Blandwell 7x Scope | 7x Magnification | Large Sniper Scope Glint |
| Remuda Dual Zoom | 11x & 6x Magnification | Large Sniper Scope Glint |
| VMF Variable Scope | 12x, 4x, & 8x Magnification | Large Sniper Scope Glint Reduced Aim Down Sight Speed |
| Redwell Custom Zoom | 6x, 10x, & 14x Magnification | Large Sniper Scope Glint Reduced Aim Down Sight Speed |
| Otero Thermal 2x | 2x Magnification Thermal Target Identification | Large Sniper Scope Glint Reduced Aim Down Sight Speed |
| Thermal 6x | 6x Magnification Thermal Target Identification | Reduced Aim Down Sight Speed |
Muzzles
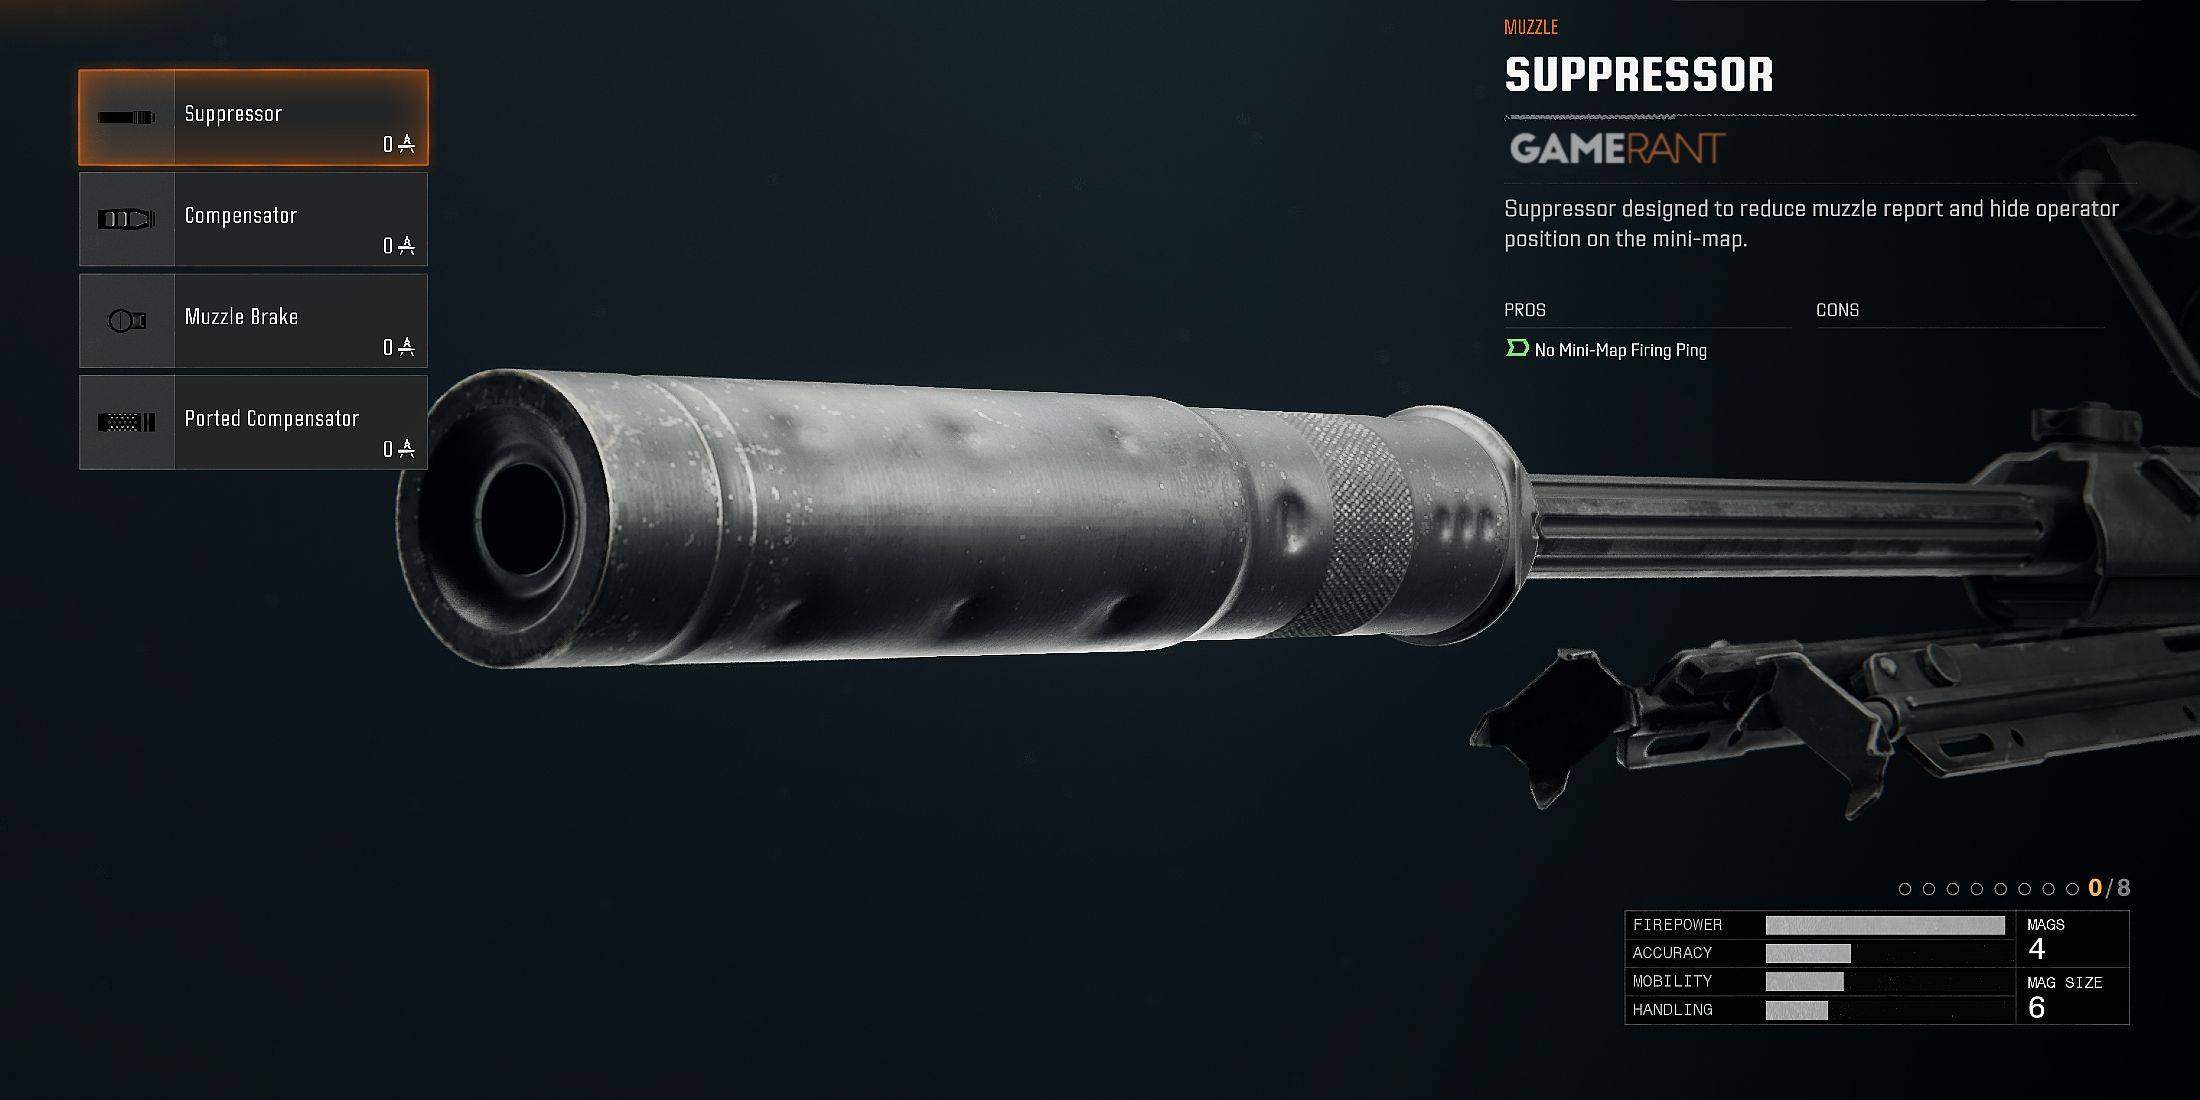
| Attachment | Pros | Cons |
|---|---|---|
| Suppressor | No Ping On The Minimap When Firing | |
| Compensator | Improved Vertical Recoil Control | |
| Muzzle Break | Improved First Shot Recoil Control Improved Kick Reset Speed | |
| Ported Compensator | Improved First Shot Recoil Control Improved Vertical Recoil Control |
Barrels
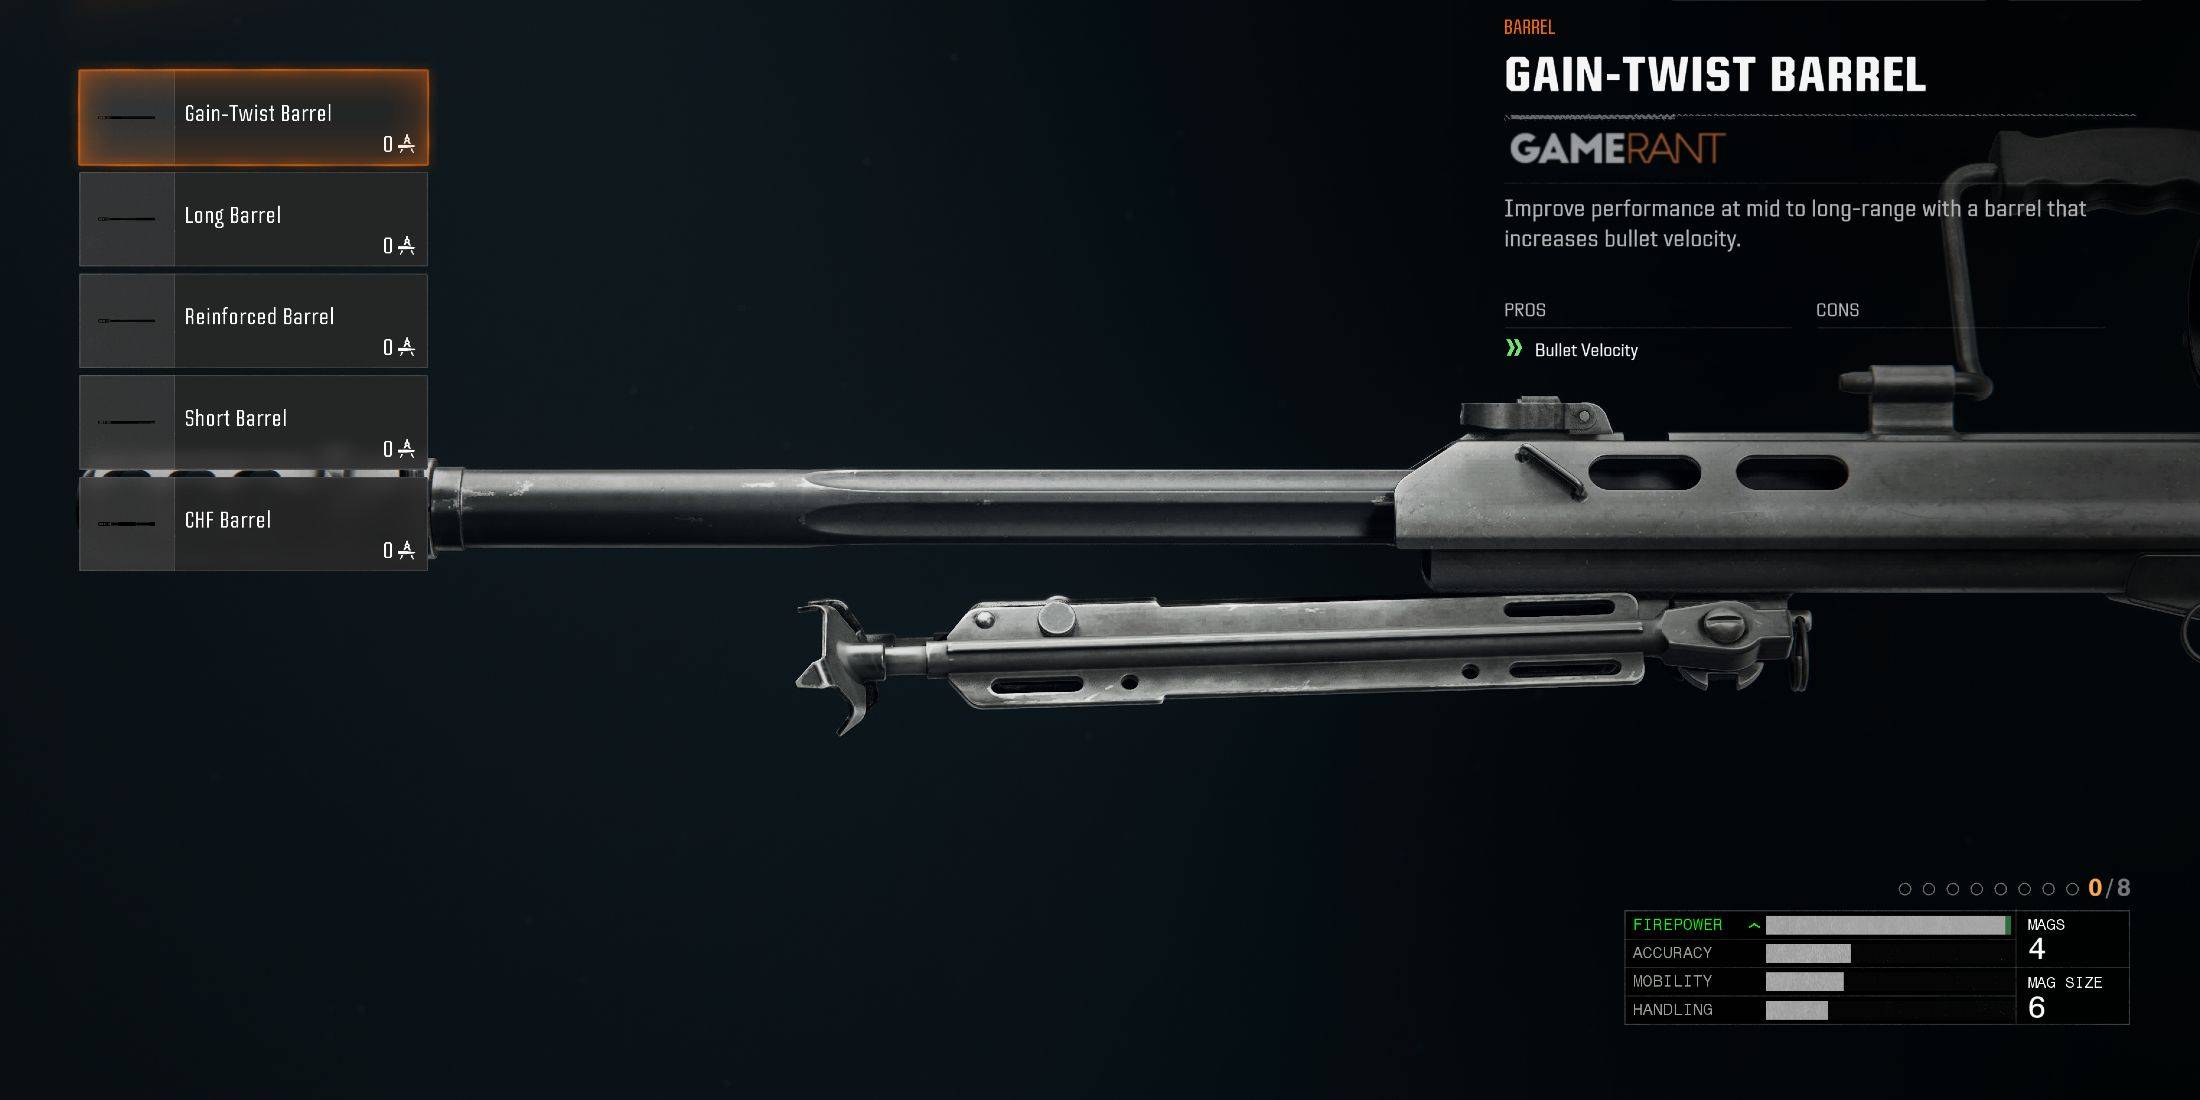
| Attachment | Pros | Cons |
|---|---|---|
| Gain-Twist Barrel | Bullet Velocity | |
| Long Barrel | Damage Range | |
| Reinforced Barrel | Damage Range Bullet Velocity | |
| Short Barrel | Improved Jumping Aim Down Sight Speed Improved Jumping Sprint to Fire Speed | |
| CHF Barrel | Increased Legs Hit Location Multiplier | Reduced Horizontal Recoil Control Reduced Vertical Recoil Control Reduced Aim Down Sight Speed |
Stockpads

| Attachment | Pros | Cons |
|---|---|---|
| Weighted Pad | Improved Horizontal Recoil Control | |
| Lightweight Pad | Reduced Aiming Idle Sway | |
| Marksman Pad | Improved Aim Down Sight Focus | |
| Precision Pad | Reduced Aiming Idle Sway Improved Horizontal Recoil Control | |
| Ranger Pad | Improved Horizontal Recoil Control Improved Sprinting Speed |
Magazines
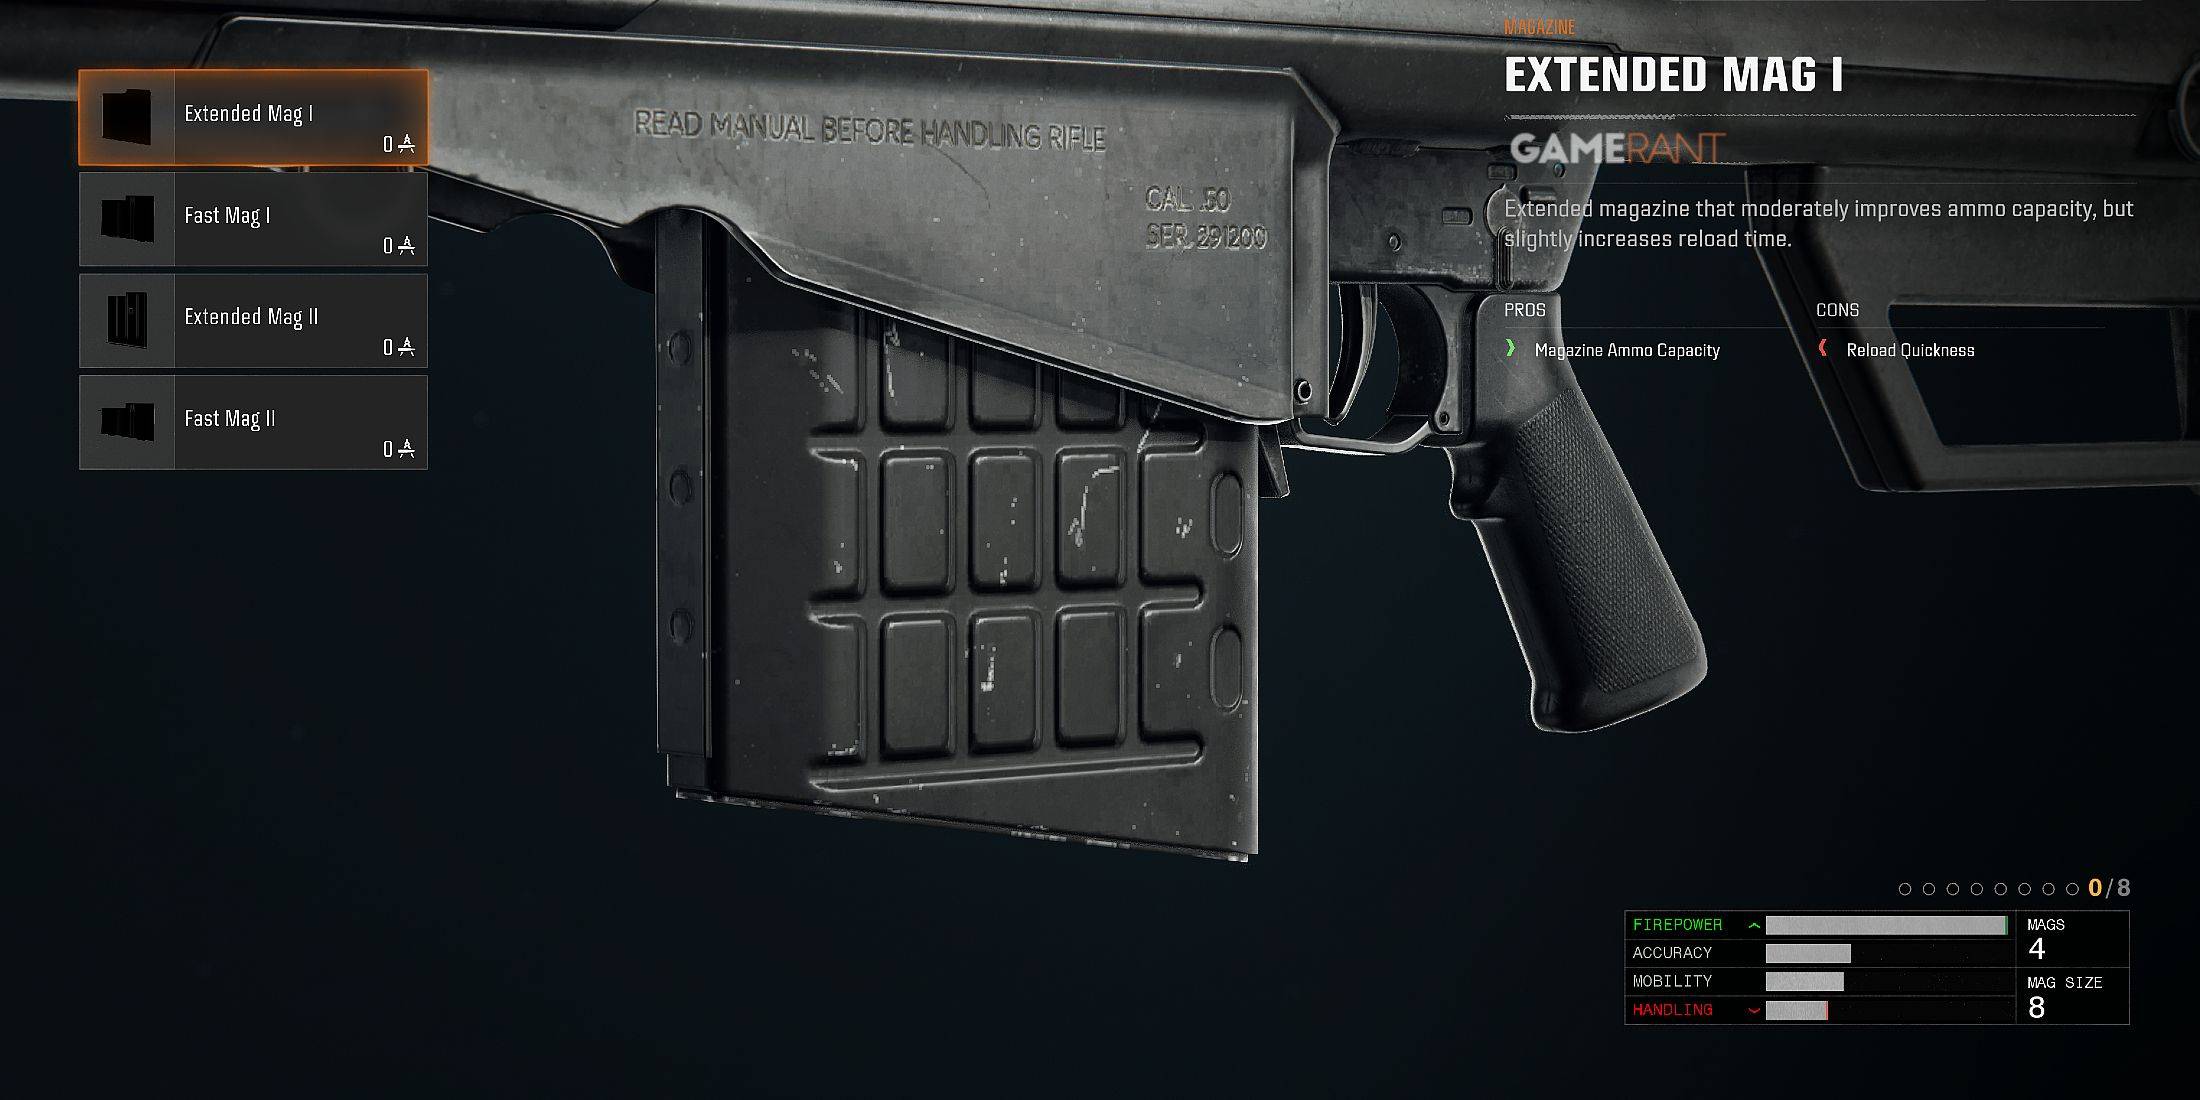
| Attachment | Pros | Cons |
|---|---|---|
| Extended Mag I | Increased Ammo Capacity | Reduced Reload Quickness |
| Fast Mag I | Improved Reload Quickness Improved Aim Down Sight Speed Improved Sprint to Fire Speeds | Reduced Magazine Ammo Capacity |
| Extended Mag II | Increased Ammo Capacity | Reduced Aim Down Sight Speed Reduced Reload Quickness Reduced Sprint to Fire Speed |
| Fast Mag II | Improved Reload Quickness Improved Aim Down Sight Speed Improved Sprint to Fire Speeds | Reduced Magazine Ammo Capacity |
Rear Grips
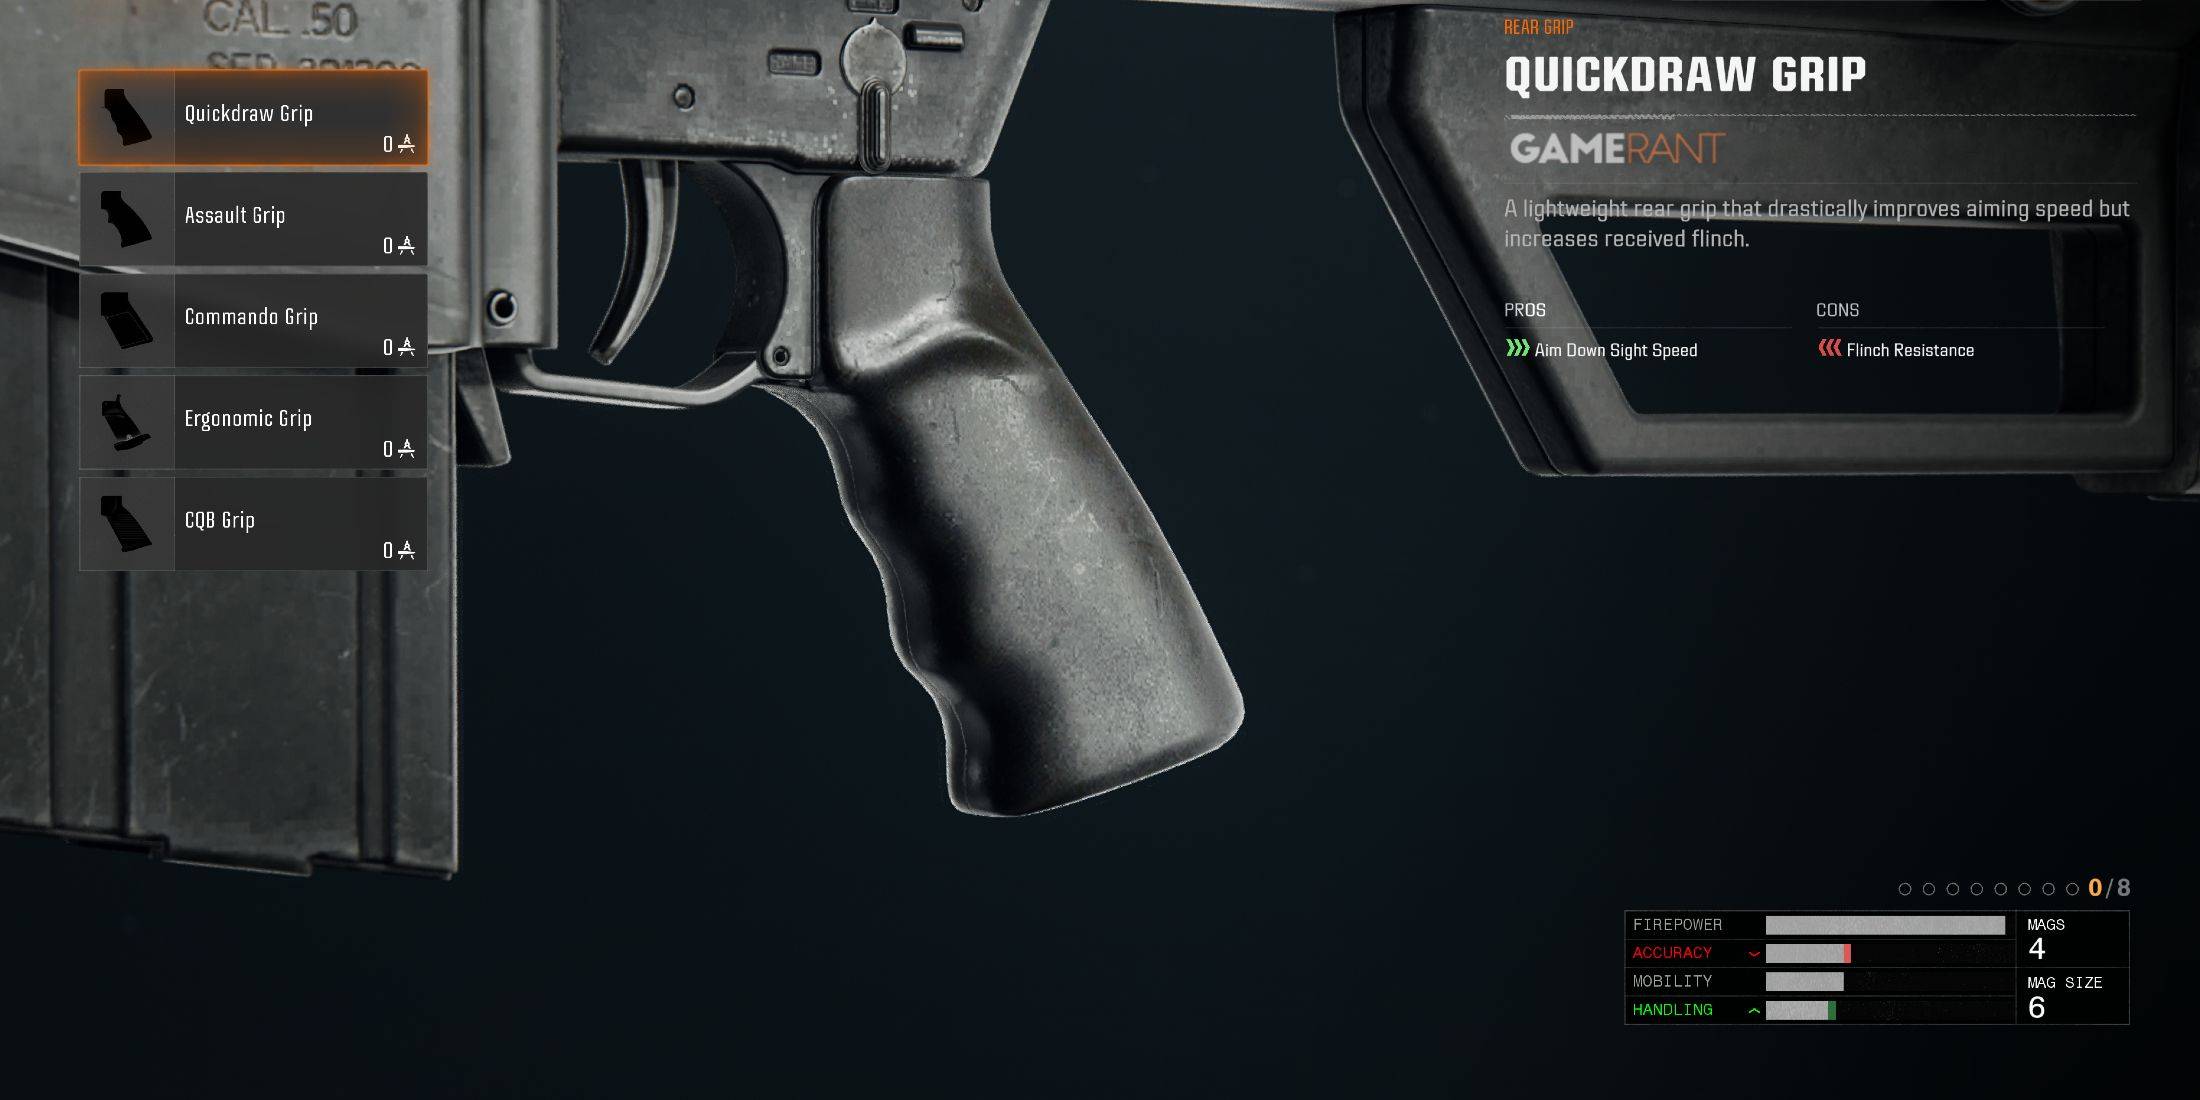
| Attachment | Pros | Cons |
|---|---|---|
| Quickdraw Grip | Improved Aim Down Sight Speed | Reduced Flinch Resistance |
| Assault Grip | Improved Sprint to Fire Speed | |
| Commando Grip | Improved Aim Down Sight Speed Improved Sprint to Fire Speed | |
| Ergonomic Grip | Improved Slide to Fire Speed Improved Dive to Fire Speed Improved Aim Down Sight Speed | Reduced Flinch Resistance |
| CQB Grip | Improved Dive to Fire Speed Improved Slide to Fire Speed Improved Sprint to Fire Speed |
Combs
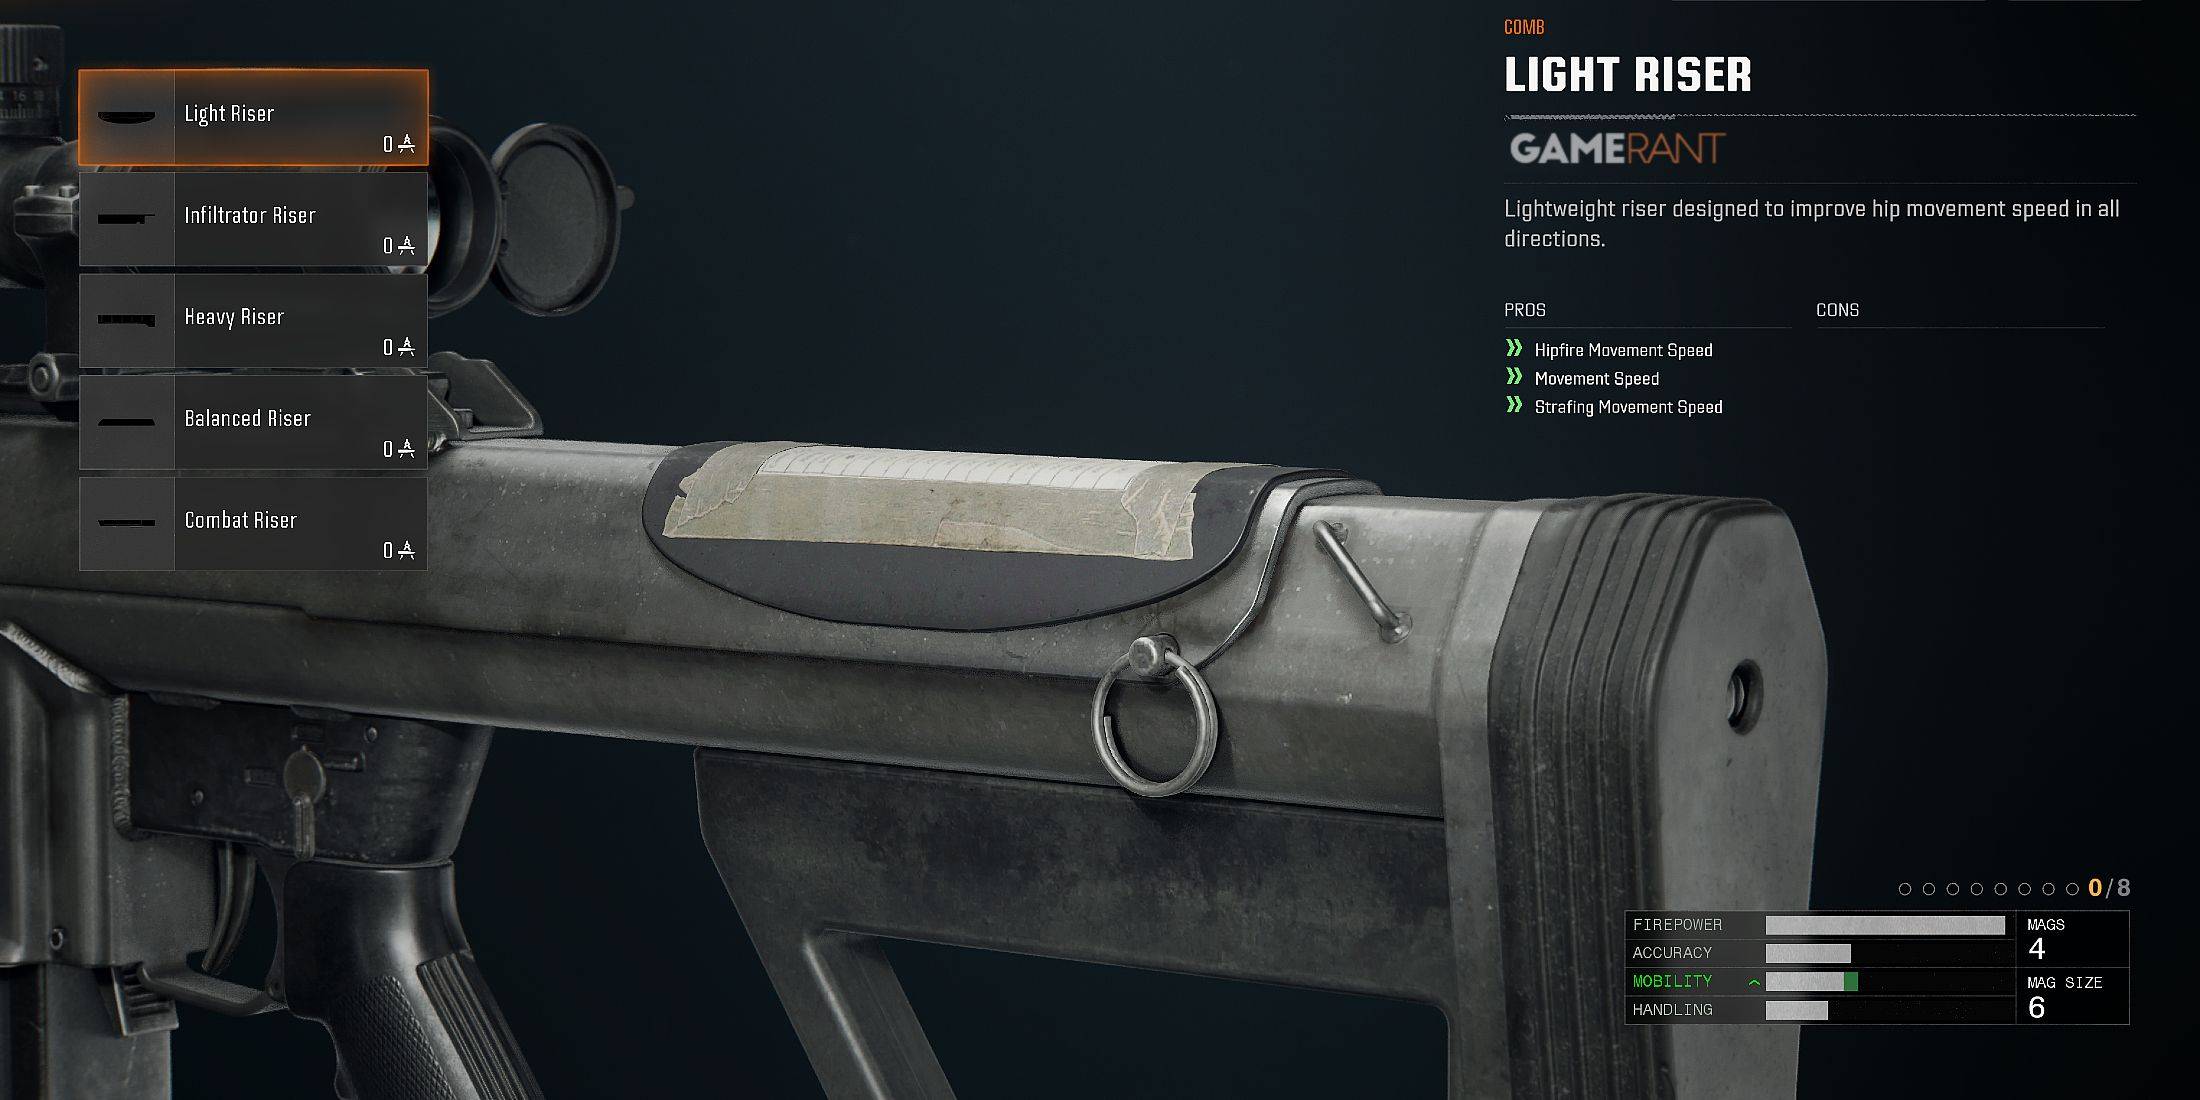
| Attachment | Pros | Cons |
|---|---|---|
| Light Riser | Improved Hipfire Movement Speed Improved Movement Speed Improved Strafing Movement Speed | |
| Infiltrator Riser | Improved Aim Walking Speed | |
| Heavy Riser | Increased Flinch Resistance | |
| Balanced Riser | Improved Aim Walking Speed Improved Movement Speed Improved Hipfire Movement Speed Improved Strafing Movement Speed | |
| Combat Riser | Increased Flinch Resistance Improved Aim Walking Speed |
Lasers

| Attachment | Pros | Cons |
|---|---|---|
| Steady Aim Laser | Improved Hipfire Spread | Laser Visible in Hip |
| Fast Motion Laser | Improved Diving Hipfire Spread Improved Sliding Hipfire Spread Improved Jumping Hipfire Spread | Laser Visible in Hip |
| Tactical Laser | Ability to use Tactical Stance | Laser Visible in Tactical Stance |
| Strelok Laser | Improved Hipfire to ADS Accuracy | Laser Visible in ADS |
| Target Laser | Aiming Idle Sway Delay Improved Aim Walking Steadiness | Laser Visible in ADS |
Fire Mods
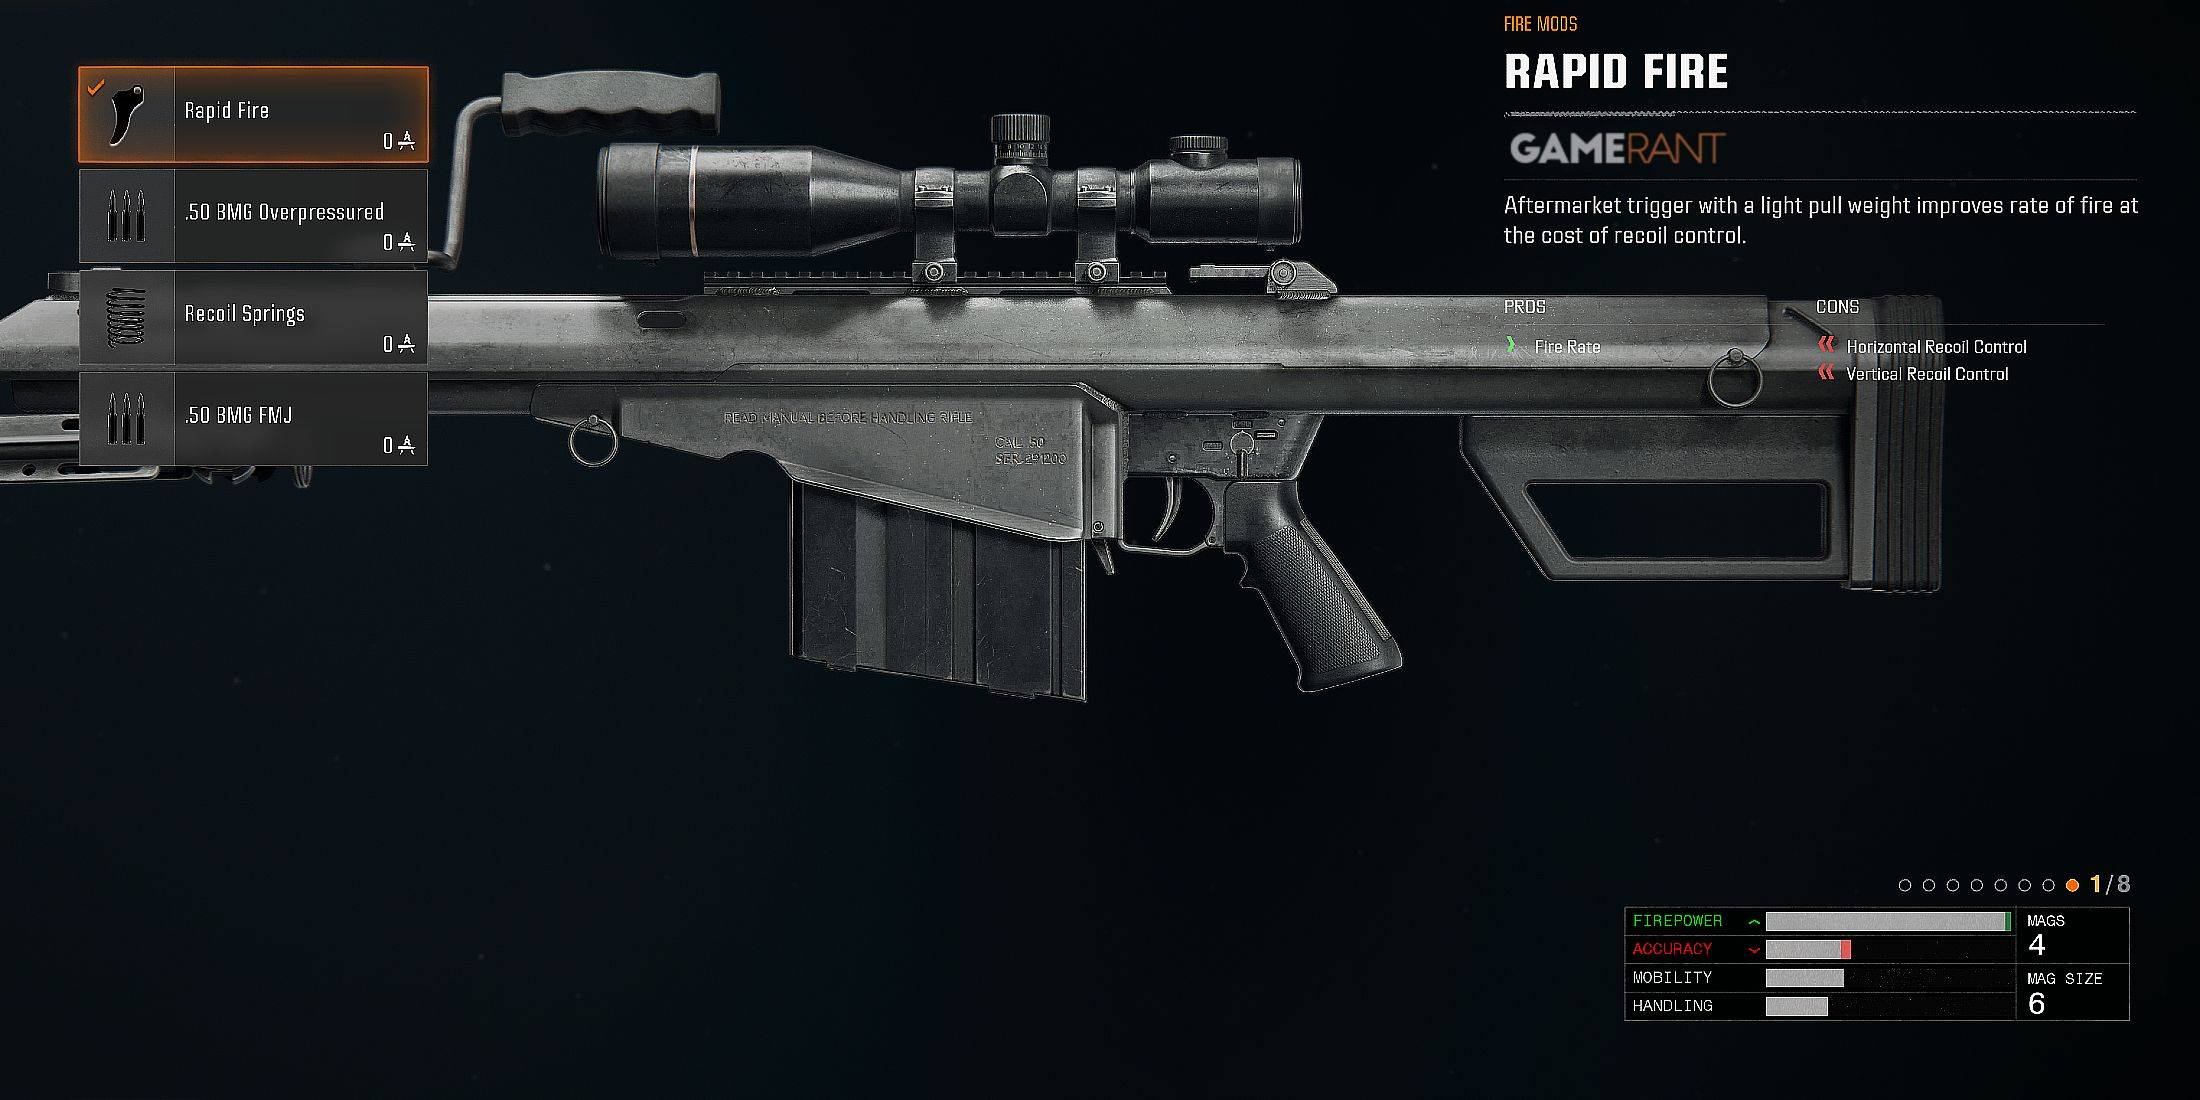
| Attachment | Pros | Cons |
|---|---|---|
| Rapid Fire | Increased Fire Rate | Reduced Horizontal Recoil Control Reduced Vertical Recoil Control |
| .50 BMG Overpressured | Increased Bullet Velocity | |
| Recoil Springs | Increased Horizontal Recoil Control Increased Vertical Recoil Control | |
| .50 BMG FMJ | Increased Damage Against Scorestreaks Increased Penetration Damage |
-
 Apr 15,25"The Last of Us Season 2: Release Date and Streaming Guide" As one HBO primetime show bids farewell (goodbye, The White Lotus), another eagerly steps into the spotlight. Two years following the debut of The Last of Us on Max, this critically acclaimed video game adaptation featuring Pedro Pascal and Bella Ramsey is gearing up for its much-anticipated second
 -
 Jan 20,25‘Dungeons of Dreadrock 2’ Announced, Launching on Nintendo Switch in November with Mobile and PC Versions to Follow Approximately two and a half years ago, we were captivated by the delightful dungeon crawler, Dungeons of Dreadrock, developed by Christoph Minnameier. This top-down perspective game, reminiscent of classics like Dungeon Master and Eye of the Beholder, offered a unique puzzle-solving experience acr
 -
 Dec 10,24Cosplay Marvel Emerges: Elden Ring's Mohg Impresses A stunning Mohg cosplay, strikingly similar to the Elden Ring boss, has been shared online, captivating the gaming community. Mohg, Lord of Blood, a Demigod boss crucial to accessing the recent Shadow of the Erdtree DLC, has enjoyed renewed prominence. Elden Ring, a FromSoftware triumph released in
 -
 Jan 30,25Hunters Rejoice! Monster Hunter Wilds Showcases New Content In February Open Beta Monster Hunter Wilds: February Open Beta Extends Hunting Opportunities Get ready for another chance to dive into the world of Monster Hunter Wilds! A second Open Beta Test is scheduled for the first two weeks of February, offering both newcomers and returning players a taste of the action before th