


Ultimate Tower Blitz: Eternal Tier List Update
Embarking on your journey in *Tower Blitz*, you start with a single tower but soon unlock a diverse arsenal, each with unique strengths and weaknesses. To help you craft the perfect strategy tailored to your play style, we've compiled a comprehensive tier list of all the towers available in the game.
All Towers In Tower Blitz Ranked
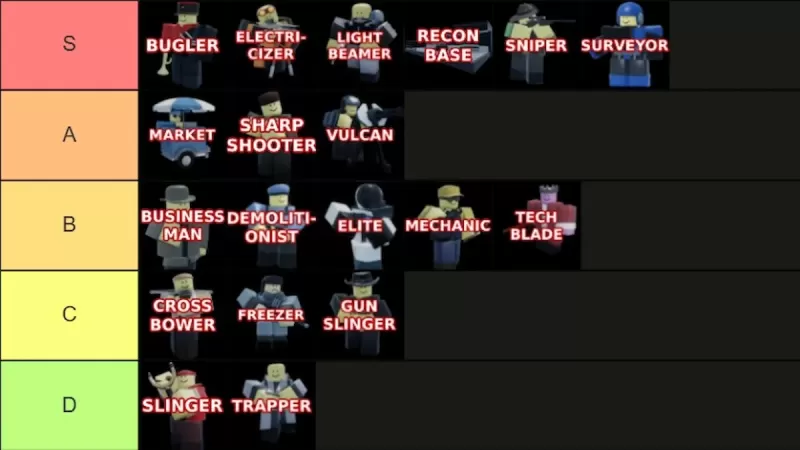
We've meticulously ranked all the towers in *Tower Blitz* from S-Tier to D-Tier, taking into account their abilities, upgrade paths, cost, and overall efficiency. **S-Tier** towers are the cream of the crop, nearly guaranteeing victory across any map when used effectively. **A-Tier** towers remain solid choices, though they have certain limitations that set them apart from the top tier. **B-Tier** towers are your average performers, neither outstanding nor disappointing. **C-Tier** towers are generally subpar, with only a few redeeming qualities that might appeal to specific strategies. Lastly, **D-Tier** towers are the least effective, often offering little to no strategic value. Below, we delve into the details of each ranking.
S-Tier Towers
| Tower | Cost | Explanation | Pros and Cons |
|---|---|---|---|
 | To unlock the tower: **2500 Tokens** (available at Level 25) To place in-game: **750 Cash** | This tower is overwhelmingly powerful. As a support tower, it's indispensable in Expert mode. Its versatility shines no matter how you deploy it, especially when paired with the right towers. Note that Bugler does not buff Recon Bases. | + Boosts performance of all other towers significantly + Essential for Expert mode – Exclusively a support tower |
 | To unlock the tower: **5500 Tokens** To place in-game: **3800 Cash** | For fans of the Sniper but seeking more potency, the Electricizer is your go-to. Boasting the largest range and highest damage output in the game, position it near the end of the map to watch it decimate incoming enemies. | + Exceptional power and range + Blends support and damage roles – High cost |
 | To unlock the tower: **Complete the contract** To place in-game: **1800 Cash** | Comparable to the Electricizer, the Lightbeamer is a powerhouse. Strategically place it along a straight path to unleash its devastating death ray. Both upgrade paths are formidable, making it a game-changer when positioned correctly. | + Immensely powerful + Excellent for crowd control – Not viable early-game – Costly |
 | To unlock the tower: **8000 Tokens** (available at Level 45) To place in-game: **1000 Cash** | Offering exceptional value, Recon Base continuously spawns operatives to fight alongside you, becoming more formidable with each upgrade. We favor the top path, though the bottom path is also excellent. Despite its steep upgrade costs, it's a key component for success on any difficulty beyond Normal. | + Continuously spawns units + Both paths are exceptionally strong + Ideal for Expert mode – Expensive upgrades |
 | To unlock the tower: **1500 Tokens** To place in-game: **500 Cash** | Undoubtedly the best tower for the early game. While some may find it slow, opting for the bottom path can address this. Its unique selling point is its utility throughout the game, making it a vital asset in Expert mode. | + Premier early-game tower + Useful throughout the game + High piercing damage – Slightly slow |
 | To unlock the tower: **Complete the contract** To place in-game: **700 Cash** | The Surveyor's versatility is unmatched. Choose the top path for support or the bottom path for direct damage. Its adaptability ensures it plays a crucial role from start to finish. | + Highly versatile + Usable from start to finish – Limited to only 4 placements |
A-Tier Towers
| Tower | Cost | Explanation | Pros and Cons |
|---|---|---|---|
 | To unlock the tower: **1000 Tokens** To place in-game: **650 Cash** | A solid tower, yet it requires some mastery. Players often get caught up in the bottom path's investment, only to realize it's costing them money. We recommend sticking to the top path, which focuses on generating income. | + Essential in all games, particularly multiplayer + Generates profit – Bottom path not as effective – Slow initial money generation |
 | To unlock the tower: **1300 Tokens** To place in-game: **600 Cash** | An excellent early-game tower for managing groups of enemies. Its broad range covers early-game needs, though its piercing damage is modest. Position it in an unobstructed area to ease your transition into mid-game. | + Effective crowd control and damage + Suitable for beginners – Less effective in Expert mode – Low defense piercing |
 | To unlock the tower: **3000 Tokens** To place in-game: **2500 Cash** | A reliable choice for mid to late-game. You can decide between targeting multiple enemies or enhancing its strength. The latter is more beneficial, showcasing its true potential. Don't let its initial damage discourage you; at max level on the bottom path, it delivers 140 DPS and full defense piercing. | + Extremely strong + Versatile – Slow to become powerful – No flying detection |
B-Tier Towers
| Tower | Cost | Explanation | Pros and Cons |
|---|---|---|---|
 | To unlock the tower: **Complete the contract** To place in-game: **800 Cash** | This tower aids in farming money without a Market and contributes to damage. It synergizes well with Recon Base, but its utility is limited. Other towers offer better profitability and damage capabilities. | + Generates money and deals damage + Suitable for early game – Easily replaced by other towers |
 | To unlock the tower: **3500 Tokens** To place in-game: **900 Cash** | A decent early-game option for handling groups with high piercing damage. However, as the game progresses, more efficient towers emerge, rendering the Demolitionist less relevant. It also lacks flying detection. | + Effective crowd control and piercing damage – Becomes obsolete post-early game – No flying detection |
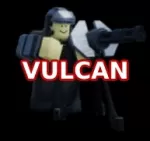
 | To unlock the tower: **Complete the contract** To place in-game: **1200 Cash** | Similar to the Vulcan but less versatile. For optimal use, opt for the bottom path. Keep in mind its long cooldown, which requires strategic deployment. | + Strong bottom path – Lengthy cooldown – Expensive |
 | To unlock the tower: **Complete the contract** To place in-game: **480 Cash** | Effective in mid-game, but its utility wanes before and after. It offers a range of turrets, but only the Teslas make a significant impact, and that too against specific enemies. Despite this, its cost can be prohibitive. | + Useful in mid-game – Cost-inefficient |
 | To unlock the tower: **Free** (available at Level 10) To place in-game: **400 Cash** | A melee tower effective against early-game enemy groups and tanks. Its potential is hindered by its limited range and slow speed, which are critical drawbacks for a melee unit. | + Effective crowd control + Early-game efficient – Limited range – Slow |
C-Tier Towers
| Tower | Cost | Explanation | Pros and Cons |
|---|---|---|---|
 | To unlock the tower: **200 Tokens** To place in-game: **400 Cash** | A viable option for beginners or as an early-game alternative to Slinger. Its long range and ability to handle groups are notable, but its damage remains disappointingly low even after upgrades. | + Affordable, suitable for beginners + Long range – Obsolete post-early game – Poor damage |
 | To unlock the tower: **450 Tokens** To place in-game: **400 Cash** | When paired with high-DPS towers, the Freezer can be effective. However, by the time you're combining towers, there are better options. It's useful against fast enemies, but becomes ineffective once enemies gain freeze immunity. | + Effective against fast enemies – Becomes obsolete post-early game – Limited enemy types it can handle |
 | To unlock the tower: **500 Tokens** To place in-game: **400 Cash** | Another melee tower that struggles with speed and range. Opting for the top path can slightly improve range, but at the cost of further reducing its already low damage. It's only practical in Normal mode. | + Slightly better top path – Limited range – Ineffective in Hard or Expert modes |
D-Tier Towers
| Tower | Cost | Explanation | Pros and Cons |
|---|---|---|---|
 | To unlock the tower: **Free** To place in-game: **200 Cash** | Designed as a beginner's tower, the Slinger is perfect for introducing new players to the game. However, it quickly becomes irrelevant. Use it in the first wave and replace it as soon as possible. | + Free – Poor damage and firing speed, even at max level – Useless after the first few waves |
 | To unlock the tower: **1000 Tokens** (available at Level 10) To place in-game: **500 Cash** | Given its cost and level requirement, you'd expect more from the Trapper. Unfortunately, it struggles to defeat even the weakest enemies. There's no justification for choosing it over cheaper, more effective towers. | + Decent bottom path – Not cost-effective – Often nearly unusable – Struggles throughout the game |
Now that you've explored our tier list of all the towers in *Tower Blitz*, you're equipped to devise the best strategy for your play style. If you're looking for a boost to get started, our *Tower Blitz* codes can give you an edge.
-
 Apr 15,25"The Last of Us Season 2: Release Date and Streaming Guide" As one HBO primetime show bids farewell (goodbye, The White Lotus), another eagerly steps into the spotlight. Two years following the debut of The Last of Us on Max, this critically acclaimed video game adaptation featuring Pedro Pascal and Bella Ramsey is gearing up for its much-anticipated second
 -
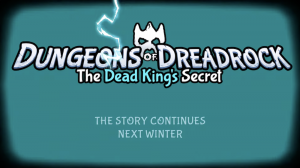 Jan 20,25‘Dungeons of Dreadrock 2’ Announced, Launching on Nintendo Switch in November with Mobile and PC Versions to Follow Approximately two and a half years ago, we were captivated by the delightful dungeon crawler, Dungeons of Dreadrock, developed by Christoph Minnameier. This top-down perspective game, reminiscent of classics like Dungeon Master and Eye of the Beholder, offered a unique puzzle-solving experience acr
 -
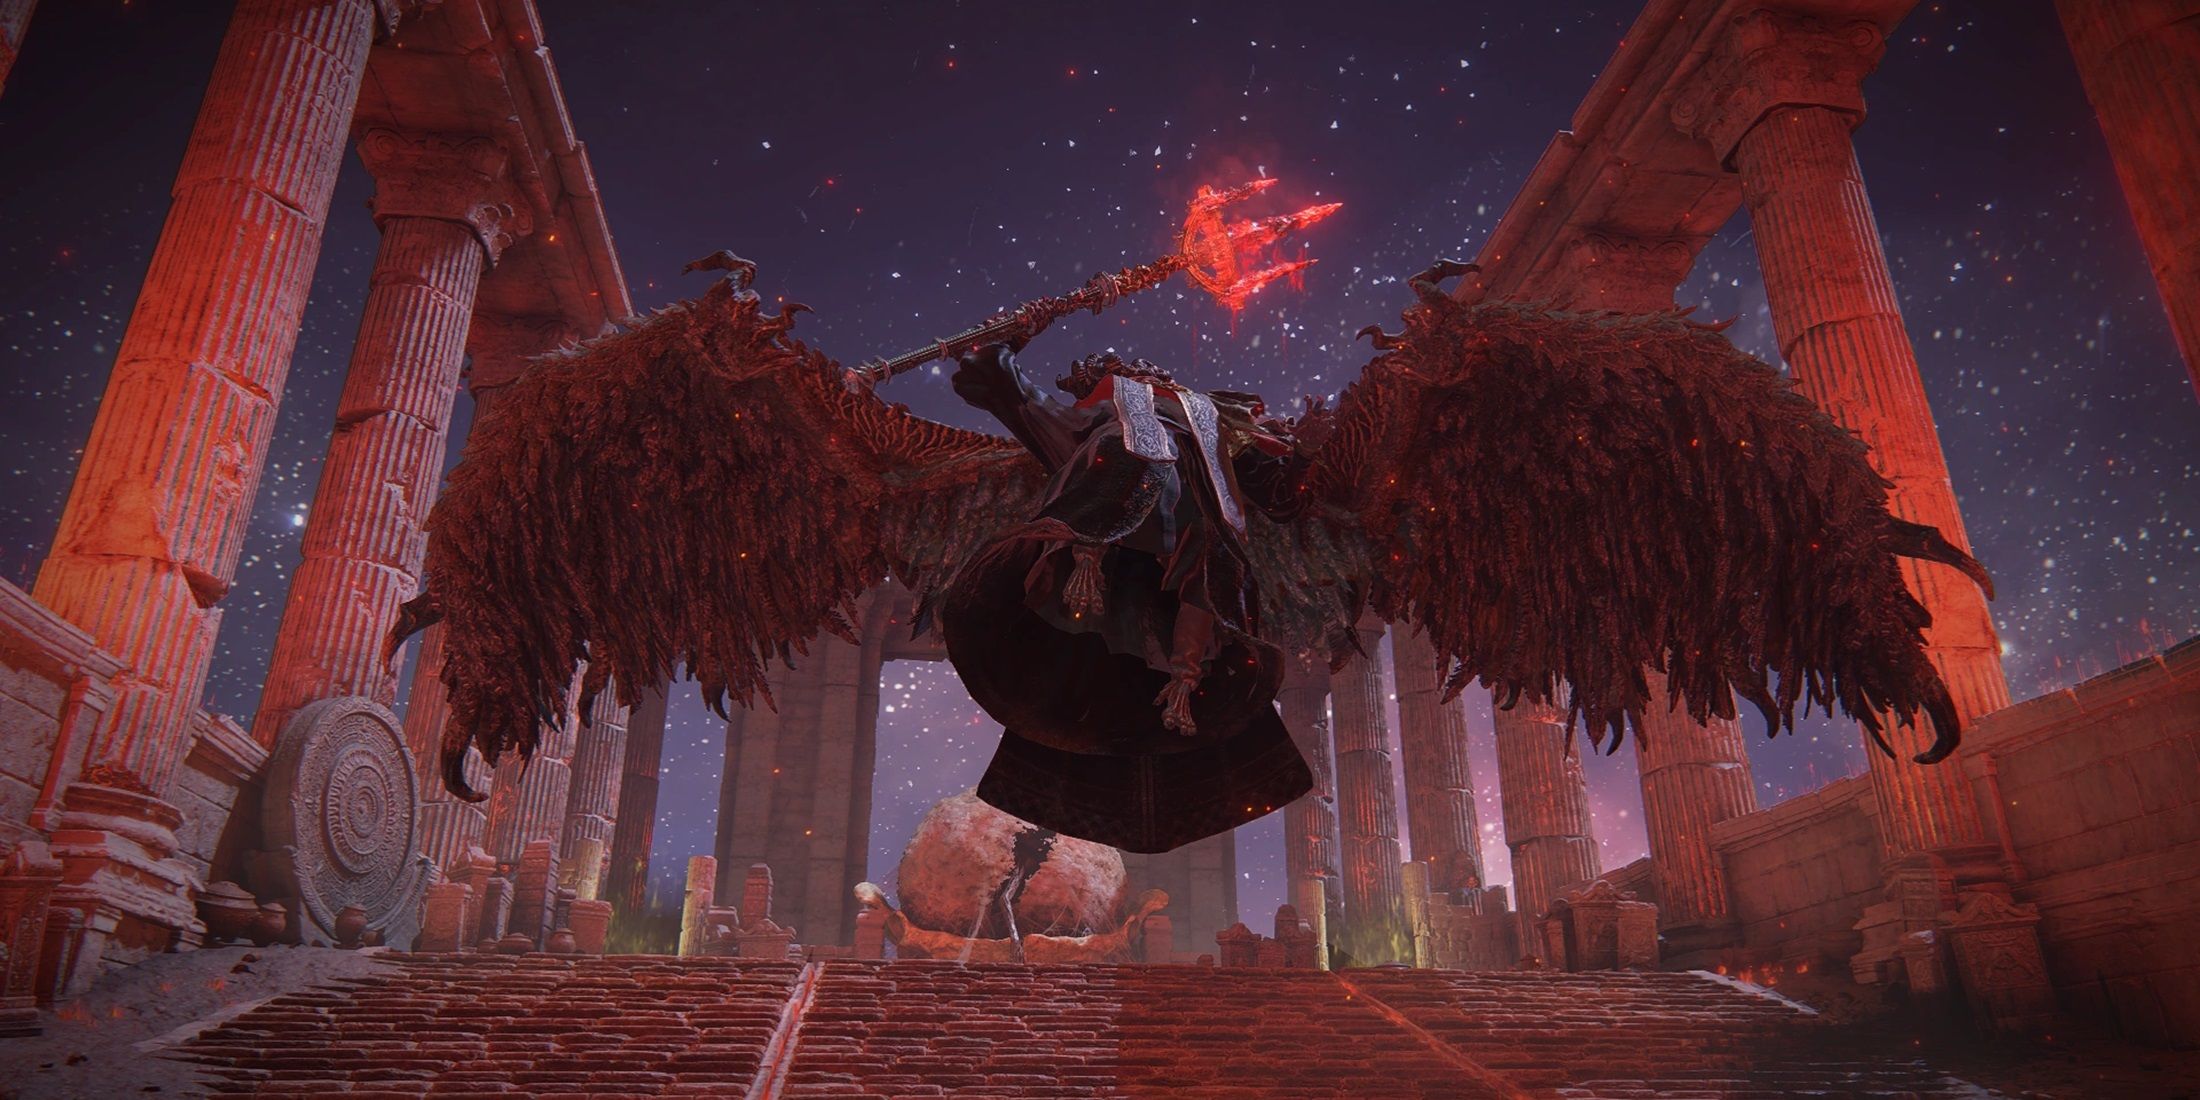 Dec 10,24Cosplay Marvel Emerges: Elden Ring's Mohg Impresses A stunning Mohg cosplay, strikingly similar to the Elden Ring boss, has been shared online, captivating the gaming community. Mohg, Lord of Blood, a Demigod boss crucial to accessing the recent Shadow of the Erdtree DLC, has enjoyed renewed prominence. Elden Ring, a FromSoftware triumph released in
 -
 Jan 30,25Hunters Rejoice! Monster Hunter Wilds Showcases New Content In February Open Beta Monster Hunter Wilds: February Open Beta Extends Hunting Opportunities Get ready for another chance to dive into the world of Monster Hunter Wilds! A second Open Beta Test is scheduled for the first two weeks of February, offering both newcomers and returning players a taste of the action before th